The Collina Throw
Usually, my family and I spend a lot of time “up north” on weekends from early spring to late fall, cuddled in a warm and chunky crochet throw in front of a crackling camp fire. Of course this summer is going to be a little different, given then pandemic, but it got me thinking about how to incorporate a little of the summers my kids have grown to love in to our current home life.
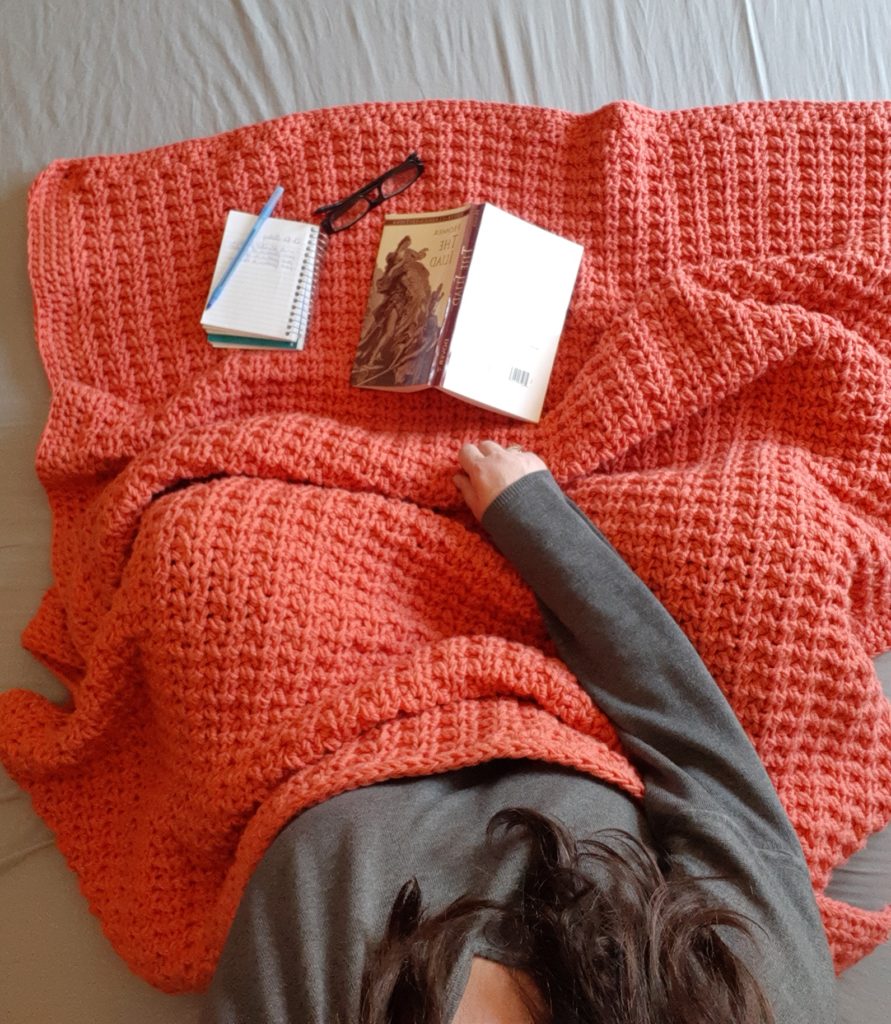
That’s where the inspiration for this delish modern crochet blanket came from. I wanted something that would keep us toasty warm on cool nights, mimic the hills surrounding out beloved getaway or the ripples on the stream that flows through it. I was lucky enough to also have some yarn that reminded me of one of the mesmerizing colors found in those dancing flames of our camp fires.
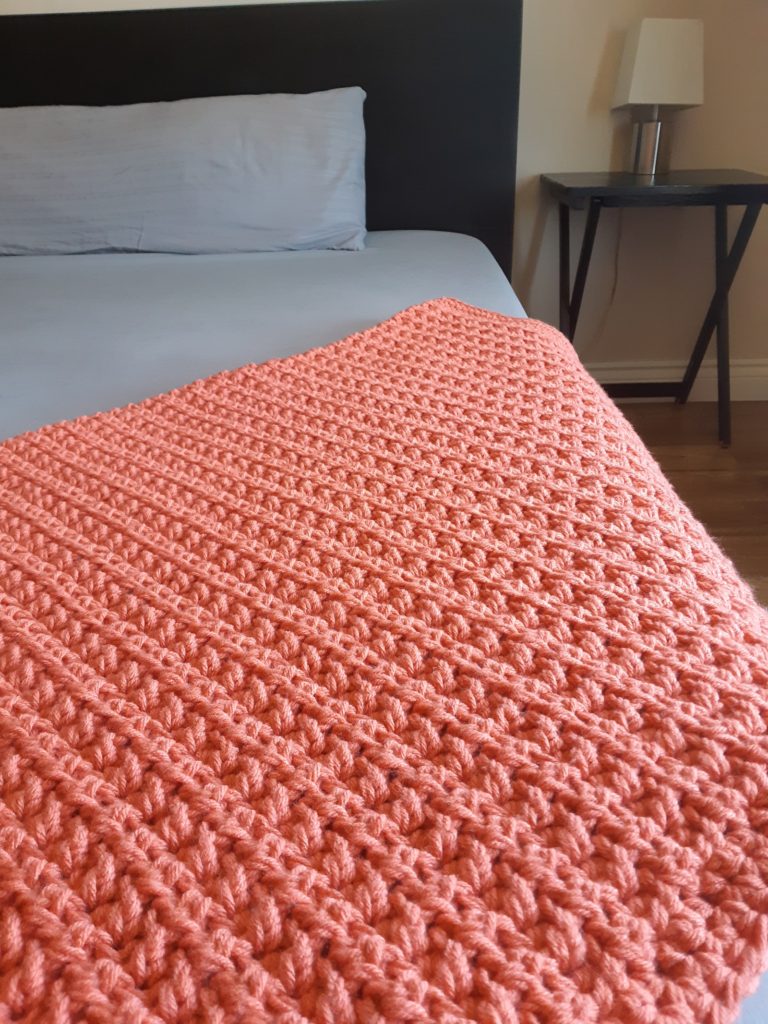
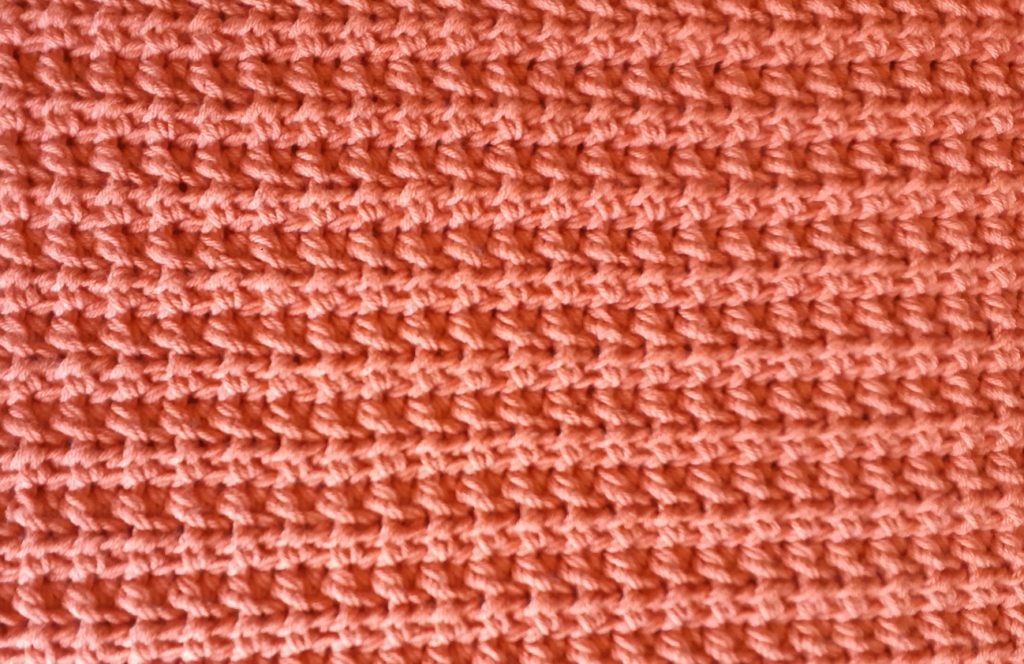
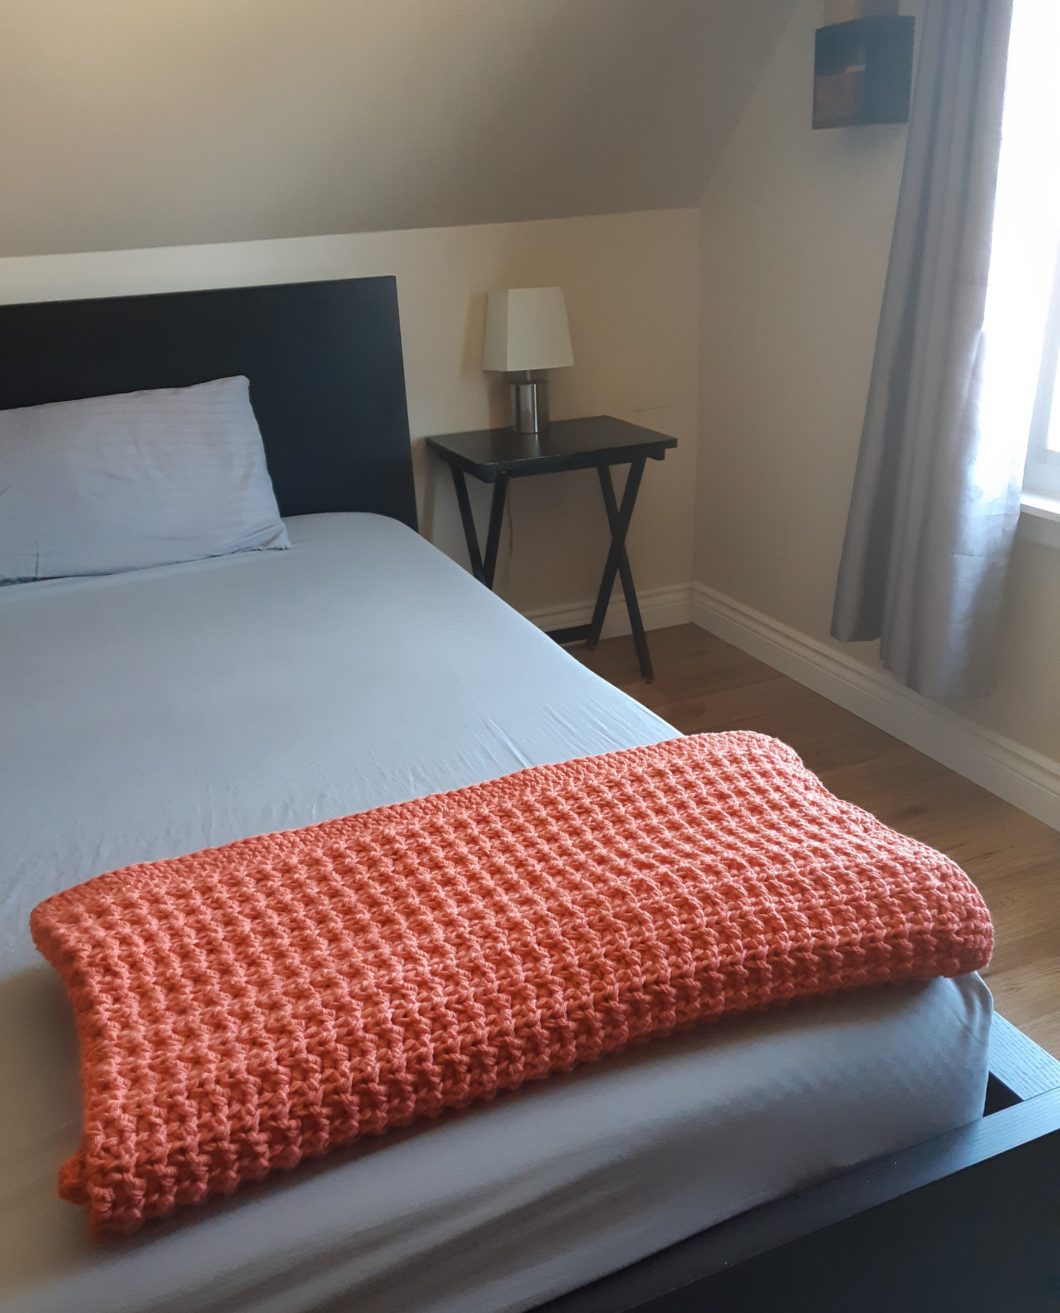
This is a very substantial blanket, even as a throw. It’s so heavy because it uses 2400 yards of yarn, since it is made using 2 strands of 4wt yarn held together. The yummy texture of this chunky crochet throw is created by alternating HDC in the front loop and the back loop, making it an easy and mindless project and good for beginners who have mastered HDC.
As mentioned, I decided to go with a color that reminded me of the fire and it’s a little more bold than my usual palette. This would also look amazing in a neutral cream or light grey and I do plan to make another once this one moves up north with me! Try it out in your favorite color!
To see more of my patterns using this stitch check out the Fairfield Cross-Over Poncho or the Maison Verte Dish Towel. For more amazing blankets and throws check out the Faith Throw or the Sunday Throw!
LET’S GET MAKING! Scroll down for the FREE pattern for this chunky crochet throw OR you can PURCHASE the Ad-Free, printable version from my Etsy store HERE
SUPPLY LIST:
9 mm hook
Any Category 4 yarn (Yarn Used: Caron One Pound in Persimmon)
Approx yardage: 2400 yards / 2195 meters (because it is 2 strands of yarn held together)
Scissors
Tapestry needle
STITCHES / ABBREVIATIONS:
ST – stitch
CH – chain
SL ST – slip stitch
YO – yarn over
HDC – half double crochet
HDCBL – half double crochet in the back loop
HDCFL – half double crochet in the front loop
FINISHED MEASUREMENTS:
60″ X 50″ (see notes if you want to customize the size)
GAUGE:
10 ST x 5 Rows = 4” x 4”
DIFFICULTY LEVEL:
Beginner
PATTERN & SIZING NOTES:
– The stitch count for each row is given in parentheses ( ) at the end of the row
– This blanket is made using 2 strands of yarn held together to create a chunky effect
– Due to using the 2 strands, this blanket is a very heavy and substantial blanket
– This blanket includes border instructions in the pattern, but it can be made without a border, or with a different border of your choosing
– The entirety of this modern crochet blanket is made alternating half double crochets in the front loop and the back loop across a row (excluding the border, done in regular HDC)
INSTRUCTIONS:
MAIN PORTION OF THE CHUNKY CROCHET THROW:
Using 2 strands of 4wt yarn together, with your 9mm hook, CH 130 + 2 to turn
Row 1: Starting in the 3rd CH from the hook, HDC in each ST across, CH 2 & turn (130)
Row 2 to 63: [HDCBL then HDCFL] and repeat [ to ] for all ST in the row, CH 2 & turn (130)
Row 64: Normal HDC in each ST across the row, CH 2 but do not turn as we start the border now (130)
BORDER OF THE CHUNKY CROCHET THROW:
– The border will be done in 2 spiral rounds, not joined rows
– Once you have completed the last ST in row 64, ADD 2 more HDC to that same stitch to turn the corner (mark the 2nd ST in that corner)
– Continue HDC down the side of the blanket, doing 3 stitches for every 2 rows
– Once you get to each corner, HDC x 3 to turn the corner before doing the next side
– When you reach your marked ST from the first round, place 3 HDC in that one ST to turn the corner and mark the 1st ST with your marker
– Continue around the remainder of the blanket for round 2 of HDC with 1 HDC in each stitch except 3 ST’s in each corner, then SL ST to the market stitch, YO and pull through and tie off
– Weave in your ends and voila, a luxe modern crochet blanket that works in the cabin or downtown!

Do you think this blanket would work with a single strand? I have about 2044 yds of yarn that I would use- lion brand hand dyed wool ease 4 weight. I really like the texture so I wonder if it would work if not using 2 strands.
It would for sure work with just 1 strand, you would just have to adjust the hook size and the number of chains and rows you make to get it the size you want. My suggestion would be to do a swatch with a 5.5mm hook (to keep it loose enough) and to to determine how many stitches and rows make an inch. Then you can do some calculations to figure out how many you need to make the size you want. I have made this as a smaller blanket for my daughter in a single strand too and, while the texture is tighter, it’s still sooooo beautiful! Good luck and please feel free to share a pic of your finished throw!
Hello – I am in Australia and would like to make this blanket but I can’t work out the yarn conversion to our ply. Are you able to help?🤷♀️
Thank you
Good question, thanks! For the blanket you need 2 x strands of worsted weight or aran yarn, which we classify as #4. I found this nifty conversion chart that will help you (https://www.crochetaustralia.com.au/Yarn%20weight_ply.pdf). Please let me know how it turns out!
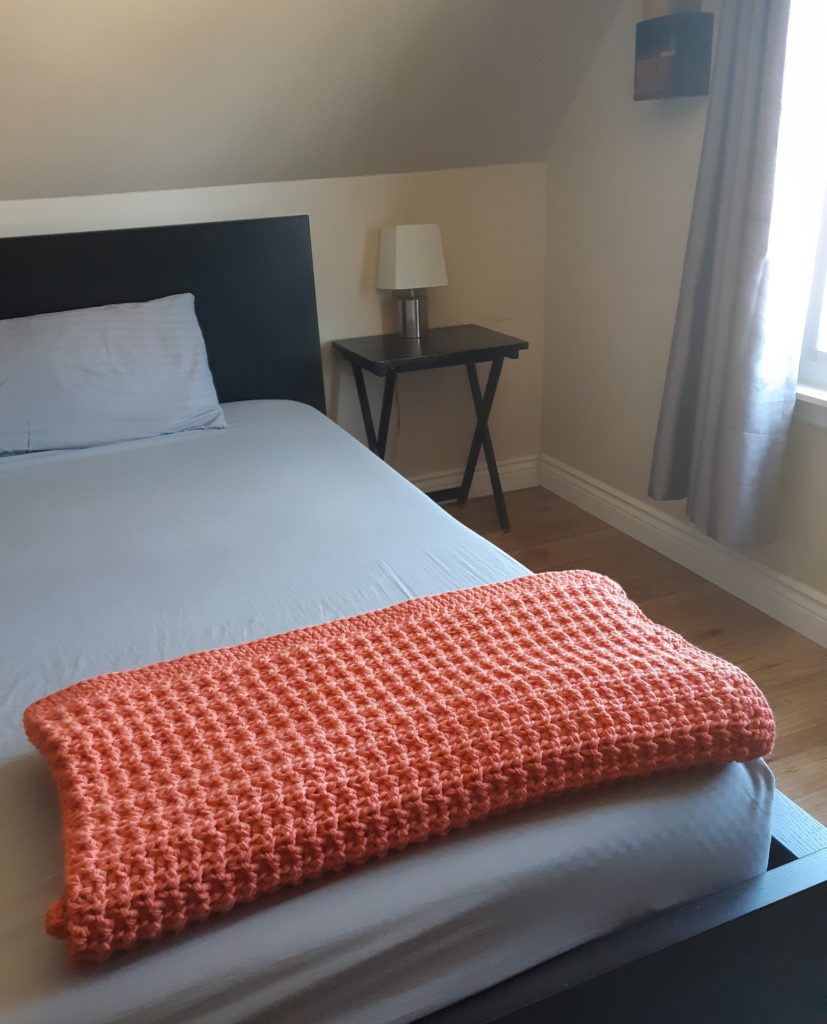
I love this. Thanks for sharing it with us. I’m making it right now and I’m about 10 rows into it. Mine is about 55” wide (without border, of course). Does that seem right? I’d like to fold it up and drape it over the foot of my bed and I think I would need it to be at least 68” in length (ideally about 76”).
Sorry for the delay in my reply! I’m glad you like it. 55″ might be a little on the shorter side, perhaps your tension is tighter than mine, but you’re right, the border still has to be added and will likely make up those other 5″. That being said, if you want to customize and make a larger blanket, you can just add an even number of chains to your foundation chain until you reach your desired length. Please feel free to share a pic once you’re finished!