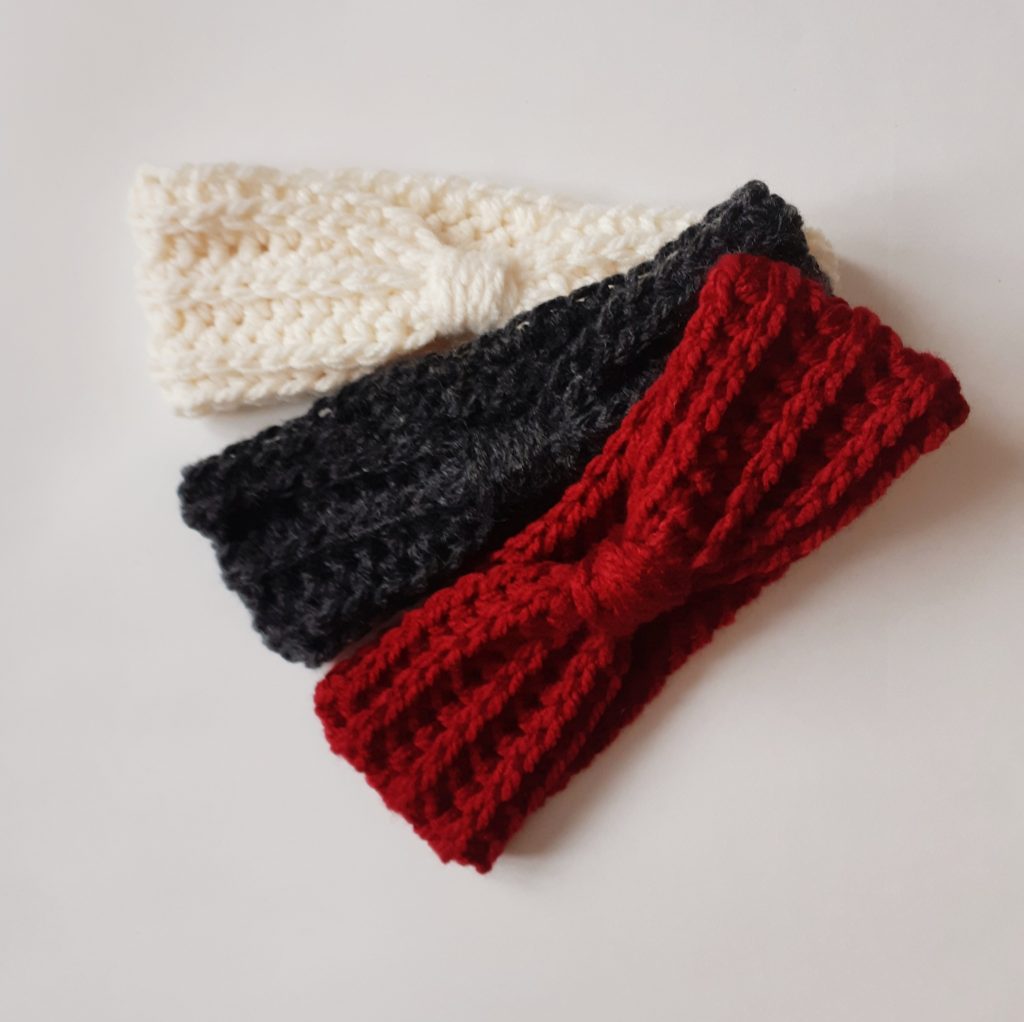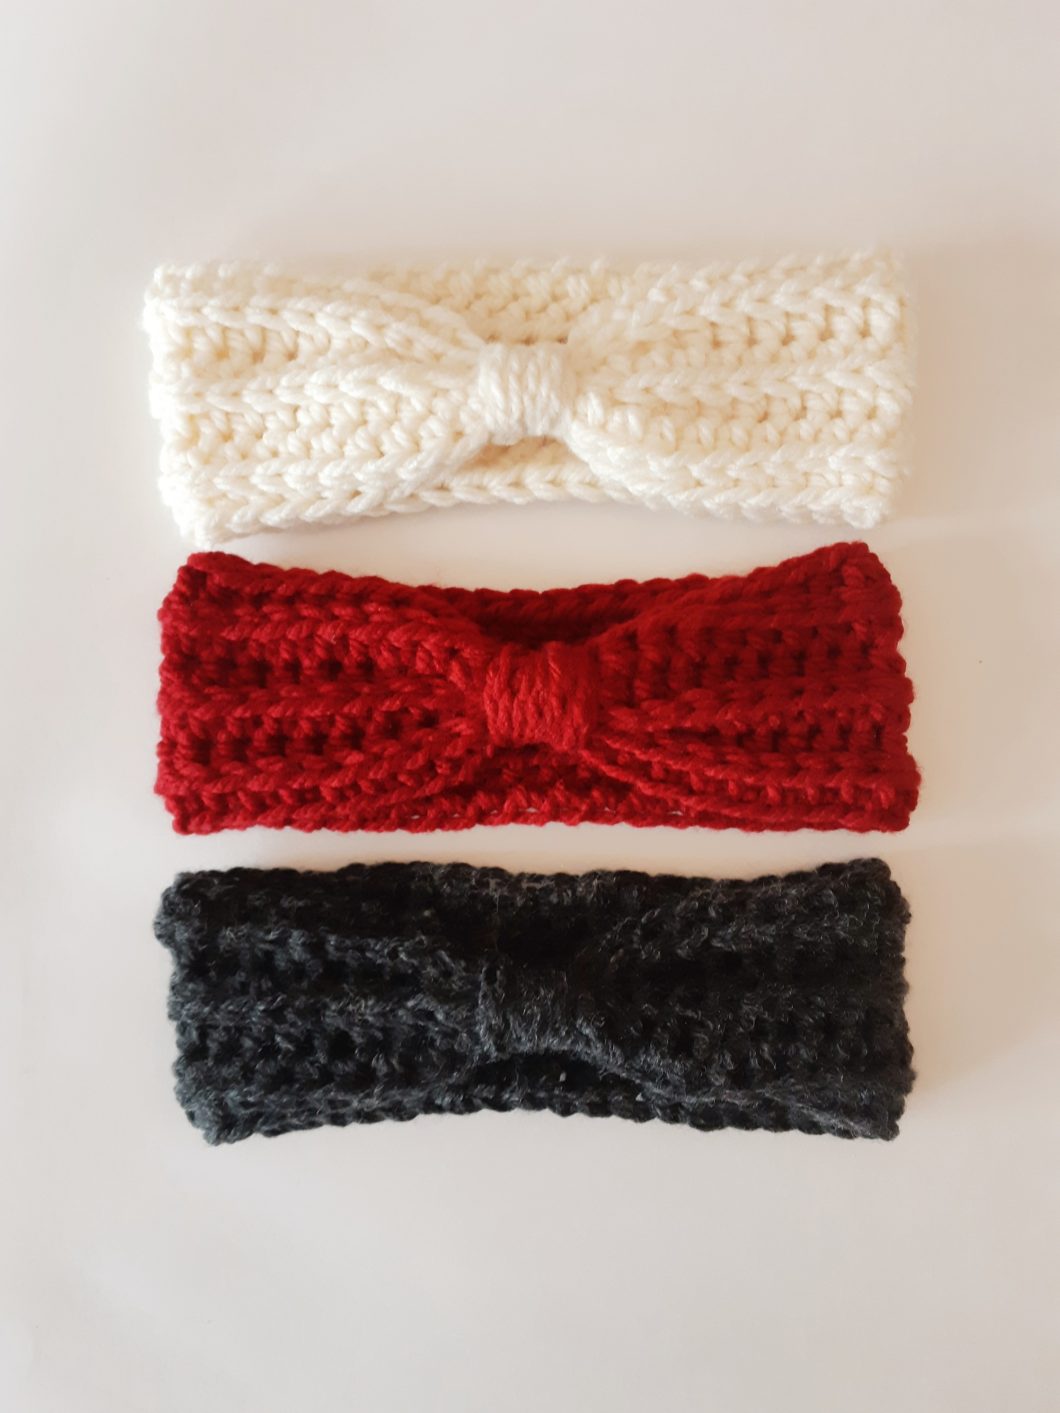
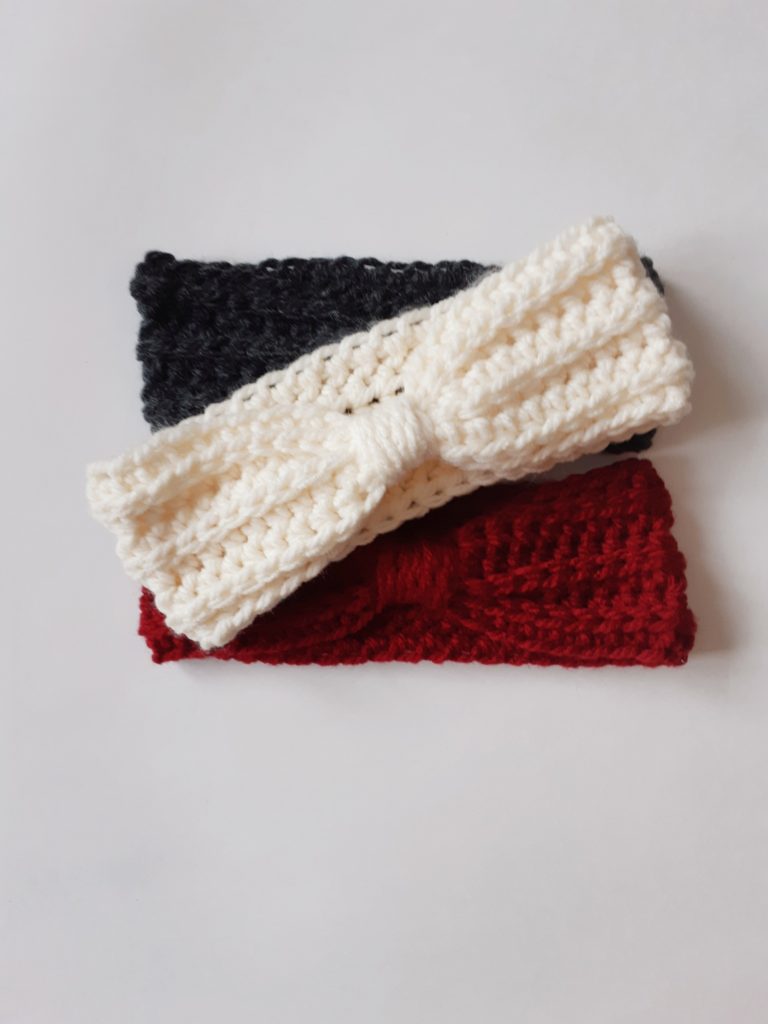
“TRINITY” CROCHET EAR WARMER
My last few projects have been fairly big projects, like the Sunday Throw from my last post. After a few big projects I always like to do a few quick projects to ‘cleanse the palette’ so to speak.
This adorable chunky crochet ear warmer is just the thing. Sometimes I don’t like to wear a big hat in the car with a big pom pom because I find it hits the roof of the car, so I thought this quick ear warmer is just the thing.
Made of a chunky 6wt yarn (Bernat Softee Chunky) this ear warmer is only 6 rows. The best part is, your seam is hidden by the cinched band! As some of you may have noticed by now, I like to work in spirals because I really don’t like seams and try to avoid them if I can. But this project hides the seam and that’s just fine with me!
I plan on making a lot more of these crochet ear warmers for some last minute gifts along with a few other projects. Do you all have a stash of last minute gifts? Tell me some more last minute projects patterns you might like to see and I can come up with some in the next week or two for you!
For more crochet accessories, take a look at the Azalea Hat & Infinity Scarf Set, the Lakeridge Cowl & the Brighton Super Scarf.
LET’S GET MAKING! Scroll down for the free pattern below OR you can get the Ad-Free, printable version from my Etsy store HERE
| SUPPLY LIST | STITCHES / ABBREVIATIONS |
| 7 mm hook Any Category 6 (bulky) yarn Yarn Used: Bernat Softee Chunky Approx yardage: 40 yards / 37 metres Scissors Tapestry needle | ST – stitch CH – chain SL ST – slip stitch HDC – half double crochet HDC3L – half double crochet in 3rd loop |
| SIZES | FINISHED MEASUREMENTS |
| One Size Fits Most | 19” circumference x 3.5” height |
| GAUGE | DIFFICULTY LEVEL |
| N/A | Beginner |
| PATTERN AND SIZING NOTES |
| – This project is made using alternating rows of HDC and HDC3L, creating the ribbing effect – This project is easily adaptable to making a wider band or a larger circumference (add stitches or rows as needed) – The CH 2 at the beginning of every row counts as a stitch – The cinched band on this project is placed over the seam to conceal it – To wash/care instructions: This is an acrylic project, so the suggestion is to wash on gentle setting, then shape and lay flat to dry |
INSTRUCTIONS:
CH 40, SL ST to join – leave a sizable tail as you will secure it with the cinched band in the end
Rows 1: HDC in each stitch around, SL ST to join, CH 2 (40)
Row 2: HDC3L in each stitch around, SL ST to join, CH 2 (40)
Row 3: HDC in in each stitch around, SL ST to join, CH 2 (40)
Row 4: HDC3L in each stitch around, SL ST to join, CH 2 (40)
Row 5: HDC in in each stitch around, SL ST to join, CH 2 (40)
Row 6: HDC3L in each stitch around, SL ST to join (40)
CINCHED BAND:
– CH 30, pull through and cut a few inches of tail
– Wind backward (so that the ‘right side’ of the CH 30 if facing out) x 5
– Tie a secure knot between the tail of the CH 30 and the tail of your starting chain
– Use your tapestry needle to take the 2 tails of your knot in through the cinched band and cut the ends appropriately
TO ADJUST THE SIZING:
– If you would like to make this a larger circumference, add any number of stitches until it’s the desired size
– If you would like to make this a wider band, simply add 2 more rows (1 row of HDC and then 1 row of HDC3L) and make the cinched band CH 32 instead of 30 – otherwise follow all directions as written