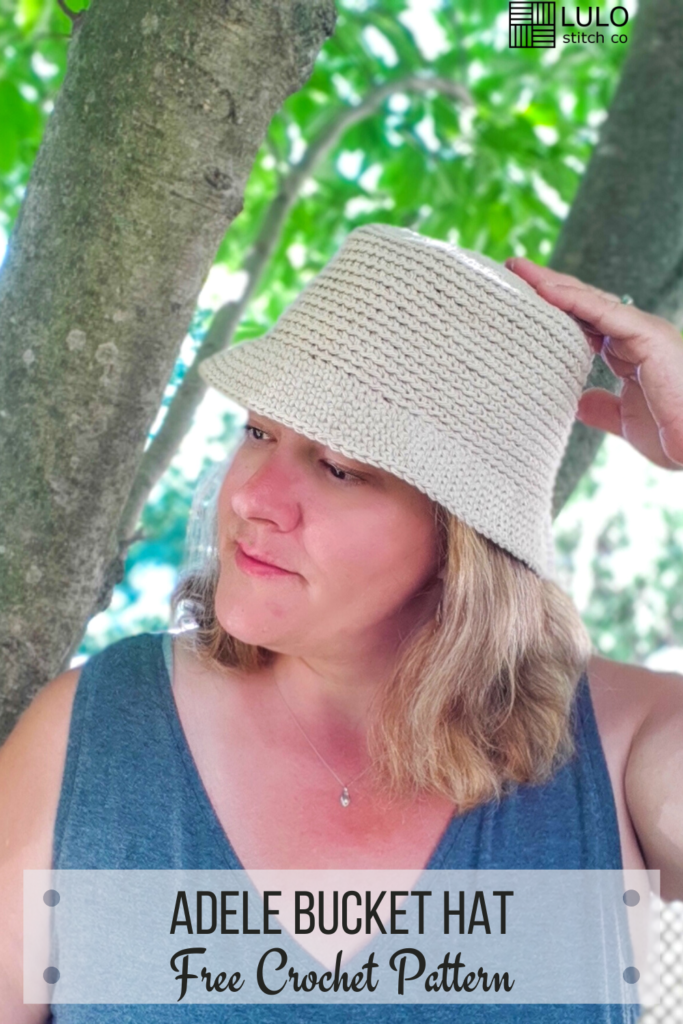
“Adele” Easy Crochet Bucket Hat
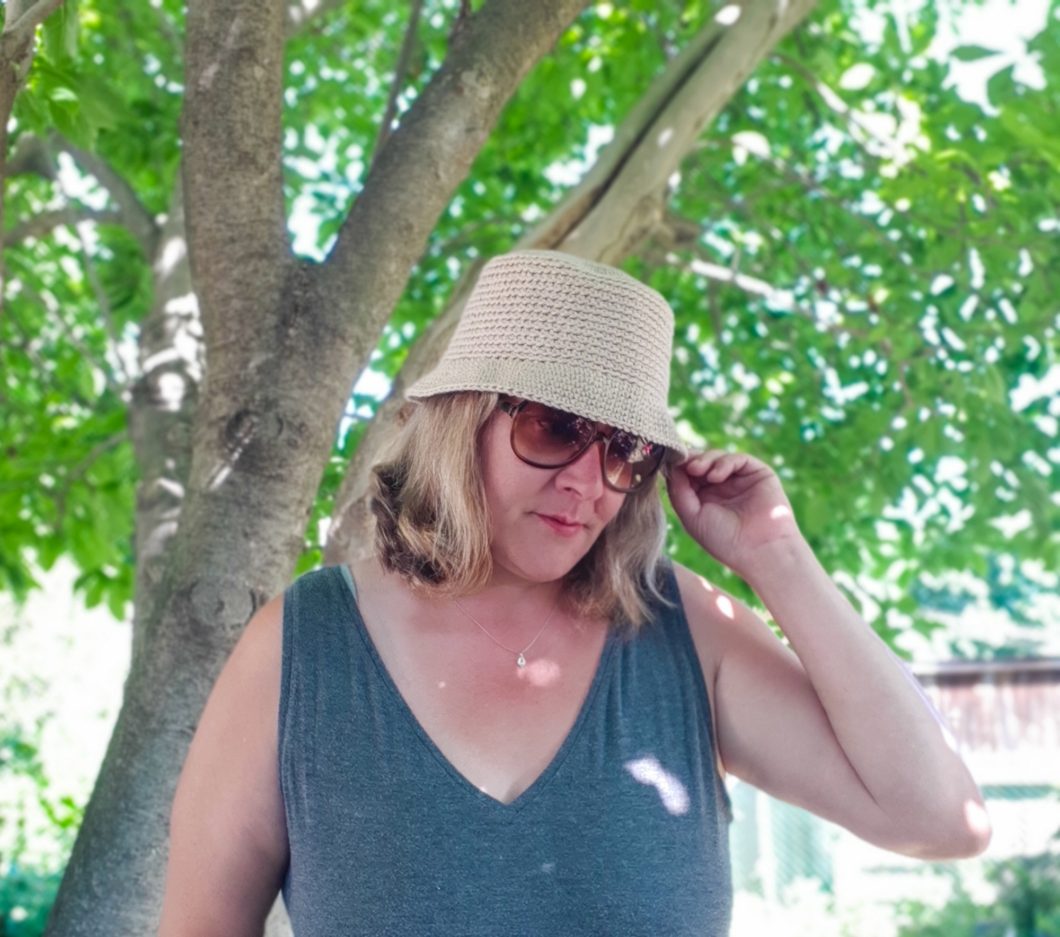
Oh, sure, I’ll jump on the easy crochet bucket hat bandwagon! I mean everyone can use a great, stylish hat, plus this project is so fast and easy, you can make it in just a few hours! One in every color to match any outfit.
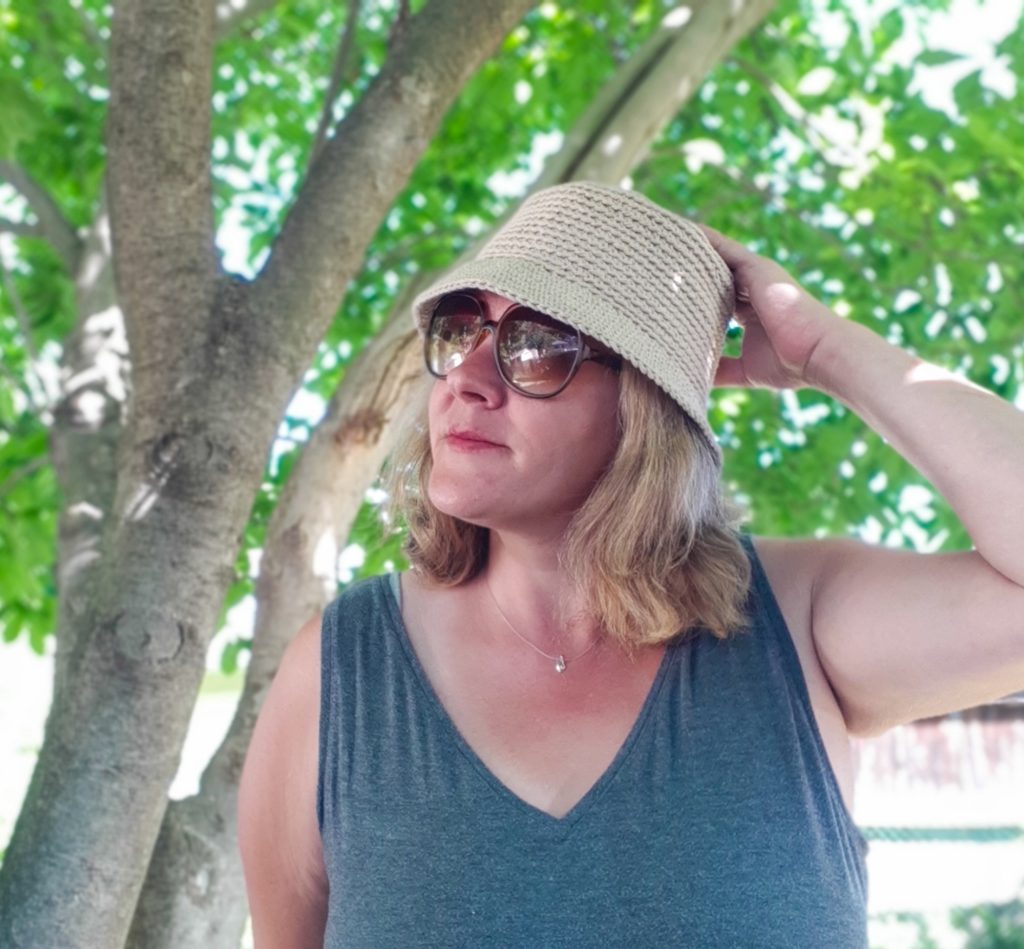
I had some of the Bernat Handicrafter yarn in Jute left over from my Springridge Place Mat and so I thought it would make a great neutral hat. Cottons really are the best for making hats because they don’t retain the heat as much as acrylics or blends, and the hold their shape nicely, especially on the brim of the hat.
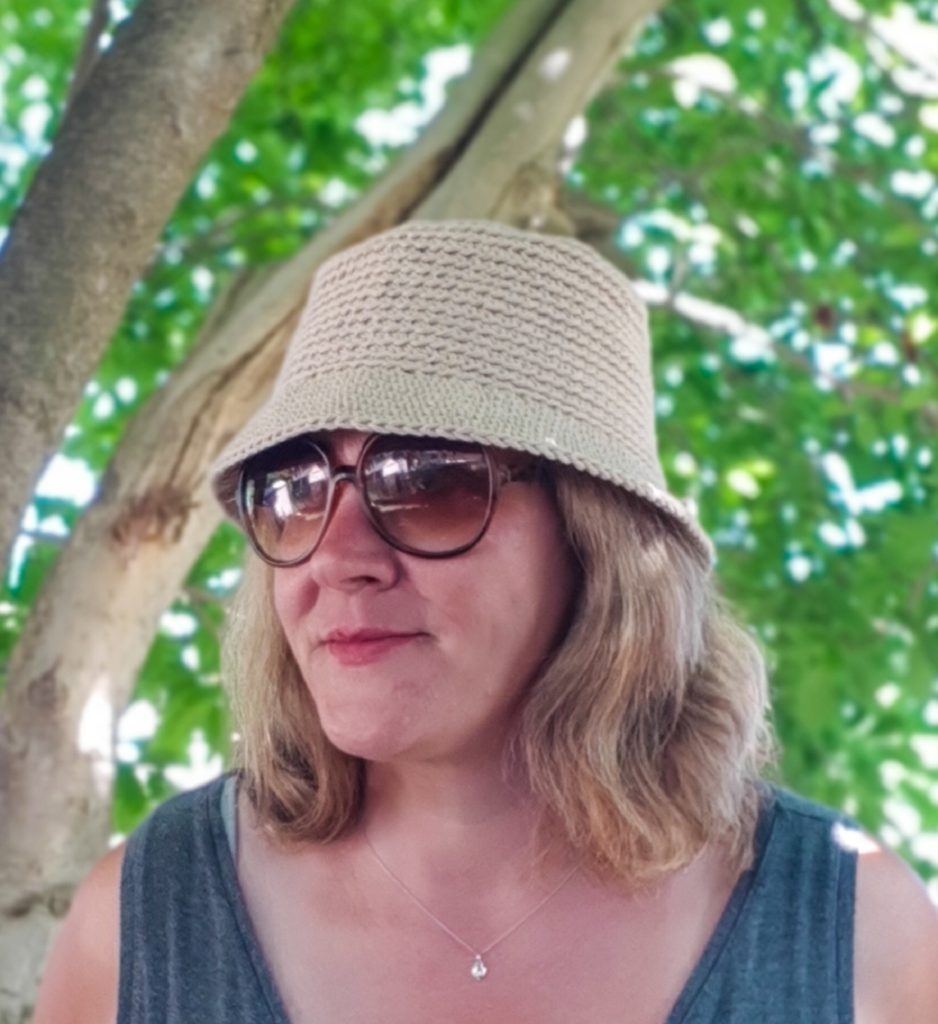
One of the things I like most about this easy crochet bucket hat, is that it is a true bucket hat shape. It has a flat top and a straight side with an angled brim. I love that style so much better for this type of hat than the rounded top cloche style hats. Don’t get me wrong, I love a good cloche (and I’ll have to design one soon!) but for summer, for style, I love this true bucket hat style.
This is an advanced beginner hat. Not because it’s difficult, but because some beginners find it difficult working in the round, especially in a spiral… and this hat is made as one continuous spiral. For those who are a little more advanced, I’ve given a note that you can stagger the increases to make the circle top more round, instead of hexagonal, as tends to happen with SC circles.
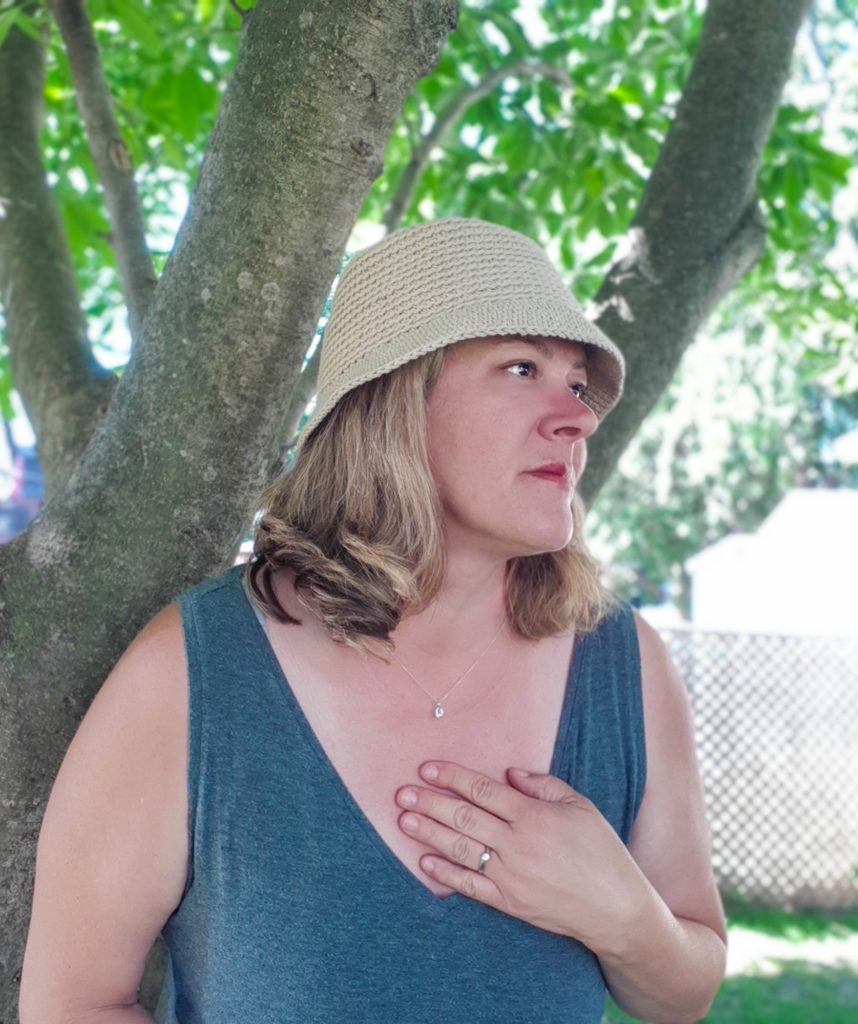
One final note about this hat, is that you can personalize it by adding appliques or a beautiful leather band. Make it your own and happy crocheting!
For more hat ideas, check out the Harper Slouchy Hat, the Moonstone Hat or for a fun summer project, take a look at the Mariposa Summer Sweater which is a gorgeous filet project.
LET’S GET MAKING! Scroll down for the FREE pattern for this easy crochet bucket hat below OR you can PURCHASE the Ad-Free, printable version from my Etsy store HERE.
| SUPPLY LIST |
| 4.5mm hook Any Category 4 Cotton Yarn (Used: Bernat Handicrafter in the color Jute) Approx yardage: 150 Y / 137 M Stitch Marker Scissors Tapestry needle |
| STITCHES / ABBREVIATIONS |
| **All stitches are in North American terms** YO – yarn over CH – chain ST – stitch SL ST – slip stitch SC – single crochet SCBLO – single crochet in the back loop only |
| SIZE |
| One Size for average adult woman’s head |
| FINISHED MEASUREMENTS |
| Crown is 6.5”, fits 22” circumference head |
| GAUGE |
| It’s hard to measure gauge in the traditional way until you get done the body of the hat, so to give you an idea, if the first 13 rounds (which are the top of the hat) are 6.5” then your gauge is good. |
| DIFFICULTY LEVEL |
| Advanced Beginner |
| PATTERN AND SIZING NOTES |
| – This easy crochet bucket hat is worked in one continuous spiral from top to bottom, no seaming. – You can use a magic circle to start at the top of the hat, or CH 4, SL ST in to the first CH and SC your first round in to this circle you created (you can tighten this circle up when you weave your ends in) – You must know single crochet, single crochet in the back loop, working a circle (increasing). – To keep the top circle part of the hat from becoming hexagonal (as happens with increases) you can stagger where you place the increases in each round to create more of a circle – IF YOU’RE A BEGINNER and don’t quite have the understanding of the principle of making a circle and how to manipulate it by staggering the increases in a round, you can still make it at written below. – For the portion of this crochet bucket hat, you can loosen your tension a little from the rest of the hat – it shouldn’t make it flimsy, if anything, it should help it maintain its shape better. Use your judgment on this tension. – You can personalize this hat by making & add your own band or appliqué to make or you can lengthen the brim of the hat. – Stitch count for each round will be indicated in parentheses ( ) at the end of the row |
| INSTRUCTIONS |
| “ADELE” EASY CROCHET BUCKET HAT: CH 4, SL ST in to the first CH to create a circle, then CH 1 – remember we are working in one continuous spiral for the whole hat, so have stitch markers ready and mark the first ST in every round to keep count. OR you can do a magic circle here. Round 1: SC x 6 in to the circle you created, marking your first ST, we are not joining, we’re working a spiral (6) Round 2: Starting in your first marked ST (skip over the CH 1 from that first round), place 2 x SC in each ST around (12) Round 3: [2 x SC in the first ST, 1 in the next] and repeat [ to ] for the round (18) Round 4: [2 x SC in the first ST, 1 in each of the next 2 ST’s] and repeat [ to ] for the round (24) Round 5: [2 x SC in the first ST, 1 in each of the next 3 ST’s] and repeat [ to ] for the round (30) Round 6: [2 x SC in the first ST, 1 in each of the next 4 ST’s] and repeat [ to ] for the round (36) Round 7: [2 x SC in the first ST, 1 in each of the next 5 ST’s] and repeat [ to ] for the round (42) Round 8: [2 x SC in the first ST, 1 in each of the next 6 ST’s] and repeat [ to ] for the round (48) Round 9: [2 x SC in the first ST, 1 in each of the next 7 ST’s] and repeat [ to ] for the round (54) Round 10: [2 x SC in the first ST, 1 in each of the next 8 ST’s] and repeat [ to ] for the round (60) Round 11: [2 x SC in the first ST, 1 in each of the next 9 ST’s] and repeat [ to ] for the round (66) Round 12: [2 x SC in the first ST, 1 in each of the next 10 ST’s] and repeat [ to ] for the round (72) Round 13: [2 x SC in the first ST, 1 in each of the next 11 ST’s] and repeat [ to ] for the round (78) This concludes to top circle portion of the easy crochet bucket hat, now we move on to the sides… Rounds 14 to 26: Starting in the marked first ST of the last round, SCBLO for 13 rounds – IN THE END OF ROUND 26, add 5 additional ST’s and move your stitch marker to indicate the *new* first ST in a round (the reason we are doing this is because your 1st ST of each round will always drift to the right, so we are adding 5 more stitches to line it up with the first SCBLO, it’s just more visually appealing) (78) This concludes the side portion of the easy crochet bucket hat, now we move on the brim… Round 27: Starting in the marked first ST of the last round, SC (through both loops, not through the back loop) with the following increases: [2x SC in the first ST, 1 in each of the next 5 ST’s] and repeat [ to ] for the round (91) Round 28: Starting in the marked first ST of the last round, SC in each ST for the round (91) Round 29: Starting in the marked 1st ST of the last round, SC with the following increases: [2x SC in the first ST, 1 in each of the next 5 ST’s] and repeat [ to ] for the round, then you will have 2 additional SC’s at the end of that round. (106) Rounds 30 to 32: Starting in the marked first ST of the last round, SC in each ST for the round (106) YO, tie off and weave in ends – FOR A CLEANER tie off, when you finish the last ST, take your hook out of your working loop, push it from the inside of the hat forward through the next loop, re-attach your working loop, pull it through to the inside of the hat and YO/tie off that way. ** Voila, the perfect and very easy crochet bucket hat for a summer at the beach, the BBQ or anywhere else you might like to adventure! |

Love ur crochet projects .. would like tutorials as im a beginner crocheter… love the hat love everything
Thanks, Lucille! I do plan to do some video tutorials in the near future! I am so glad you like the patterns and are learning this amazing craft. Keep up the good work!