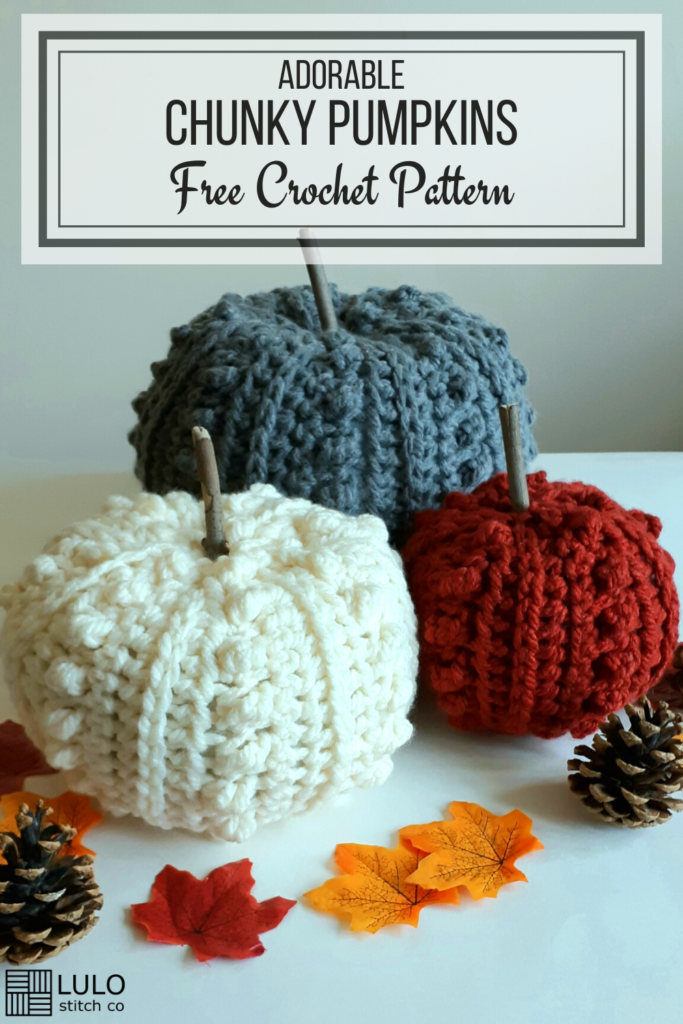
“Tiva” Chunky Crochet Pumpkin
I love love love making crochet fall decor, how about you? It makes me very happy to be able to share another new pattern with you, the Tiva Chunky Crochet Pumpkin. And I’ve written this free crochet pumpkin pattern so you can make it in 3 adorable sizes.
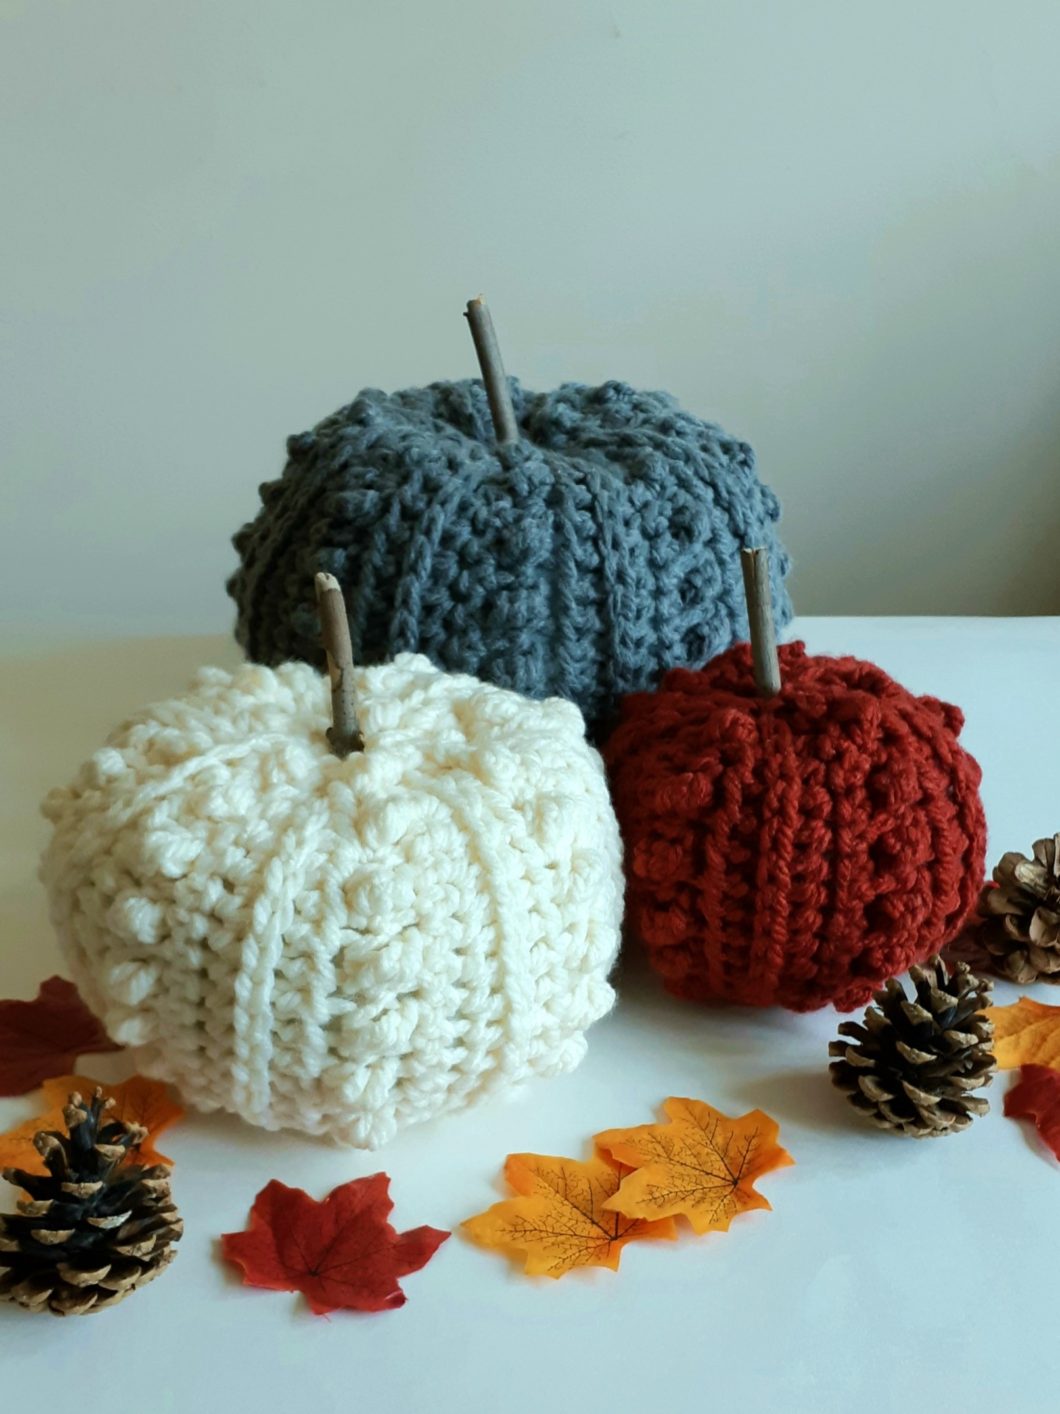
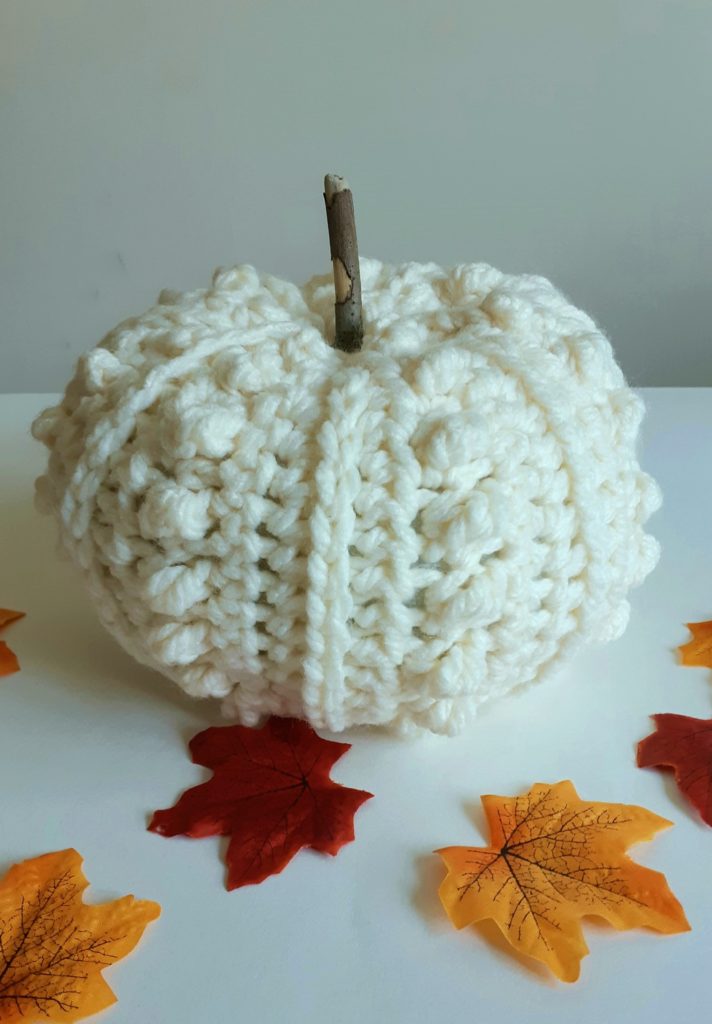
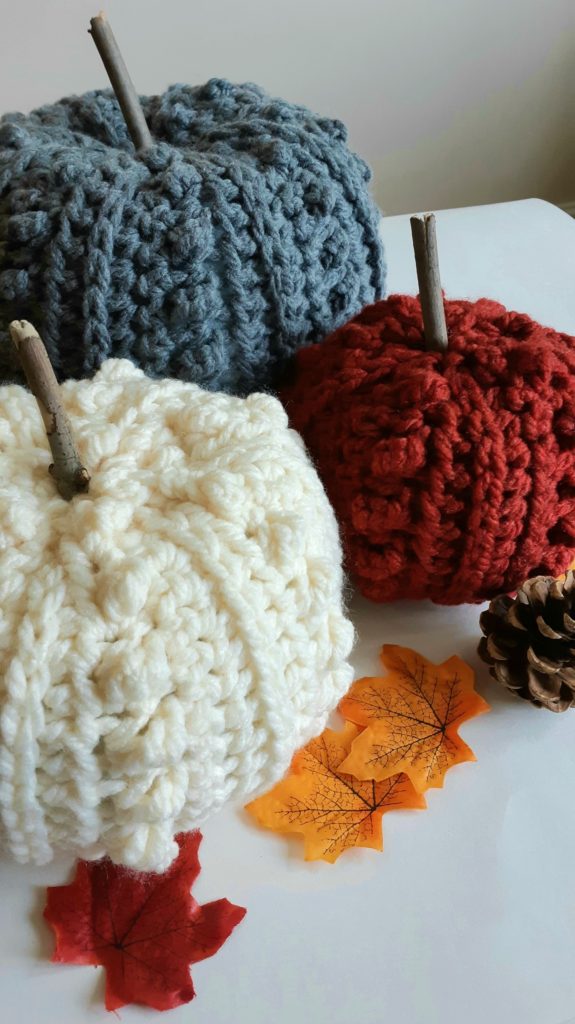
Of course, there are lots of free crochet pumpkin patterns out there but I really wanted to make one that I thought echoed the texture of those heirloom varieties. With the ridges and the mini bobbles alternating down the sides of this pumpkin pattern, I thought it echoed that natural texture quite well.
I chose to do this in a super bulky 6wt chunky yarn because really, I think the hunky yarn lends itself so much better to hygge appeal while heading in to fall and winter. But you really could make these in a 4wt, they would just be a bit smaller.
Mix it up with some variegated yarns if you like, or create stripes. The options are endless 😛 If you make this adorable chunky crochet pumpkin, don’t forget to tag me on Instagram #lulostitchco
If you like the look of the mini bobble and rib combo, check out my Azalea Hat & Infinity Scarf Set. If you like the mini/faux bobble look for more decor items, check out my Belle Bobble Basket.
LET’S GET MAKING! Scroll down for the FREE pattern for this chunky crochet blanket below OR you can PURCHASE the Ad-Free, printable version from my Etsy store HERE.
SUPPLY LIST:
8mm hook
Any Category 6 super chunky yarn (Yarn Used: Bernat Softee Chunky in “Natural”, “True Gray” and “Redwood”)
Approx yardage: S – 25y / 23m, M – 60y / 55m, L – 120y / 110m
Scissors
Tapestry needle
Twig or cinnamon stick
STITCHES & ABBREVIATIONS:
YO – yarn over
CH – chain
ST – stitch
BB – back bump (of a foundation chain)
SL ST – slip stitch
SC – single crochet
HDC – half double crochet
HDC3rdL – half double crochet in the 3rd loop TC – triple crochet
SIZE:
Small, Medium, Large
FINISHED MEASUREMENTS:
S – 4.5”w x 5.5” h M – 5”w x 7.5” h L – 9”w x 6.5”h
GAUGE:
Not really relevant
SKILL LEVEL:
Beginner
PATTERN & SIZING NOTES:
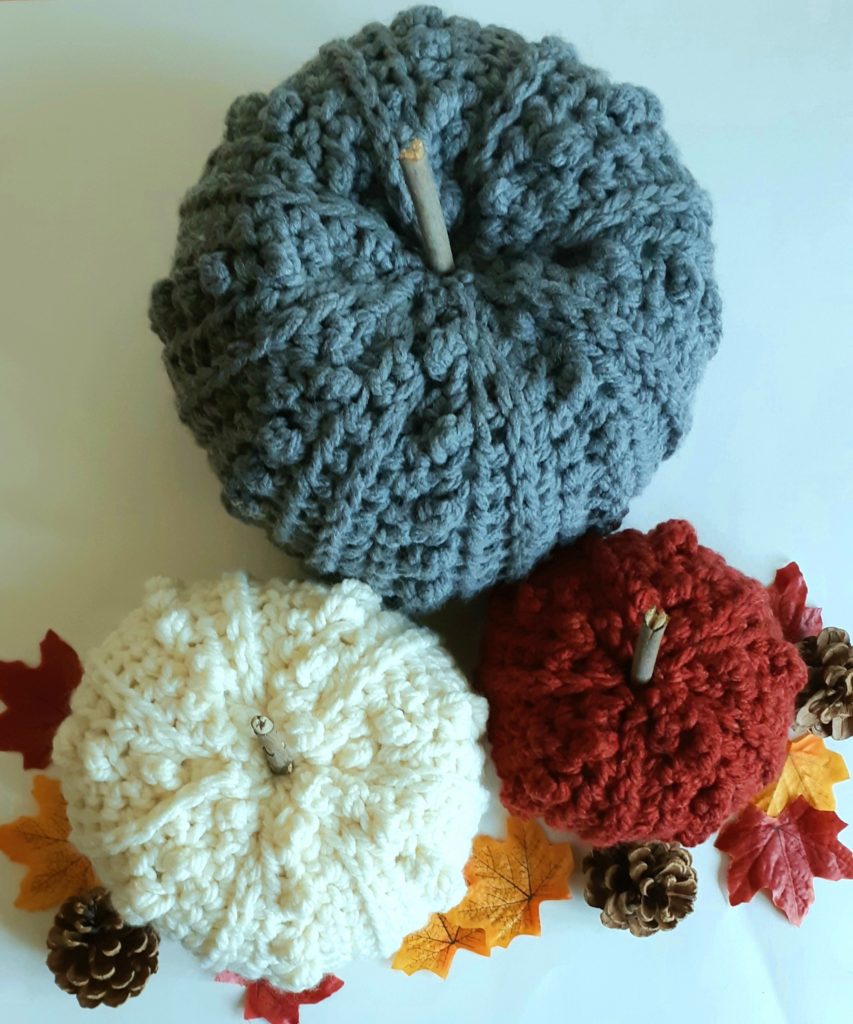
– This Tiva Chunky Crochet Pumpkin, is made as one continuous piece, seamed together, then one end is cinched/closed, it is stuffed, then the top end is cinched/closed. At this point you can run a length of yarn through the center of the pumpkin to give it a more curved in and natural look, and finish it off with a twig or cinnamon stick for the stem.
– You must be familiar with working in the back bump, working in the 3rd loop of HDC and working a TC in addition to SC.
– The SC’s after working a TC must be pulled quite tight in order to make the TC pop out like a little bobble. If you don’t pull the SC’s after a TC tight enough, they won’t pop out.
– This free crochet pumpkin pattern is a 4 row repeat for all sizes.
– There are 3 sizes available in this pattern (S, M, L)
– Leave a long tail on your foundation chain to cinch the pumpkin closed at the end. Leave an even long tail at the end of the panel to seam the piece together and also to cinch the other end closed.
– Turning chains do NOT count as a stitch. – Stitch count for each round will be indicated in parentheses ( ) at the end of the row
INSTRUCTIONS:
SMALL CHUNKY CROCHET PUMPKIN:
CH 15 + 2 to turn
Row 1: (for this row only work in to the BB of the foundation chain) in the BB of the 3rd ST from your hook, HDC in each back bump across, CH 2 & turn (15)
Row 2: HDC3rdL in each ST across, CH 1 & turn (15)
Row 3: Alternate SC & TC across the row, ending on a SC (you should have 7 TC bobbles), CH 1 & turn (15)
Row 4: SC in each ST across, CH 2 & turn (15)
Rows 5 to 20: Repeat rows 1 through 4, except in the repeat of row 1, you’re not working in a BB (that was only for the first row in the foundation chain) you’re just doing a row of HDC across. You should end on a repeat of Row 4, which is just a row of SC. YO & pull through to tie off work and leave an 8” tail for seaming and cinching. (15)
– Fold your panel together with the wrong side facing out and line up the working edges together.
– Using your tapestry needle and your long tail, seam together the 2 sides through both loops on both sides.
– Once you’re at the bottom of the seam, weave that piece around the edges of the panel, cinch it tight together and tie to the other tail to keep secure.
– Turn the pumpkin right side out and stuff your pumpkin (not too full, these stitches are loose and if you stuff it too full, the stuffing will stretch the pumpkin and show through)
– Using another 8” length of yarn and your tapestry needle, weave your piece around the top edges of the panel, cinch it tight together and tie both ends together. Using the remaining longest piece and your tapestry needle, poke it through the top hole all the way through the bottom hole and pull tight to create that curved top that is natural to pumpkins. Tie that end to on of the other ends on the bottom, then trip all the ends and/or tuck them all inside the pumpkin.
– Finish the stem with a twig or a cinnamon stick.
MEDIUM CHUNKY CROCHET PUMPKIN:
CH 21 + 2 to turn
Row 1: (for this row only work in to the BB of the foundation chain) in the BB of the 3rd ST from your hook, HDC in each back bump across, CH 2 & turn (21)
Row 2: HDC3rdL in each ST across, CH 1 & turn (21)
Row 3: Alternate SC & TC across the row, ending on a SC (you should have 7 TC bobbles), CH 1 & turn (21)
Row 4: SC in each ST across, CH 2 & turn (21)
Rows 5 to 28: Repeat rows 1 through 4, except in the repeat of row 1, you’re not working in a BB (that was only for the first row in the foundation chain) you’re just doing a row of HDC across. You should end on a repeat of Row 4, which is just a row of SC. YO & pull through to tie off work and leave an 8” tail for seaming and cinching. (21)
– Fold your panel together with the wrong side facing out and line up the working edges together.
– Using your tapestry needle and your long tail, seam together the 2 sides through both loops on both sides.
– Once you’re at the bottom of the seam, weave that piece around the edges of the panel, cinch it tight together and tie to the other tail to keep secure.
– Turn the pumpkin right side out and stuff your pumpkin (not too full, these stitches are loose and if you stuff it too full, the stuffing will stretch the pumpkin and show through)
– Using another 8” length of yarn and your tapestry needle, weave your piece around the top edges of the panel, cinch it tight together and tie both ends together. Using the remaining longest piece and your tapestry needle, poke it through the top hole all the way through the bottom hole and pull tight to create that curved top that is natural to pumpkins. Tie that end to on of the other ends on the bottom, then trip all the ends and/or tuck them all inside the pumpkin.
– Finish the stem with a twig or a cinnamon stick.
LARGE CHUNKY CROCHET PUMPKIN:
CH 25 + 2 to turn
Row 1: (for this row only work in to the BB of the foundation chain) in the BB of the 3rd ST from your hook, HDC in each back bump across, CH 2 & turn (25)
Row 2: HDC3rdL in each ST across, CH 1 & turn (25)
Row 3: Alternate SC & TC across the row, ending on a SC (you should have 7 TC bobbles), CH 1 & turn (25)
Row 4: SC in each ST across, CH 2 & turn (25)
Rows 5 to 32: Repeat rows 1 through 4, except in the repeat of row 1, you’re not working in a BB (that was only for the first row in the foundation chain) you’re just doing a row of HDC across. You should end on a repeat of Row 4, which is just a row of SC. YO & pull through to tie off work and leave an 8” tail for seaming and cinching. (25)
– Fold your panel together with the wrong side facing out and line up the working edges together.
– Using your tapestry needle and your long tail, seam together the 2 sides through both loops on both sides.
– Once you’re at the bottom of the seam, weave that piece around the edges of the panel, cinch it tight together and tie to the other tail to keep secure.
– Turn the pumpkin right side out and stuff your pumpkin (not too full, these stitches are loose and if you stuff it too full, the stuffing will stretch the pumpkin and show through)
– Using another 8” length of yarn and your tapestry needle, weave your piece around the top edges of the panel, cinch it tight together and tie both ends together. Using the remaining longest piece and your tapestry needle, poke it through the top hole all the way through the bottom hole and pull tight to create that curved top that is natural to pumpkins. Tie that end to on of the other ends on the bottom, then trip all the ends and/or tuck them all inside the pumpkin.
– Finish the stem with a twig or a cinnamon stick.
** Voila! You have created a charming chunky crochet pumpkin you can use for your beautiful fall décor year after year! I hope you enjoyed this free crochet pumpkin pattern and don’t forget to tag your make on Instagram #lulostitchco