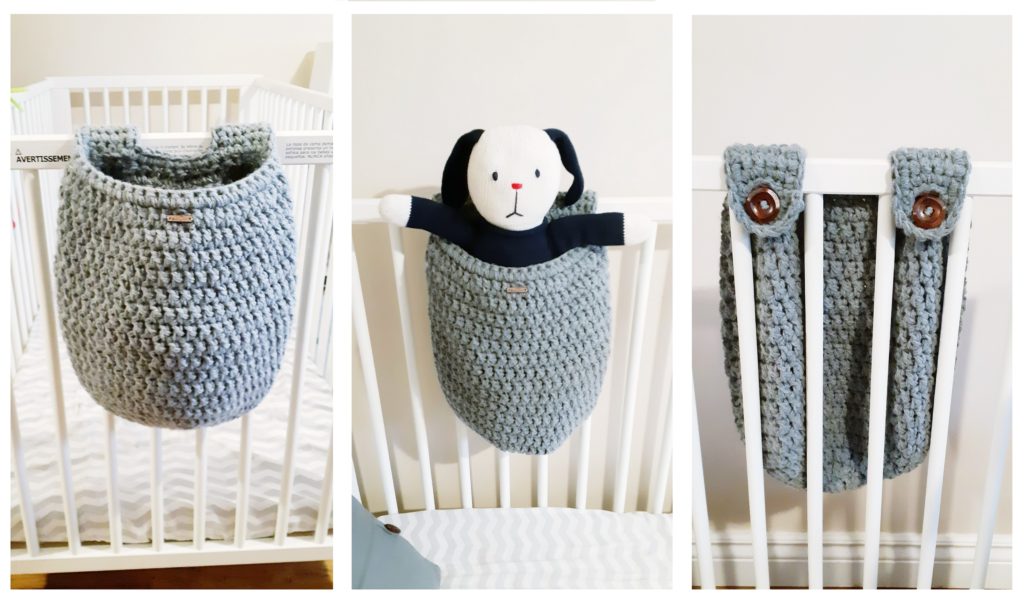
I am excited to bring you a very useful project, the Crochet Crib Hanging Basket. Function and beauty, all rolled in to one!
I have two sweet little kiddos, ages 3 and 1.5yrs. We’re in a smaller war-time era house (in the very expensive city of Toronto) so for now, they share a room. It makes for fun times. And who am I kidding, most of the time we all co-sleep in Mommy & Daddy’s bed.
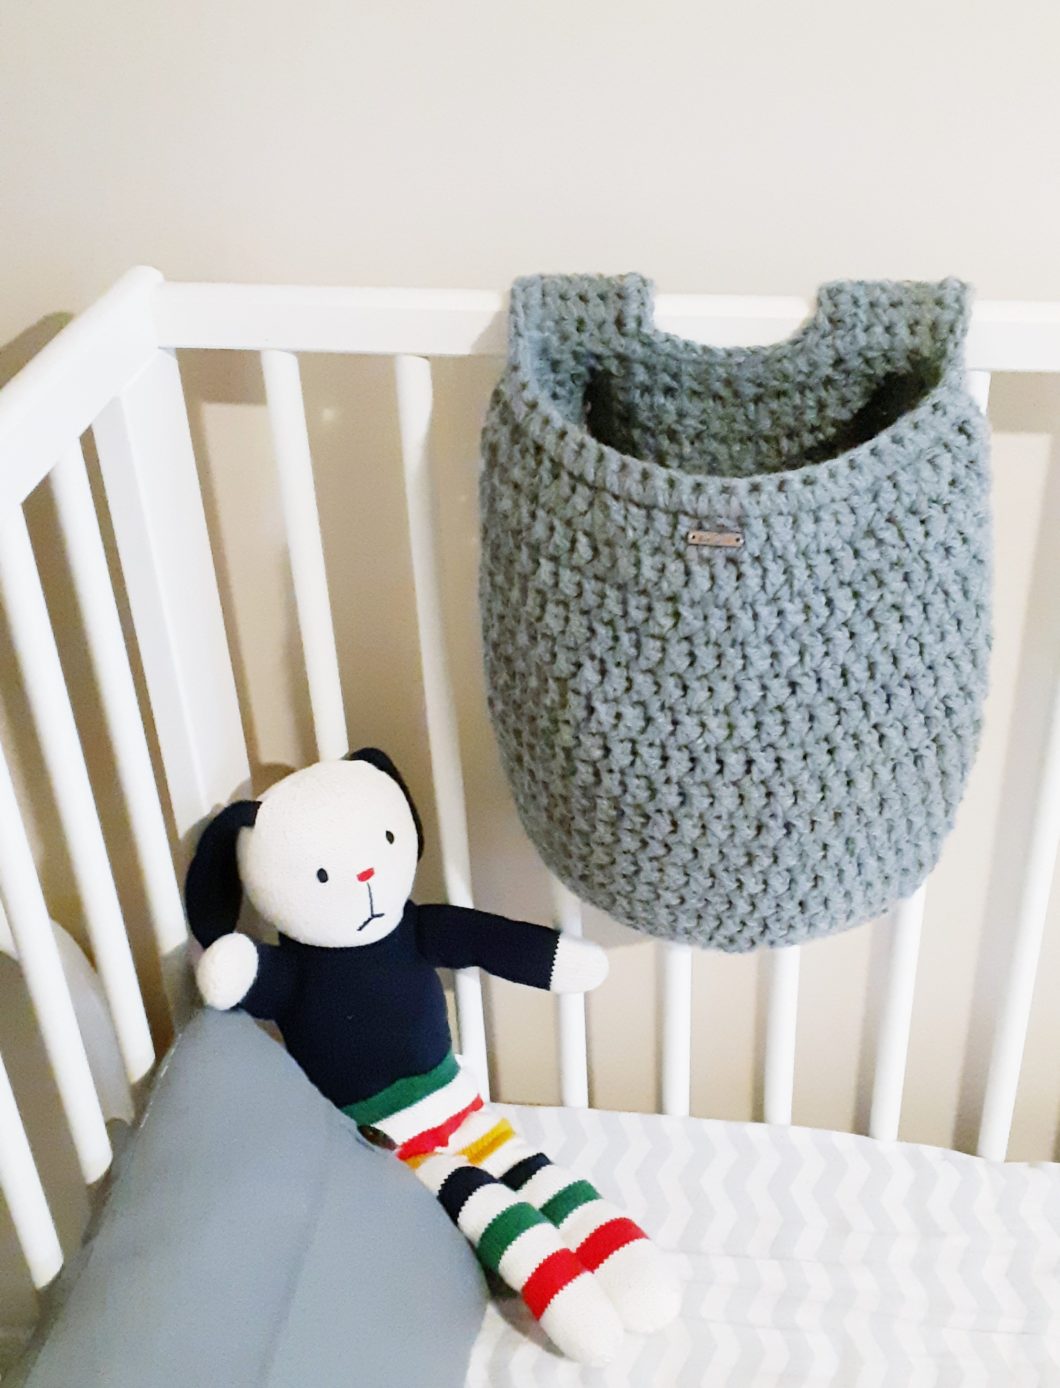
The 1.5yr old is in a crib and the other in a toddler bed crib conversion. There really, REALLY, isn’t enough storage in their room. My solution? To create these handy little hanging baskets that work perfectly on the side of their respective beds.
The bonus of these handy little storage pockets, is that they can hang on the inside for access by the kiddos or they can hang on the outside. They can hold their night-time books, their jammies or their favorite plushies. They’re attached by button tabs instead of ties, like I’ve seen on some other versions of crib caddies. That made me nervous, to have long ties accessible to the little one, so I opted for buttons.

I’ve also made a crochet crib hanging basket as a rectangular pocket and have the free pattern here, in case you are looking for a different style.
They don’t just work for a crib. I’m also thinking of making one for my home office desk chair and hang it off the arm so I can keep my notebook handy so I can jot down new ideas for designs at a moments notice! It can also work as a crochet wheelchair pouch.
If you’re looking for more basket ideas, check out the Easy Stroller/Crib Pouch, the Farmhouse Basket, the Belle Bobble Basket or the Chunky Spa Basket.
LET’S GET MAKING! Scroll down for the free pattern for this crochet crib hanging basket OR you can get the Ad-Free, printable version from my Etsy store HERE
SUPPLY LIST – 8 mm hook, Caron One Pound in Medium Grey Mix (Weight: 4 WW), Approx 475 yards (434 Metres), Scissors, Tapestry needle, 2 x 1.5” buttons
STITCHES / ABBREVIATIONS – CH – chain, SL ST – slip stitch, SC – single crochet, DC – double crochet, 2DCtog – 2 DC together (for a decrease), YO – yarn over
SIZES – N/A
FINISHED MEASUREMENTS – 12” width x 16” length
GAUGE – 8 stitches x 5 rows = 4” x 4”
DIFFICULTY LEVEL – Beginner
PATTERN AND SIZING NOTES –
- This crochet crib hanging basket is created using 2 strands of 4 weight ww yard together to create the chunky/bulky look
- The body of this piece is made in a continuous spiral, use a stitch marker to mark the first stitch in each round
- There are 4 rounds of increases between Round 2 and Round 5
- There is 1 round of decreases in round 18
- The edging notes are optional, you can skip this or finish in a different way.
- To use a smaller button for the tabs, reduce the chain hole on the tab from 3 stitches to 1 stitch
- For a thicker/larger crib rail, increase the number of main rows in the tabs (this pattern is made to fit snuggly around the 2″ rail of a typical Ikea crib)
- The yardage is approximate based on the gauge of the pattern
INSTRUCTIONS –
Create Foundation Ring: Chain 4 and sl st together to form a ring
BODY of the CROCHET CRIB POUCH:
ROUND 1: Ch 1, 1 SC and then 9 DC in to the foundation ring (10)
ROUND 2: 2 DC in each stitch around (the first being in to the sc from the foundation) (20)
ROUND 3: <2 DC in 1 st, 1 DC> then repeat <> for the round (30)
ROUND 4: <2 DC in 1 st, 2 DC> then repeat <> for the round (40)
ROUND 5: <2 DC in 1 st, 3 DC> then repeat <> for the round (50)
ROUND 6 to 17: 1 DC in each stitch for rounds 6 to 17 (50)
ROUND 18: <DC in 3 stitches and DC2tog the 4th & 5th stitch> then repeat <> for the round (40)
ROUND 19: SC for the round (40)
Turn the pouch inside out for working the tabs
TABS:
With the working loop still in the last stitch of round 19, use stitch markers to mark the following stitches where your tabs will be: st 1, st 5, st 13, st 17. There should be 23 stitches between your working loop and st 17.
1st TAB
ROW 1 to 8: SC 5 st, turn
ROW 9: SC 1, chain 3, SC 1, turn
ROW 10: SC 1, SC 6 into the chain space, SC 1
YO and pull through to tie off and cut yarn
2nd TAB
Join yarn in marked stitch 13 with a long enough tail to weave in then in that stitch, YO for your first stitch in that marked stitch (stitch 13).
ROW 1 to 8: SC 5 st, turn
ROW 9: SC 1, chain 3, SC 1, turn
ROW 10: SC 1, SC 6 into the chain space, SC 1
EDGING & BUTTONS:
Turn the crochet crib pouch right side out.
With your hook still in the last stitch of Row 8 on the 2nd tab, work down the left side and work a finishing round of sc all the way around including the sides and tops of both tabs and the top of the pouch for a total of approx. 75 stitches (approx. 28 for both sides of both tabs, 16 for the tab tops, 23 for the front and 8 between each tab). You should finish the edging round back on the first edging stitch on left hand side of the tab on the left.
YO and pull through to tie off and cut yarn.
Align buttons with the button holes on the first row of DC from the top and sew on with your yarn and a tapestry needle.
Weave in ends with a tapestry needle to complete. You now have a very quick and easy, but highly practical, crochet hanging crib basket to hold pj’s, books or stuffies.

