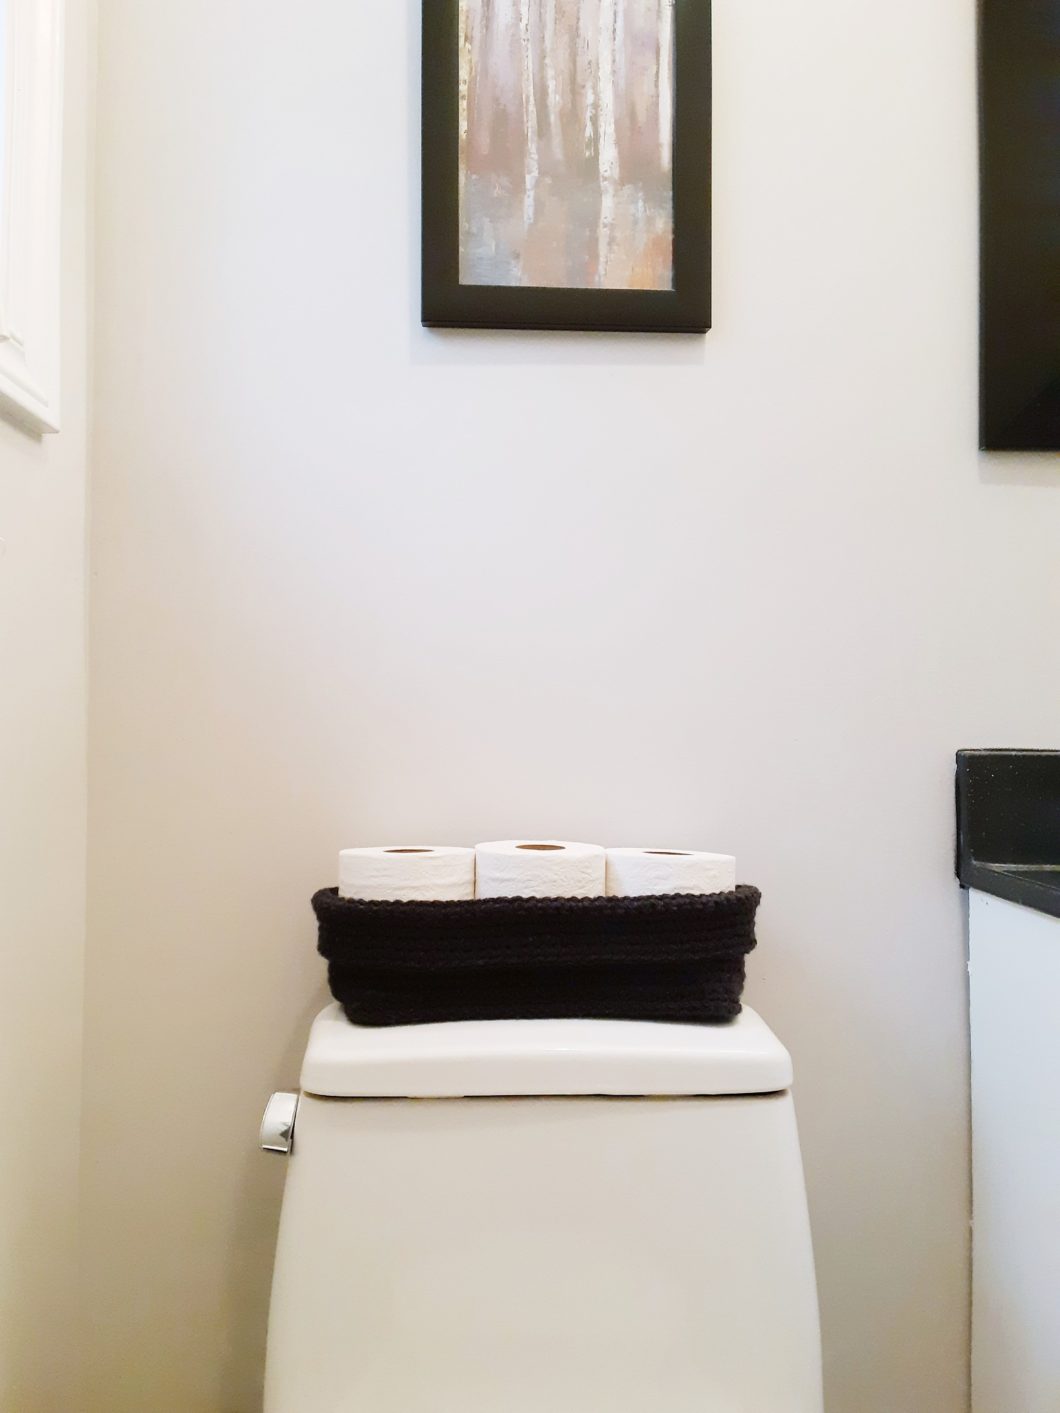
Most people like the white spa look and I do too. You’ll see plenty of white in my posts in the near future, but in the case of my tiny little powder room, I have black art, a black mirror and so I opted for a black crochet toilet paper basket to compliment the rest.
Maybe most people store their toilet paper elsewhere, but with this small powder room I don’t have many storage options. In my opinion, it’s also oh-so-much-more convenient if one runs out, to reach around behind for a new roll instead of fumbling to reach under a sink.
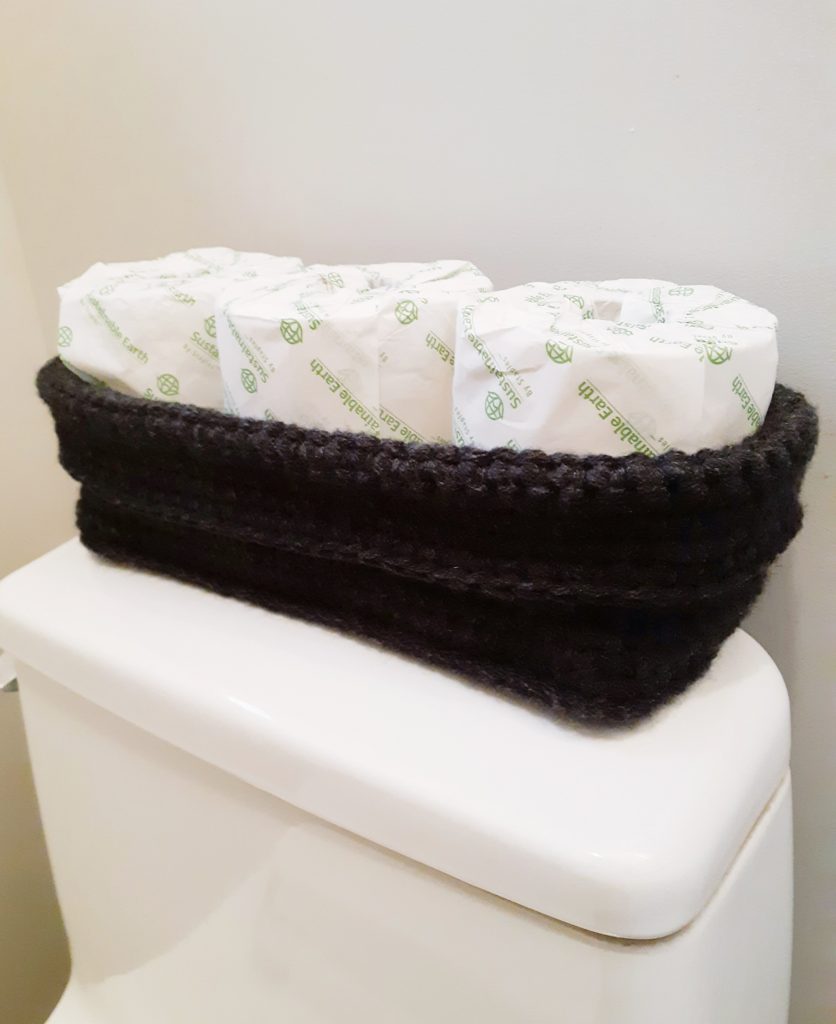
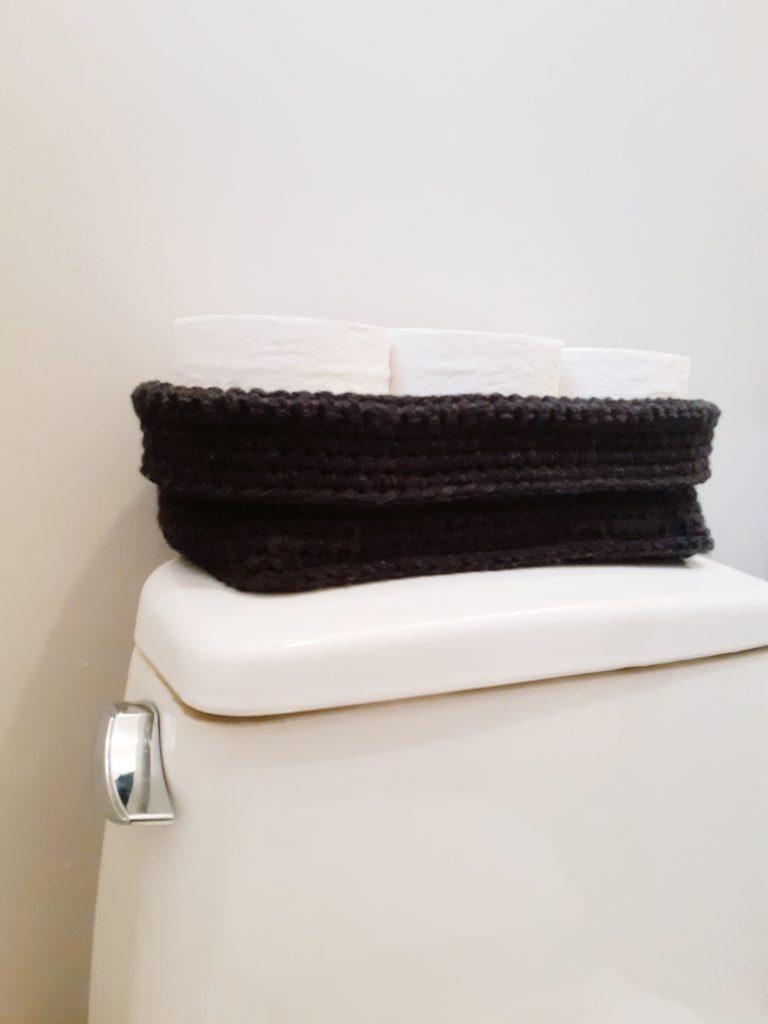
This is an easy crochet toilet paper basket and a quick one to make up. With the fold-over top, it adds a little stability and a stylish touch. The base is worked as a rectangle, but when 3 rolls are in it, the sides round out to hug the rolls.
Try it out! You can make it in any color you want and it’ll still look amazing.
If you’re looking for more basket idea like this crochet basket, please take a look at my Farmhouse Basket, 1 Skein Nesting Basket Set, Easy Mini Baskets or the large Astia Tote Basket.
LET’S GET MAKING! Scroll down for the free pattern below OR you can get the Ad-Free, printable version from my Etsy store HERE
SUPPLY LIST – 7 mm hook, Any Category 4 WW yarn, Approx 80 yards (73 metres), Scissors, Tapestry needle
STITCHES / ABBREVIATIONS – CH – chain, SL ST – slip stitch, SC – single crochet, HDC – double crochet, 3rdL – third loop, * Row indicates working back and forth, Round indicates working in a continuous spiral
SIZES – N/A
FINISHED MEASUREMENTS – 12” width, 4” height, 5.5” depth
GAUGE – 10 stitches x 11 rows = 4” x 4”
DIFFICULTY LEVEL – Beginner
PATTERN & SIZING NOTES –
– This crochet toilet paper basket is created using 2 strands of Category 4 weight ww yarn together to create the chunky/bulky look
– The bottom of this crochet basket is made primarily in rows while the sides base and the sides of this piece is made in a continuous spiral, use a stitch marker to mark the first stitch in each round while working in a spiral
– In the bottom foundation round of this pattern you will be working in the 3rd loop
– The fold-down portion of the basket is made turning the work inside out and working in the other direction so that, when folded down, the ‘right side’ of the work is facing out
INSTRUCTIONS –
BOTTOM:
FOUNDATION CHAIN: Chain 32 + 1, turn
ROW 1 – 12: SC in each st across, chain 1, turn (32)
SIDES BASE:
Note: When finished row 12 of the bottom we will now edge/round the rectangle base to have a base or foundation for the sides of the basket, being sure to place 3 HDC in each corner
ROUND
1: HDC in each ST around the entire rectangle to circle the entire
piece ADDING extra stitches in each corner so there are 3 total stitches
in each corner — SL ST to join with your chain 2 at the beginning of
the round (92)
SIDES:
Note: draw your working loop long, remove hook and poke it through the SL ST you’re in from the back and draw your working loop through the stitch so we can begin working in the 3rdL without pulling the yarn over top of the stitch and keeping a cleaner look to the base of the crochet toilet paper basket.
ROUND 2: Chain 1, SC in each 3rdL around – do not join, (work in a spiral placing the 1st stitch of Round 3 in the 1st stitch of Round 2 etc) (92)
ROUND 3 to 13: SC in each ST in the round (92), Chain 1, turn basket inside out to work in the other direction
ROUND 14 to 19: SC in the next 90 ST and SL ST in to the last 2 ST in the round (92)
SL ST to tie off, cut and weave in ends. Now you have a cute, modern and practical crochet toilet paper basket to keep your TP handy!