Ok, ok, I know, another large crochet basket. But trust me, once I get these out of my system, you’ll thank me! Your home (and mine) will be so unbelievably organized.
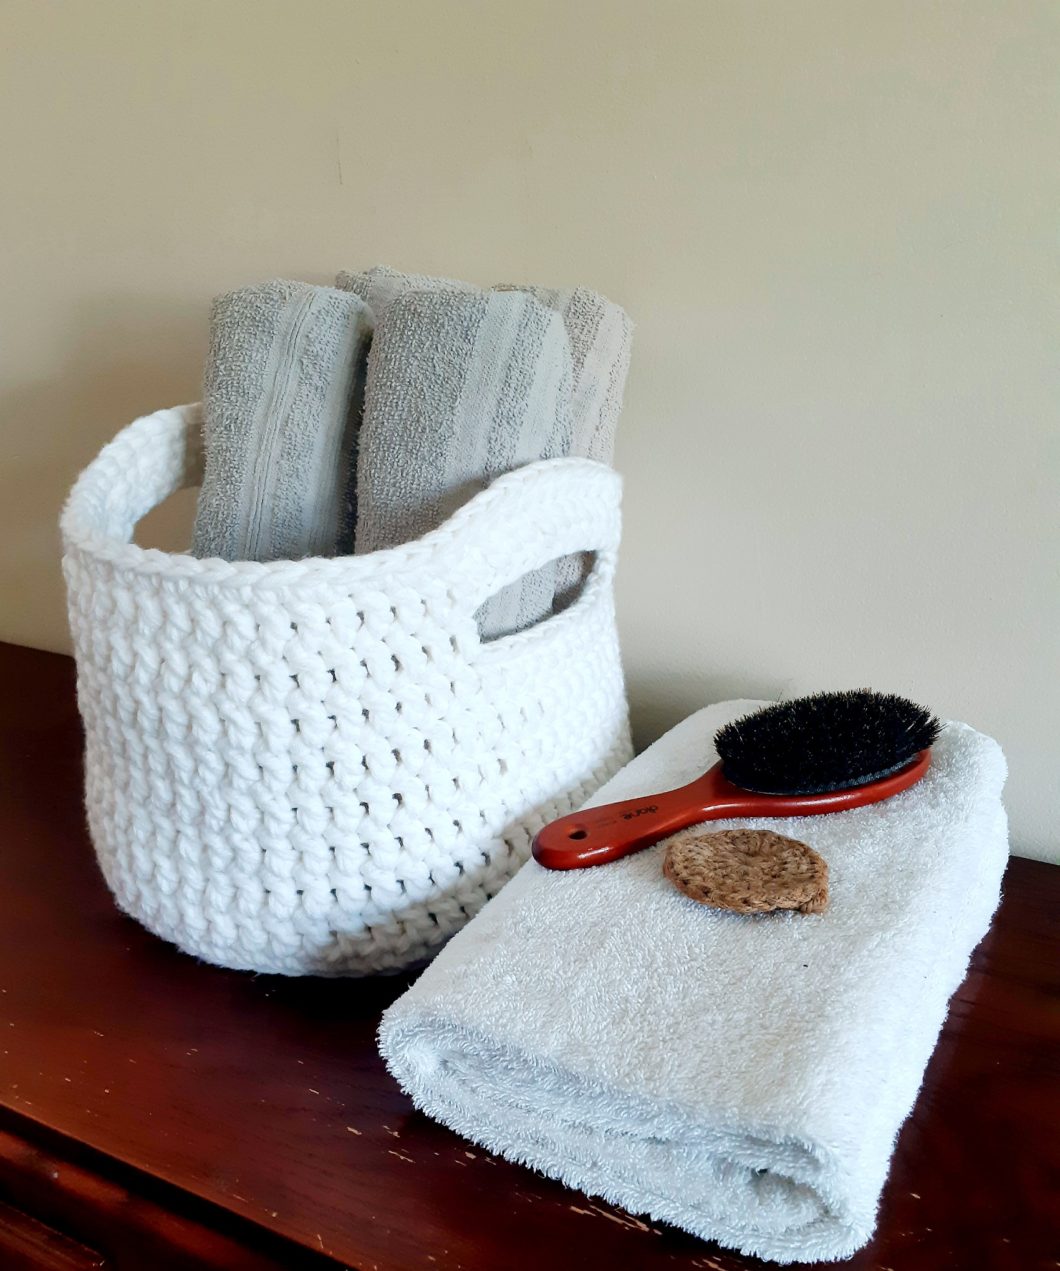
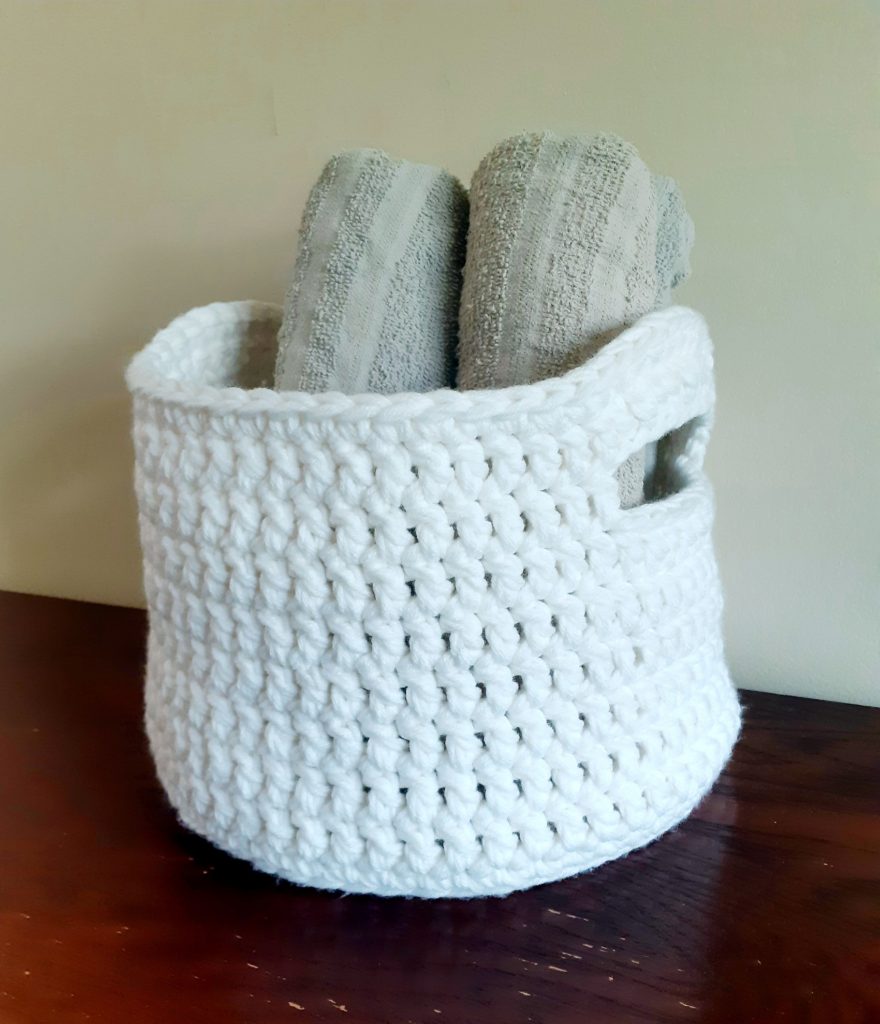
In my post for the Farmhouse Basket I had mentioned I envisioned the basket sitting on the bathroom counter with fresh fluffy clean towels ready and waiting. That, was in essence, the inspiration for this spa-inspired crochet basket.
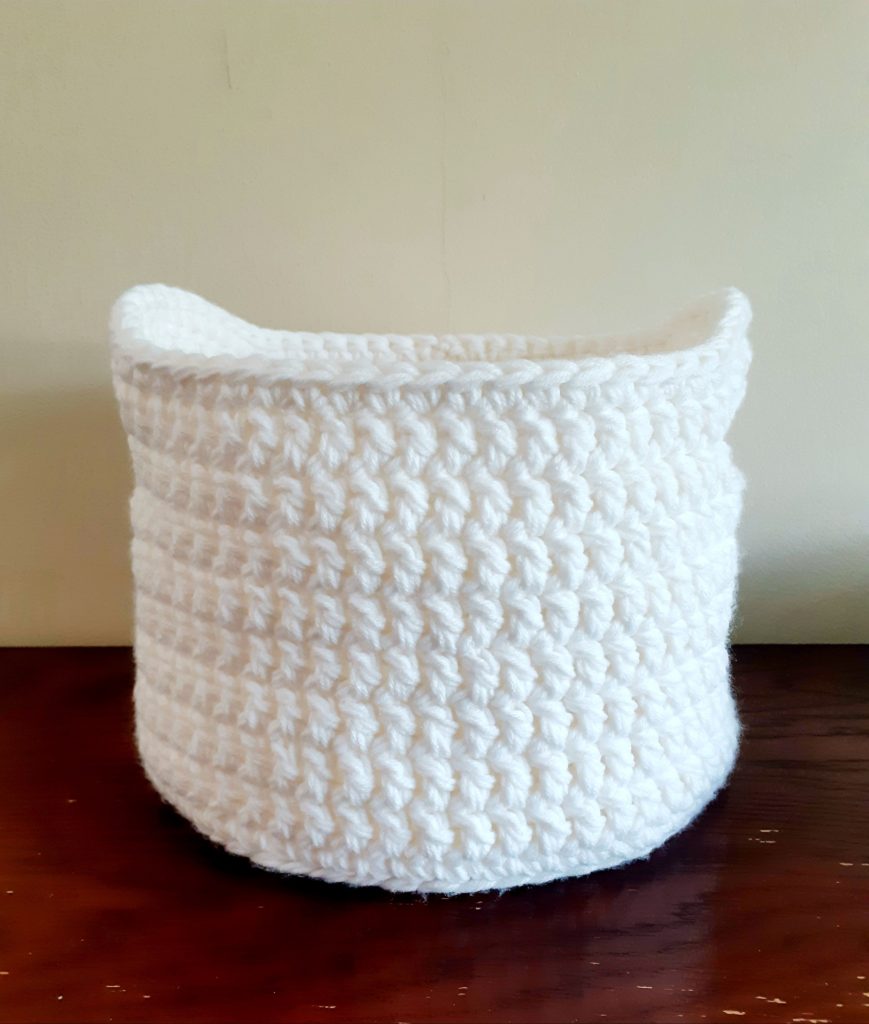
It couldn’t be a more simple basket to make, really, with just single and double crochet. The 4 strands of yarn (instead of my usual 2, haha) done in those tall double crochet stitches really adds a modern touch with the chunky look everyone loves these days. And in the pure white, it’s a crisp, clean and fresh look that will work in any bathroom anywhere.
For more crochet baskets, take a look at the Farmhouse Basket, the Belle Bobble Basket and Crochet Mini Baskets.
LET’S GET MAKING! Scroll down for the free pattern for the large crochet basket OR you can get the Ad-Free, printable version from my Etsy store HERE
SUPPLY LIST – 10 mm hook, Yarn Used: Caron One Pound [4 weight yarn acrylic] in light White, Approx 400 yards (365 metres), Scissors, Tapestry needle
STITCHES / ABBREVIATIONS – CH – chain, SL ST – slip stitch, SC – single crochet, BLO – back loop only, DC – double crochet
SIZES – N/A
FINISHED MEASUREMENTS – 8.5” height (9.5” to top of handles) by 12” diameter
GAUGE – N/A
DIFFICULTY LEVEL – Beginner
PATTERN & SIZING NOTES –
- This chunky crochet basket is made holding 4 strands of yarn together for an ultra chunky style
- Keep your tension fairly tight in order to keep some rigidity in the basket — or go down in hook size if you find a tight tension difficult on your hands
- The bottom and sides of this basket are worked in joined rounds
- While this large crochet basket is done primarily in DC, this pattern is calling for a CH 2 at the beginning of each round instead of a chain 3 to keep the seams a little tighter
- The CH 2 at the beginning of each round does NOT count as a stitch
- In order to keep your seams tight, when joining the rounds, pull your SL ST as tight as you can manage
- The pattern calls for the join of each round to SL ST in to the 1st stitch, which means we will be adding an additional stitch to each round to compensate for the lost stitch
INSTRUCTIONS –
BOTTOM OF BASKET (for 6 Rounds):
Holding 4 strands of yarn together, CH 4 then SL ST to the first CH to form a circle
ROUND 1: (11 ST) — CH 2 and DC 11 more stitches in to the circle, SL ST to the top of the 1st ST
ROUND 2: (21 ST) — CH 2 and DC 2 additional stitches in that same stitch with the CH 2, then DC 2 ST in each remaining ST in the round, SL ST to the top of the 1st ST
ROUND 3: (31 ST) — CH 2 and DC 2 additional stitches in that same stitch with the CH 2, then <1 DC in the next ST, 2 DC in the following> and repeat < to > for the round ending on a single ST, SL ST to the top of the 1st ST
ROUND 4: (41 ST) — CH 2 and DC 2 additional stitches in that same stitch with the CH 2, then <1 DC in the next 2 ST’s, 2 DC in the following> and repeat < to > for the round ending on a single ST, SL ST to the top of the 1st ST
ROUND 5: (51 ST) — CH 2 and DC 2 additional stitches in that same stitch with the CH 2, then <1 DC in the next 3 ST’s, 2 DC in the following> and repeat < to > for the round ending on a single ST, SL ST to the top of the 1st ST
ROUND 6: (61 ST) — CH 2 and DC 2 additional stitches in that same stitch with the CH 2, then <1 DC in the next 4 ST’s, 2 DC in the following> and repeat < to > for the round ending on a single ST, SL ST to the top of the 1st ST
BODY OF BASKET (for 10 Rounds):
* As you have 61 stitches we will be dropping 1 stitch for the sides of the basket to keep it a little tighter than the base
ROUND 1: (60 ST) — CH 1, SC in the BLO of each ST around and SL ST to the first ST (this effectively drops that 1 stitch to tighten up the body)
(**For this first round, do not place any additional stitches in the stitch your CH 1 is in like we were doing for the base)
ROUNDS 2 to 7: (60 ST) — CH 2 and DC 1 additional stitch in that same stitch with the CH 2, DC in each remaining ST for the round, SL ST to the 1st ST
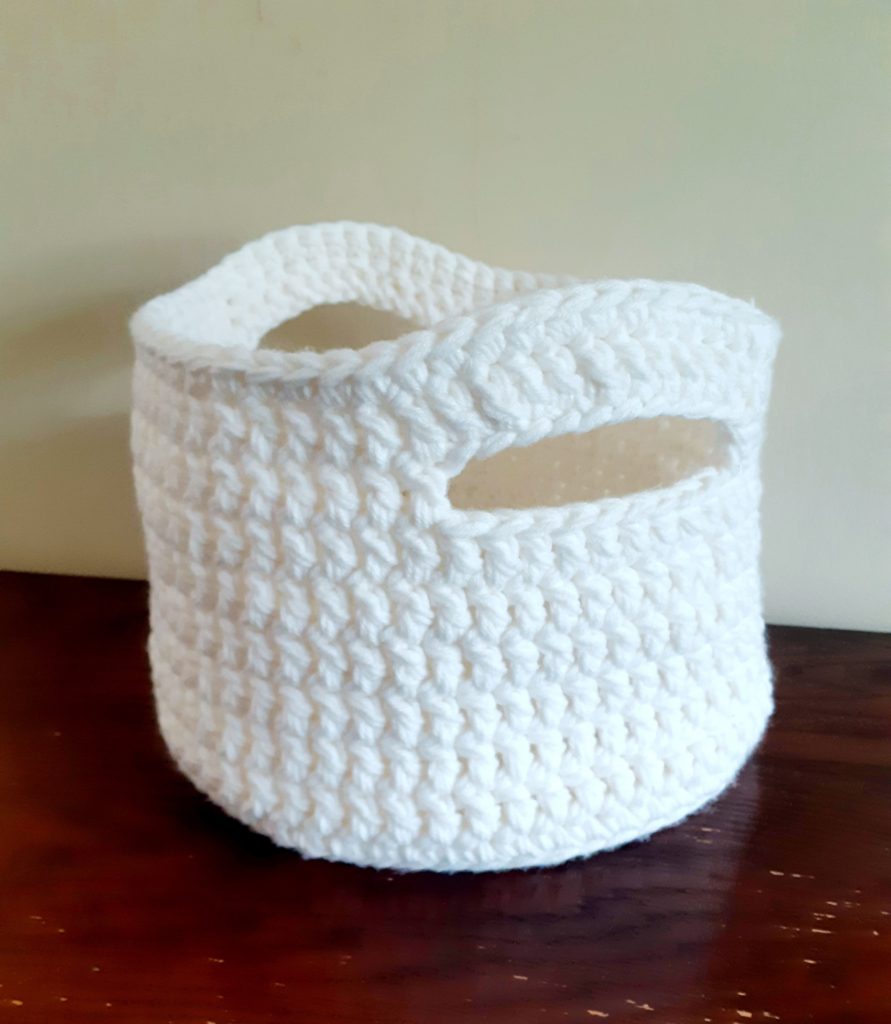
ROUND 8 for the Handles: (64 ST) —
- MARK the following stitches in the next round: 12, 20, 42, 50 as these will be where you create the handles
- You will have 21 stitches between handles on both the front and back side of the basket
- We are adding 4 additional ST in this round to give the handles some arc
CH 2, DC in the first 11 ST, CH 11 and SK 9 ST, DC in the next 21 ST, CH 11 and SK 9 ST, DC in the remaining ST in the round, SL ST to the 1st ST
ROUND 9: (64 ST) — CH 2, DC in each stitch around, including each CH of the handle
ROUND 10: (64 ST) — CH 1, SC in each stitch of the round, ST ST to 1st ST
Tie off and weave in ends