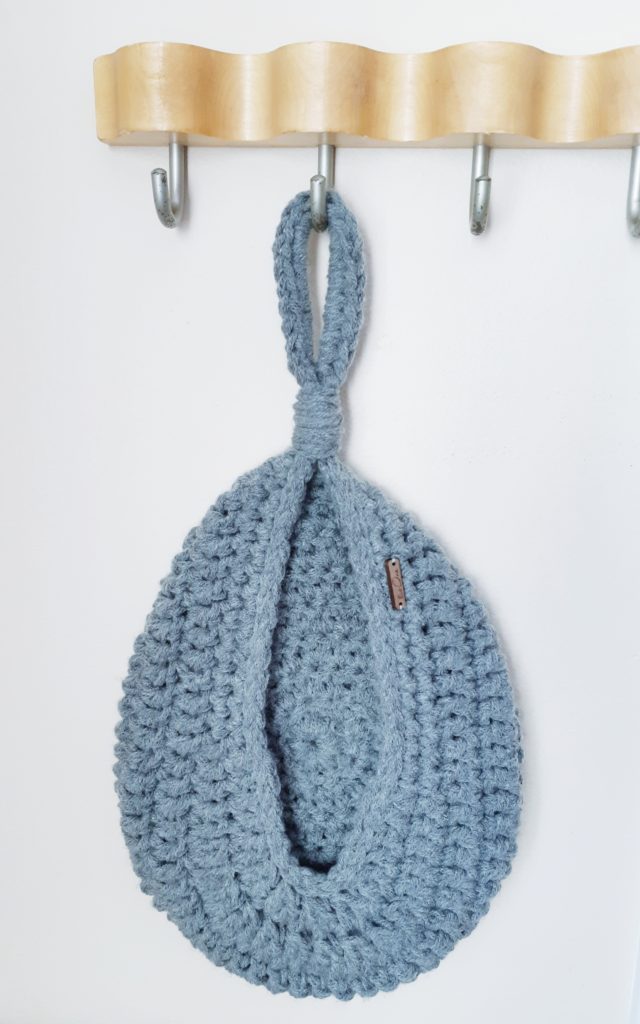
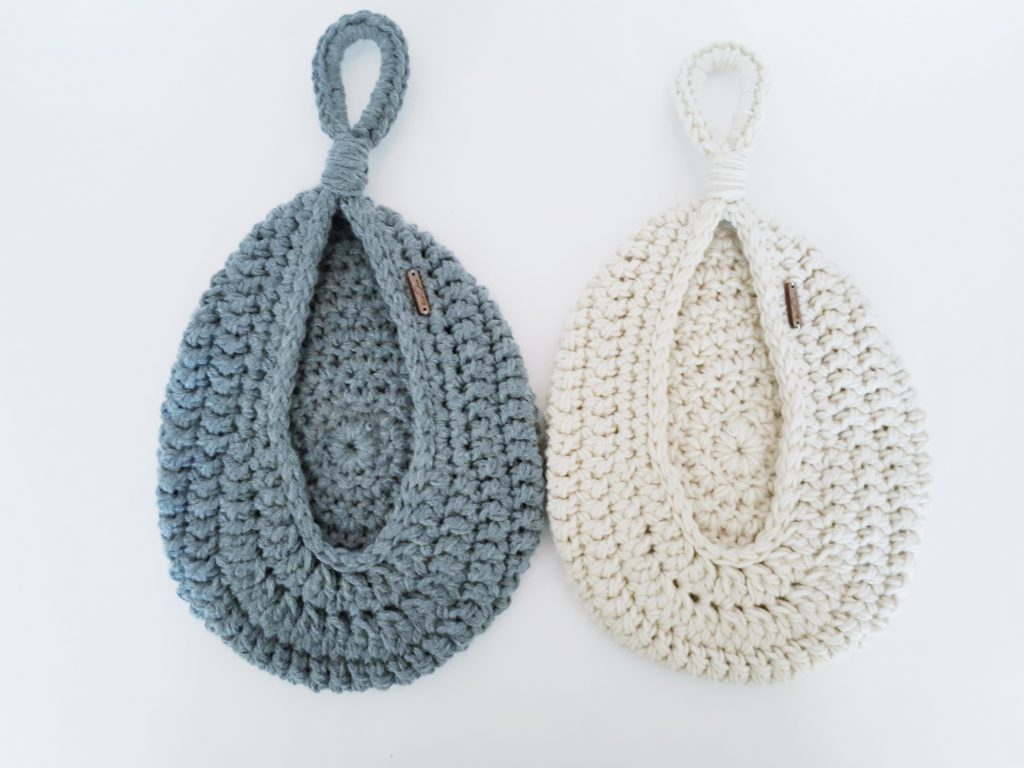
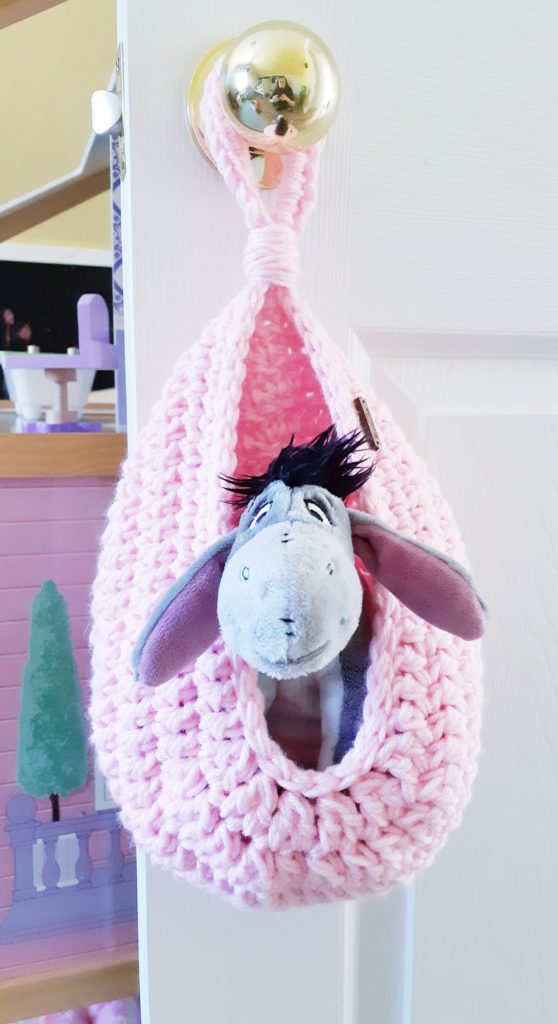
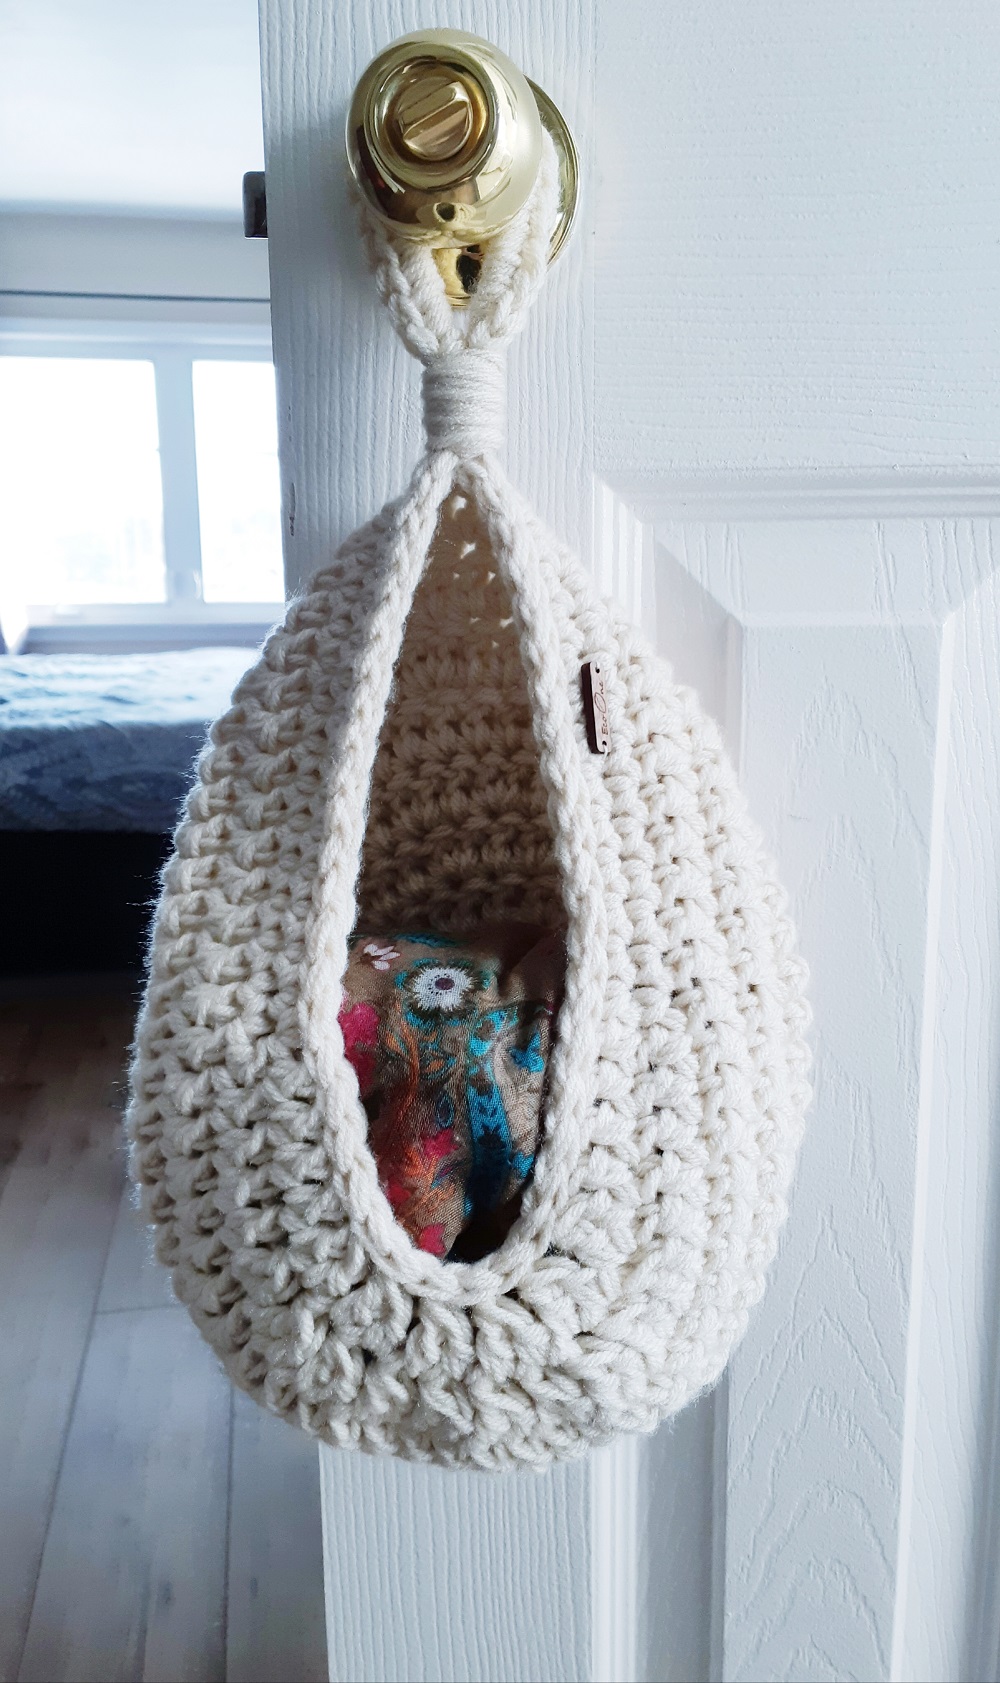
Today’s pattern is brought to you as a result of sunshine and my love of sunglasses and accessories. Thus, the birth of the Cocoon Crochet Hanging Basket, a crochet hanging basket meant to hang on a hook, doorknob or, really, anywhere you like.
I am obsessed with sunglasses. My home used to be strewn with at least a dozen pairs, but in an effort to streamline my home and work toward minimalism a little more, I’ve donated all but 3 pairs. On top of that, the kids have 3 pairs between the 2 of them and the husband has 2 pairs. So we have 8 pairs that hang around somewhere ‘near’ the front door all the time. I thought it was time to do something about it.

If there were some way to wrangle all those sunglasses in to one convenient place by the front door I was sure there would be less clutter. I was right. So far, I have managed to keep them all in one of these Cocoon teardrop baskets on the same hooks as the keys. Everyone always knows where their sunglasses are and I don’t have to look at them on the kitchen counters, the hall table, the sofa.

I wanted something that could hang in multiple convenient places, something that could hold a bigger amount and that I could easily stick my hand in, grab and go. Some of my light scarves and accessories are also stored in these. Heck, if I had a dog, I would put one on the front door handle with his leash and doggie bags. Some day soon, when my little girl will finally let me do her hair, I’m sure I’ll have a few of these in her room filled with adorable little hair ties, clips and hair bands. You get the idea.

I do so love the chunky look, too, but without paying the premium for the chunky yarn. So here is another pattern where I double up two 4 weight strands to give me the bulkier, thicker look. I hope this crochet hanging basket is something you may find useful and practical in your home too!
For more basket ideas, take a look at the Crib Hanging Basket, the Easy Stroller Pouch, the Easy Mini Basket and the Belle Bobble Basket.
LET’S GET MAKING! Scroll down for the free pattern below OR you can get the Ad-Free, printable version from my Etsy store HERE
SUPPLY LIST – 6.5mm hook, Any Category 4 ww yarn, Approx 155 yards (140 metres), Scissors, Tapestry Needle
STITCHES / ABBREVIATIONS – CH – chain, SL ST – slip stitch, SC – single crochet, DC – double crochet, 2DCtog – 2 DC together (for a decrease)
SIZES – N/A
FINISHED MEASUREMENTS – 8″ width, 10″ height + 4″ for the hanging loop
GAUGE – 10 stitches x 6 rows = 4″ x 4″
DIFFICULTY LEVEL – Beginner
PATTERN & SIZING NOTES –
– This crochet hanging basket is created using 2 strands of Category 4 weight ww yarn together to create the chunky/bulky look
– The body of this piece is made in a continuous spiral, use a stitch marker to mark the first stitch in each round
– The first 6 rounds are increases to create a flat circle
– Rounds 7 & 8 have no increases or decreases
– Rounds 9 & 10 have decreases
– The yardage is approximate based on the gauge of the pattern
INSTRUCTIONS –
Create Foundation Ring: Chain 4 and sl st together to form a ring
BODY:
ROUND 1: Ch 1, 1 SC and then 9 DC in to the foundation ring (10)
ROUND 2: 2 DC in each stitch around (the first being in to the sc from the foundation) (20)
ROUND 3: <2 DC in 1 st, 1 DC> then repeat <> for the round (30)
ROUND 4: <2 DC in 1 st, 2 DC> then repeat <> for the round (40)
ROUND 5: <2 DC in 1 st, 3 DC> then repeat <> for the round (50)
ROUND 6: <2 DC in 1 st, 4 DC> then repeat <> for the round (60)
ROUND 7: 1 DC in each stitch around (60)
ROUND 8: 1 DC in each stitch around (60)
ROUND 9: 15 SC then 5 DC then 2DCtog for 20 stitches (to decrease to 10 stitches) then 5 DC then 15 SC (50)
ROUND 10: 15 SC then 4 DC then 2DCtog for 12 stitches (to decrease to 6 stitches) then 4 DC then 15 SC (44)
ROUND 11: SL ST in each stitch around + add one additional ST past your round marker.
HANGING LOOP:
– Chain 16 from the stitch you’re in
– SL ST back in to the same stitch
– SC 22 stitches around the chain
– Cut a tail approx. 3.5 feet (1 metre) long and separate the two strands – Wind the 2 strands in opposite directions (do one first and leave a few inches, then wind the other in the opposite direction and leave a few inches – leave both tails at the back)
– Double tie the two strands together at the back and pull the knot tight
– Cut the tails and gently roll some of the winding down over top of the knot to cover it.
Voila! A handy crochet hanging basket that can be used in any room in your home!

