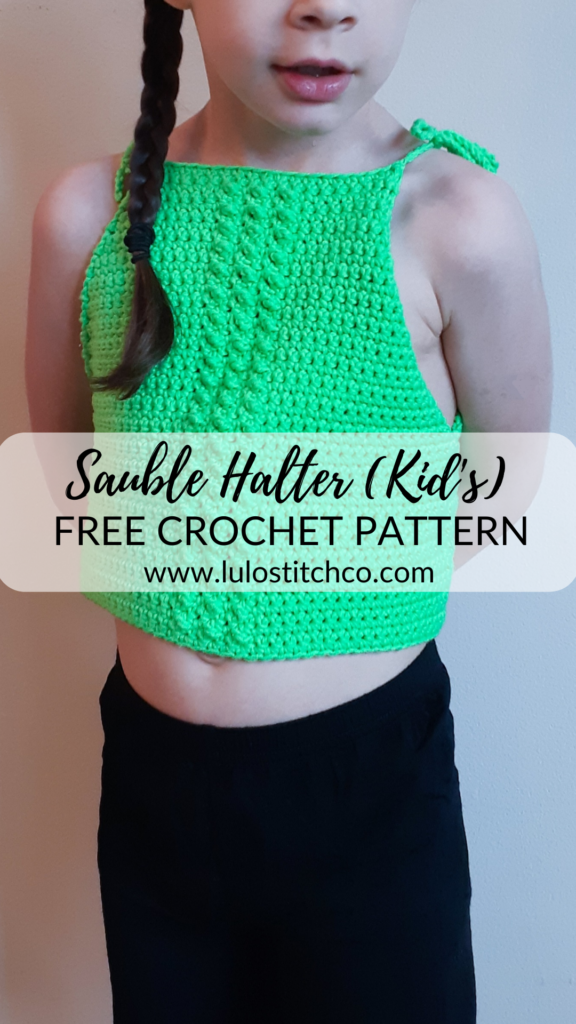
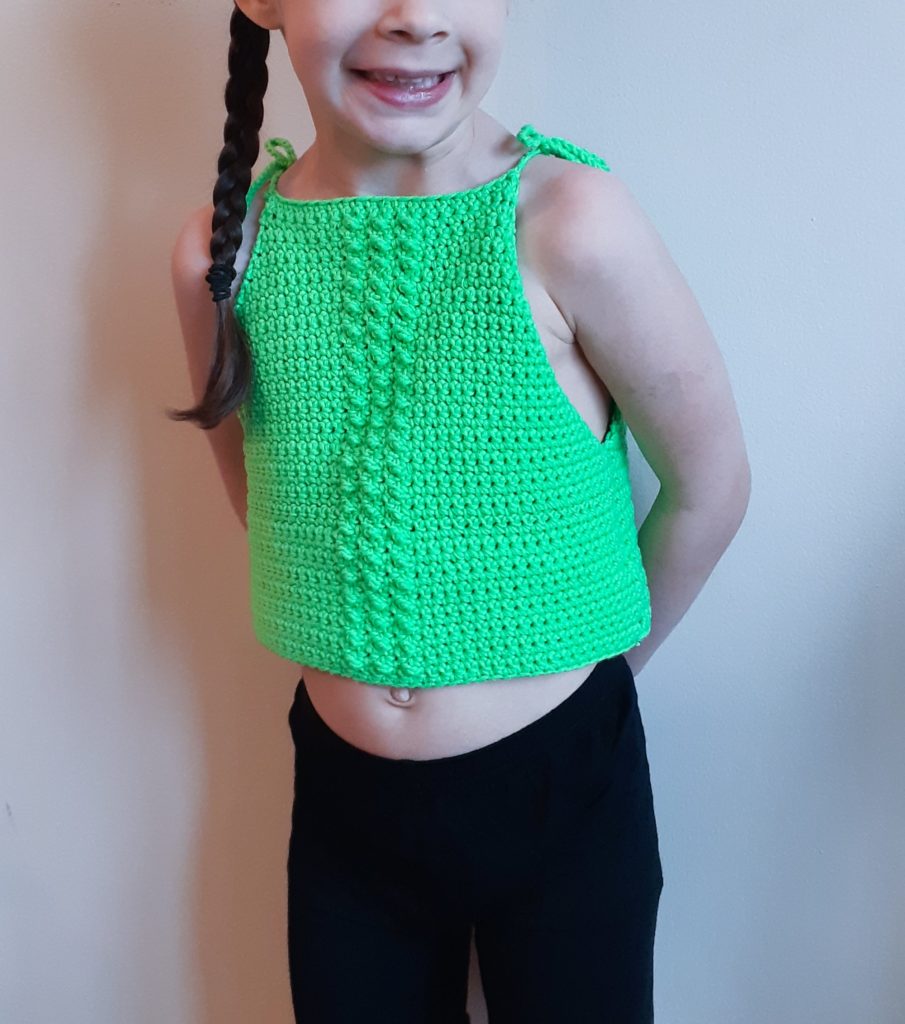
My sweet little girl has been really interested in my crochet lately, as has been asking me to make more and more items for her. I can’t blame her, I’m constantly browsing through Instagram and Pinterest for inspiration and ideas, and when she sees something she likes, she asks me to make it… with my own twist on it, of course. So to celebrate the nicer weather, I created this adorable crochet kid’s halter top.
In my personal favorite color (I mean, c’mon, who doesn’t love a vibrant green? It’s soooo the color of rebirth, which I could certainly use a little of right now. I wanted to make her a cute crochet top in a lightweight cotton blend because, well, acrylics really don’t lend themselves as well to a summer top. So I used a 3wt cotton blend from from Gazzal (called Baby Cotton).
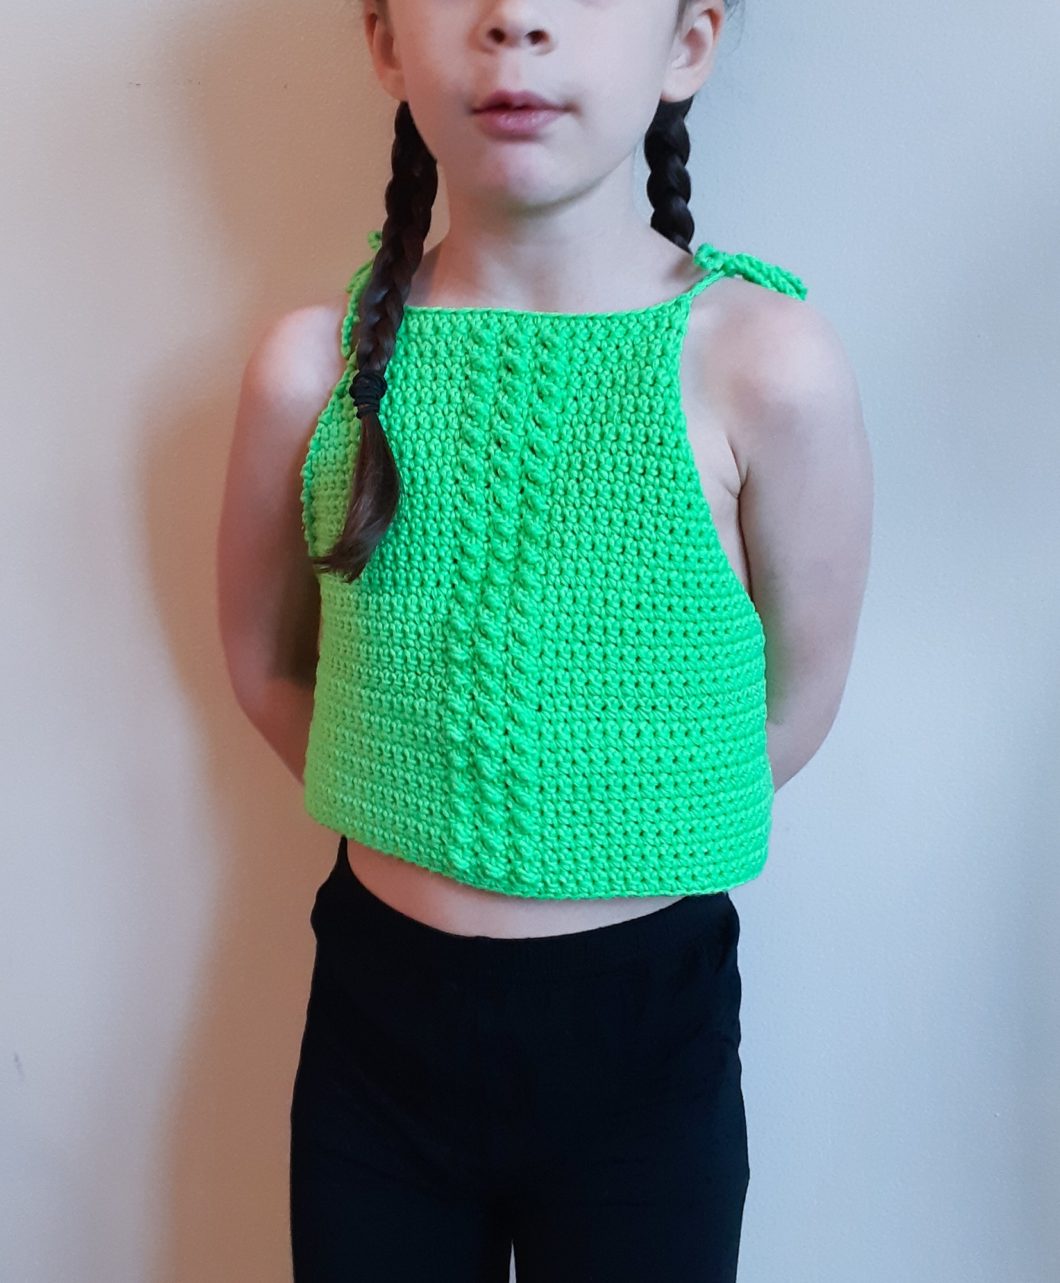
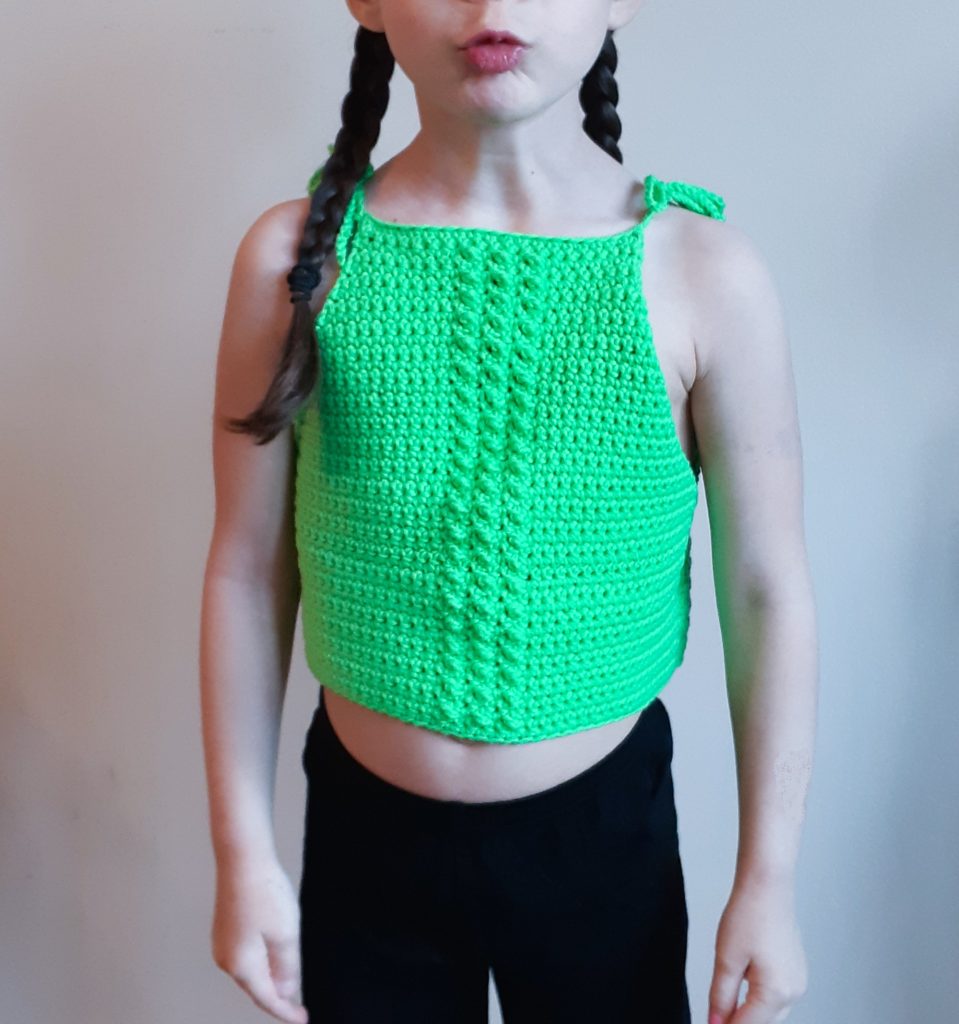
My aesthetic is usually pretty clean, so I went with a simple design and a mini-bobble stripe down the front to add some textural interest. If you follow me, you know I really like using this mini-bobble (I also call it a faux-bobble) because it adds some visual interest without being too bulky or big.
I went with ties on this one because, as your little darling grows throughout the summer, you can lengthen the strap. You may even be able to get 2 summers out of it this way! But not to fear, I’ve written the pattern for sizes 2Y to 10Y so you can make it again next summer in a different color if you little one grows that quickly.
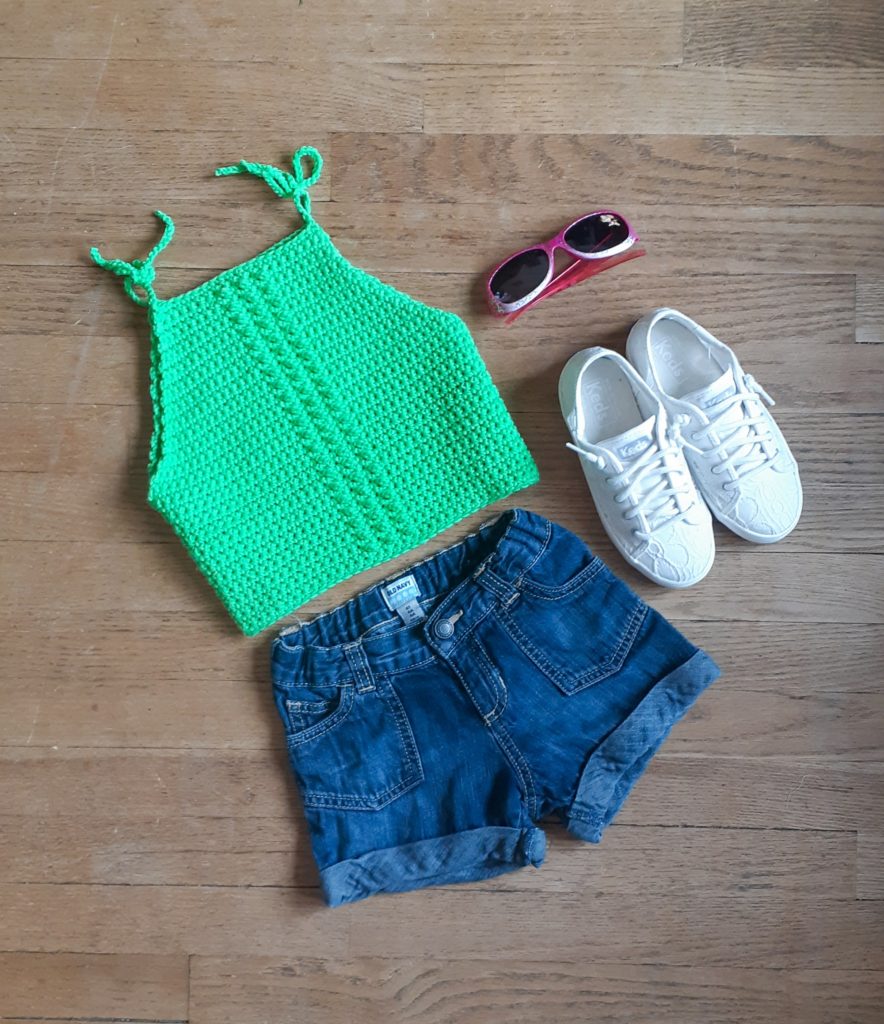
I kept the top short but this piece is customizable in that you can add length just by repeating more rows at the bottom (since it’s worked top down). You could even go so far as to make this in to a precious little summer halter dress. Either way, I hope you enjoy making this super simple and quick crochet kid’s halter top and I can’t wait to see all your pics and the colors you choose!
To see more designs where I use the mini-bobble/faux-bobble, see my “Faith” Throw Blanket or my “River Pebble” Spa Wash Cloth. For more kids’ patterns, check out my “Kara” Pullover Sweater.
LET’S GET MAKING! Scroll down for the FREE pattern for this crochet kid’s halter top below OR you can PURCHASE the Ad-Free, printable version from my Etsy store HERE.
SUPPLY LIST:
5mm hook
Any Category 3 yarn (Yarn Used: Gazzal XL Baby Cotton in Green)
Approx yardage for sizes:
2: 370y/340m, 4: 500y/460m, 6: 595y/545m, 8: 725y/660m, 10: 840y/765m
Scissors Tapestry needle
STITCHES & ABBREVIATIONS:
CH – chain
ST – stitch
SC – single crochet
SC2in1 – single crochet 2 stitches in to one stitch for an increase TC – triple crochet
SIZES:
2Y, 4Y, 6Y, 8Y, 10Y
FINISHED MEASUREMENTS:
Please note that measurements are given for width when laying flat (to get circumference, just double the number) and for the length from neck to bottom hem (not including the length of the ties).
2Y: 10.5” W x 8.5” L
4Y: 12.5” W x 9.5” L
6Y: 14” W x 10.25” L
8Y: 16” W x 11” L 10Y: 17” W x 12” L
GAUGE:
19 rows x 13.5 stitches = 4” x 4”
DIFFICULTY LEVEL:
Beginner
PATTERN & SIZING NOTES:
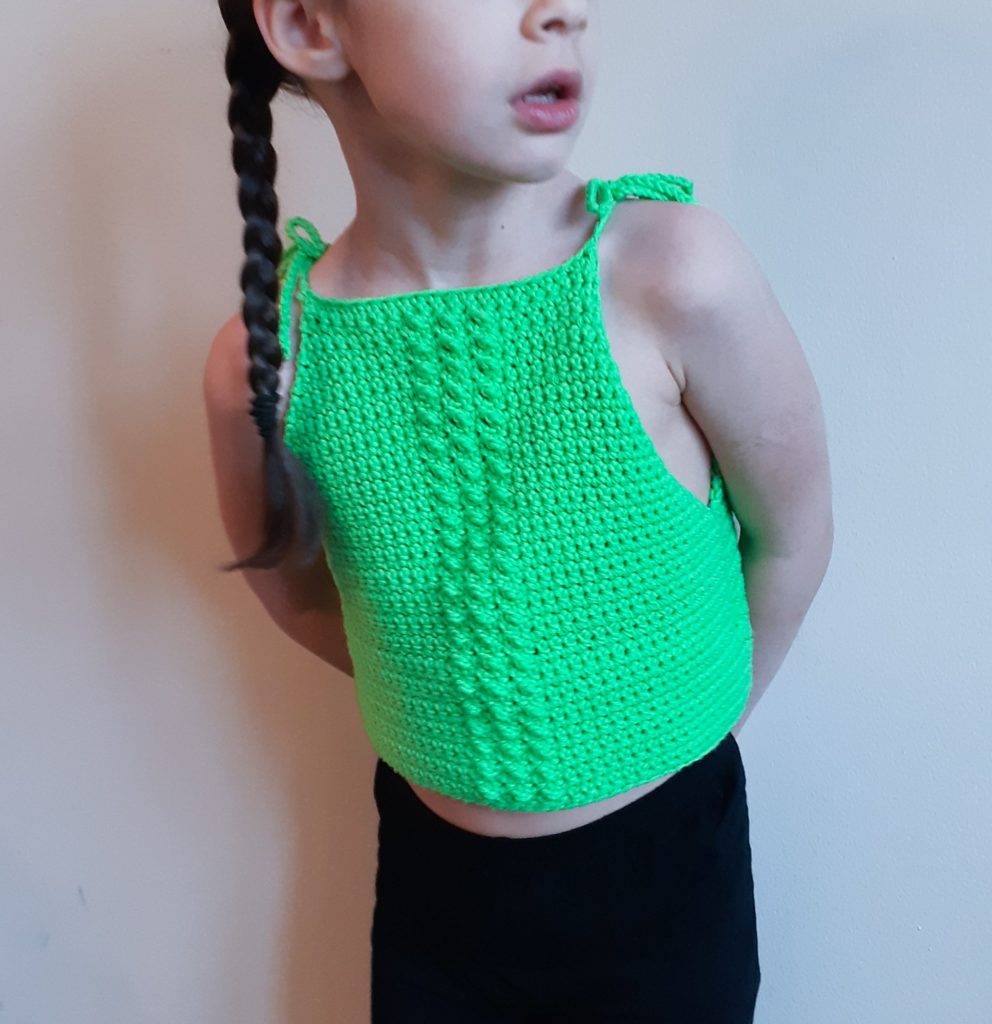
– This cute kid’s halter top is made as two pieces (front and back panel) and seamed down the sides from where the increases stop – then ties are chained on to each of the 4 corners of the top and you can fasten them in a bow.
– The textured faux-bobble front is made by doing triple crochets followed by a TIGHT single crochet, which helps pull the triple crochet down to the height of the single crochet and pop it out like a bobble.
– Turning chains do NOT count as a stitch.
– Use the following Size Key (*SK*) indicated in parentheses in reference to the size you are crocheting: (*SK*: 2Y, 4Y, 6Y, 8Y, 10Y) – I suggest taking a highlighter to mark the appropriate sizing references for the size you’re crocheting, to make it easier to follow the pattern
– Stitch count for each round will be indicated in parentheses ( ) at the end of the row
CUSTOMIZATION OPTIONS:
– For this girl’s summer top, the faux-bobble only appears on the front panel and the back panel is simply single crochet, but you could make 2 of the front panels and have texture on the back of the top as well – You can add to the length simply by adding additional rows after the increases stop – you could even keep going to knee length and turn this in to a cute halter dress!
INSTRUCTIONS:
FRONT PORTION:
* reminder that the CH 1 at the start of each row does NOT count as a stitch
CH (*SK*: 17, 21, 25, 29, 33) + 1 to turn
Row 1: In 2nd CH from the hook, SC in to the back bump of each CH, CH 1 & turn (SK: 17, 21, 25, 29, 33)
Row 2: SC in each ST across, CH 1 & turn (SK: 17, 21, 25, 29, 33)
Row 3: SC x *SK: 6, 8, 10, 12, 14* then do the bobble stripe [TC, SC, TC, SC, TC] then SC x *SK: 6, 8, 10, 12, 14*, CH 1 & turn (SK: 17, 21, 25, 29, 33)
**when you repeat this row per the instructions below, the *SK* number will increase by 1 on either side of the bobble stripe**
Row 4: SC2in1 in the first and last ST of the row for an increase, and SC in all the other ST’s across the row, CH 1 & turn (SK: 19, 23, 27, 31, 35)
Repeat rows 3 & 4 to the following row number for the corresponding size *SK Row #: 22, 26, 26, 28, 28*
So that you have the following ST count in your rows (SK: 37, 45, 49, 55, 59)
**reminder that the *SK* number will increase by 1 on either side of the bobble stripe**
This is where our increases end and the remaining rows have a consistent number of ST’s in each row, relevant to the size, which are (SK: 37, 45, 49, 55, 59)
Repeat the bobble rows and single crochet rows (without increases) for the number of rows relevant to the size below: SC in each ST across, CH 1 & turn (SK: 37, 45, 49, 55, 59)
2Y: from rows 23 to 40
4Y: from rows 27 to 44
6Y: from rows 27 to 48
8Y: from rows 29 to 52
10Y: from rows 29 to 56
In the LAST row for each size *SK: 41, 45, 49, 53, 57*, simply SC in each ST across, tie off
BACK PORTION:
CH (*SK*: 17, 21, 25, 29, 33) + 1 to turn
Row 1: In 2nd CH from the hook, SC in to the back bump of each CH, CH 1 & turn (SK: 17, 21, 25, 29, 33)
Row 2: SC in each ST across, CH 1 & turn (SK: 17, 21, 25, 29, 33)
Row 3: SC in each ST across, CH 1 & turn (SK: 17, 21, 25, 29, 33)
Row 4: SC2in1 in the first and last ST of the row for an increase, and SC in all the other ST’s across the row, CH 1 & turn (SK: 19, 23, 27, 31, 35)
Repeat rows 3 & 4 to the following row number for the corresponding size *SK Row #: 22, 26, 26, 28, 28*
So that you have the following ST count in your rows (SK: 37, 45, 49, 55, 59)
This is where our increases end and the remaining rows have a consistent number of ST’s in each row, relevant to the size, which are (SK: 37, 45, 49, 55, 59)
Repeat single crochet rows (without increases) for the number of rows relevant to the size below: SC in each ST across, CH 1 & turn (SK: 37, 45, 49, 55, 59)
2Y: from rows 23 to 41
4Y: from rows 27 to 44
6Y: from rows 27 to 49
8Y: from rows 29 to 53
10Y: from rows 29 to 57
In the last row, Tie off
FINAL ASSEMBLY:
– Turn the panels of this kid’s halter top inside out so that the right sides are facing in at each other
– Using a length of yarn about 1 foot in length, whip stitch (or any stitch of your choice) top down on each side starting at the following row numbers relevant to size *SK Row #: 23, 27, 27, 29, 29*
– Tie on the outside stitches of each of the 4 top corners of the top and CH the following number of CH’s relevant to size *SK: 40, 40, 40, 50, 60* – tie off and weave your tail back in to the chain – tie bows in the ties to the appropriate length for your little one.
– Weave in all your ends and voila, an adorable kid’s crochet halter top you can enjoy all summer!