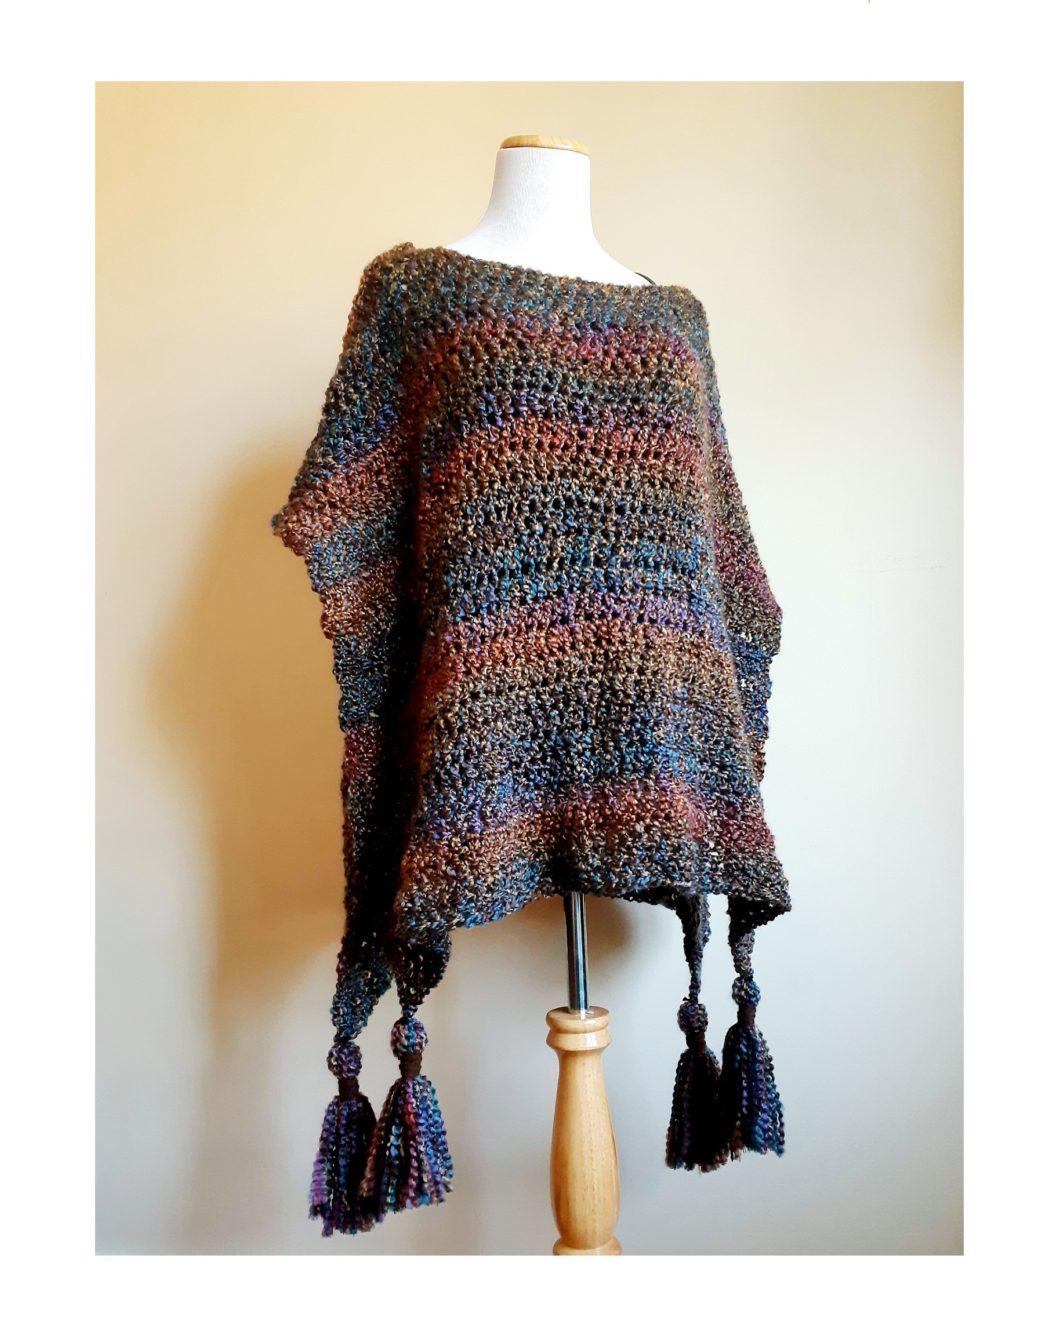
Today’s pattern is the Beginner Crochet Poncho – it’s super-duper beginner-friendly and is a fast, easy make.
Since I started crocheting, I’ve had a love/hate relationship with textured yarns. I love the way they look in a skein. I love the way they look in my mind when I imagine using then. I have always been displeased with the way the way they look when I crocheted them with the hook size recommended.
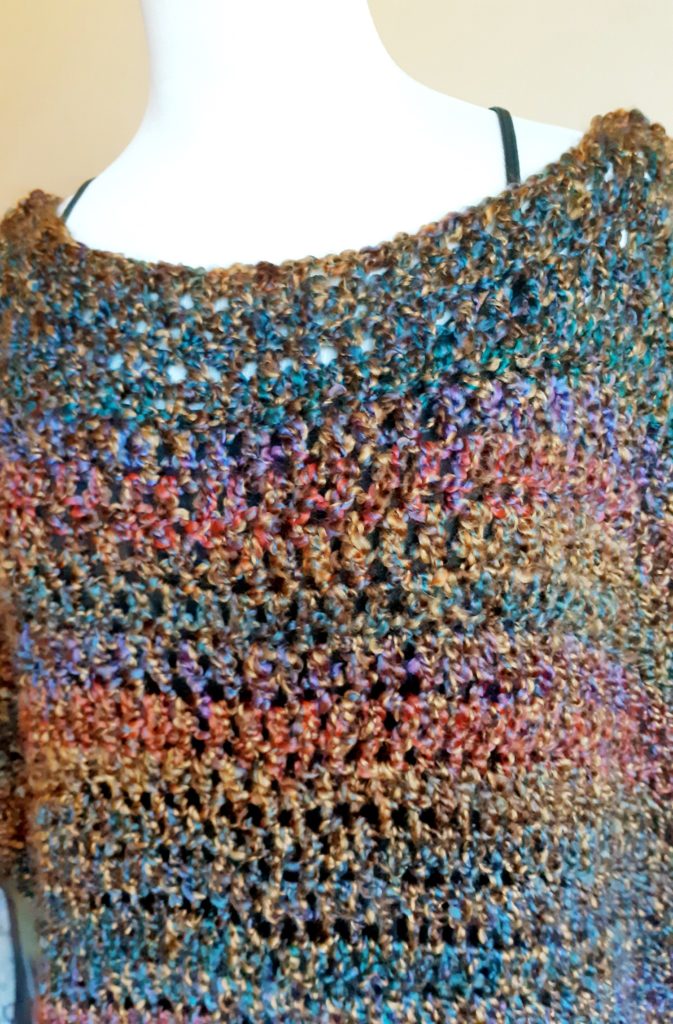
Then I had an epiphany… the more textured the yarn, the more simple the stitch and the larger the hook. Ahhhhhh……. and the more tight and closely plyed the yarn, the better it shows off a textured stitch with a smaller hook size.
The Red Heart Homespun is a yarn I’ve long admired and never knew what to do with it. Well here you go, a simple pattern which is super beginner-friendly and couldn’t be easier to make or assemble, with a simple stitch and a beautiful textured and chunky yarn.
This is it, people, fall is coming upon us and we need to start our fall attire and our Holiday Gifts now! It doesn’t get any easier than this boho crochet poncho made in 4 hours tops! Any 5wt textured yarn will work for this, it’s airy and light and has ample stretch and style!


If you love ponchos & wearables, take a look at the Fairfield Poncho, the Bonavista Caplet and the Mariposa Summer Sweater.
LET’S GET MAKING! Scroll down for the free pattern below OR you can get the Ad-Free, printable version from my Etsy store HERE
SUPPLY LIST – 10mm hook, Any Category 5 WW yarn, Yarn Used: Lion Brand Homespun in “Nouveau”, Approx 555 yards (508 metres) – 3 skeins, Scissors, Tapestry needle
STITCHES/ABBREVIATIONS – CH – chain, YO – yarn over DC – double crochet
SIZES – One Size Fits Most – adjust chains or rows to fit your preference or style
FINISHED MEASUREMENTS – 32” width x 24” length
GAUGE – Not Important
DIFFICULTY LEVEL – Beginner
PATTERN & SIZING NOTES –
- This beginner crochet poncho is created using a category 5wt textured yarn (Red Heart Homespun) but any category 5wt yarn will do, particularly it will have a similar look if it’s a textured yarn.
- This boho crochet poncho is made adjoining 2 exact rectangles at the shoulders and adding tassels, making it an excellent beginner project.
- The shoulders in my project are adjoined by a single crochet to give the shoulder a ribbed effect, but it’s not necessary – any join along the shoulders will do, it’s all about what you prefer.
- The size and fit of this poncho can be adjusted to your tastes by making it more narrow (using less chains) or longer/shorter (by crocheting more/less rows). For reference, the model is 5’8” and this poncho is CH 60 for 28 rows.
- PLEASE NOTE: using a 5wt yarn with large hocks and loose DC’s means this poncho has a lot of stretch in both directions – it will get longer with wear (model is 5’8” with 28 rows) and with washing, the poncho may need shaping.
- Chain 3’s at the beginning of each row do NOT count as a stitch.
- To wash/care instructions: This is an acrylic yarn poncho with tassels, so the suggestion is to wash on gentle setting with a hair elastic tied around the end of each tassel to avoid unravelling. Shape and lay flat to dry.
INSTRUCTIONS –
2 x RECTANGLES FOR FRONT AND BACK OF BEGINNER CROCHET PONCHO:
CH60 + 3, turn
ROW 1: Starting in the 4th CH from the hook, DC in each stitch across, CH 3 & turn (60)
ROW 2: DC in each ST across, CH 3 & turn (60)
ROW 3 to 60: Repeat row 2 until row 60
YO and pull through after last ST and pull a good length to cut – weave in ends from beginning and end
TO ASSEMBLE:
– Place your 2 rectangles with the right sides facing out (wrong sides facing in to each other) and the Starting Chain at the top for your shoulders (this is easier for joining)
– Count in 20 stitches on each side * don’t count the chain 3’s as a stitch, skip that one and count from the actual first DC.
– Mark your stitches
– Starting at the neckline on each side, fasten/join yarn with a SC in the the first stitch and work out for 20 stitches on each side to the end.
TASSELS:
* There are lots and lots of online tutorials for creating tassels using yarn and I recommend you watch a few to get the idea, but here is also a written description of how I do my tassels for this poncho
– To create the tassels, find a rigid item about 6” in length (I used a hard cover book)
– Wind the yarn around the item (book) 20 full times and cut so both ends are at the bottom
– Remove the winding from the item and keep it folded in half and cut all the yarn across the bottom
– Cut 1 length of yarn about 3 feet to be used to affix the tassel to the blanket
– Cut 1 length of yarn about 5 feet long to be used to wind around the bulb of the tassel
– Unfold the bundle of yarn and lie it straight on a flat surface – take the first 3’ length of yarn and place it under this bundle in the middle of the bundle, tie tightly in a knot (this will be the piece which affixes to the blanket)
– About 1.25 inches down from the fold at the top of your yarn, tie the second 5’ length of yarn tightly in a knot and begin to wind each side of the knot around the bundle in opposite directions to create the winding under the tassel bulb – wind 10 or so times and tie the ends back together, taking care to cut the ends and tuck the knot in under the winding
– Trim the tassel bottom to approx. 3” in length from the cinched winding around the bulb so all lengths of yarn in the tassel are the same length – this may take a few careful trimmings – To affix the tassel to the poncho, use a tapestry needle or a smaller crochet hook to bring one length through each corner – tie in a tight knot and weave in the ends with your tapestry needle or tie in a knot and cut.
Voila! A quick and cute beginner crochet poncho with a little boho flair – perfect for fall strolls, walking the dog or sitting by the chiminea.
Hi,
I love this pattern and would love to make it. Is there a hook size listed because I am not finding it. What size hook did you use?
Thanks!!
Thanks for your comment, Katie, and my apologies, I did forget to list the hook size which was a 10mm hook. I appreciate you letting me know and Ive since updated the pattern! Happy crocheting!