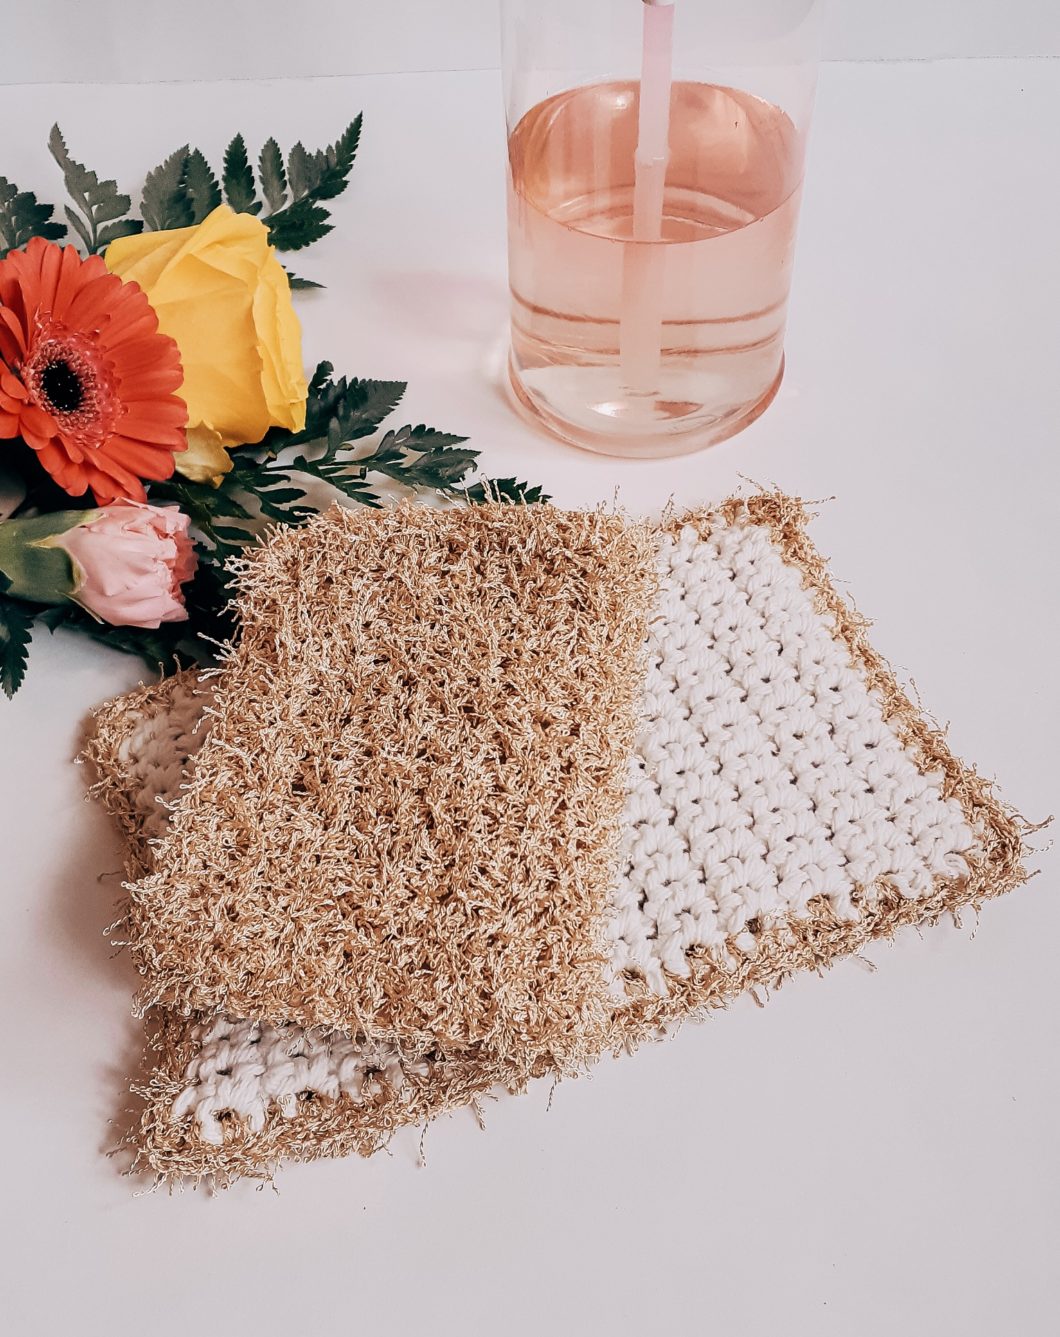
Simple projects can bring just as much joy as a complicated one, especially when it’s something as practical (and pretty!) as this crochet scrubby wash cloth with cotton on one side and Scrubby yarn on the other!
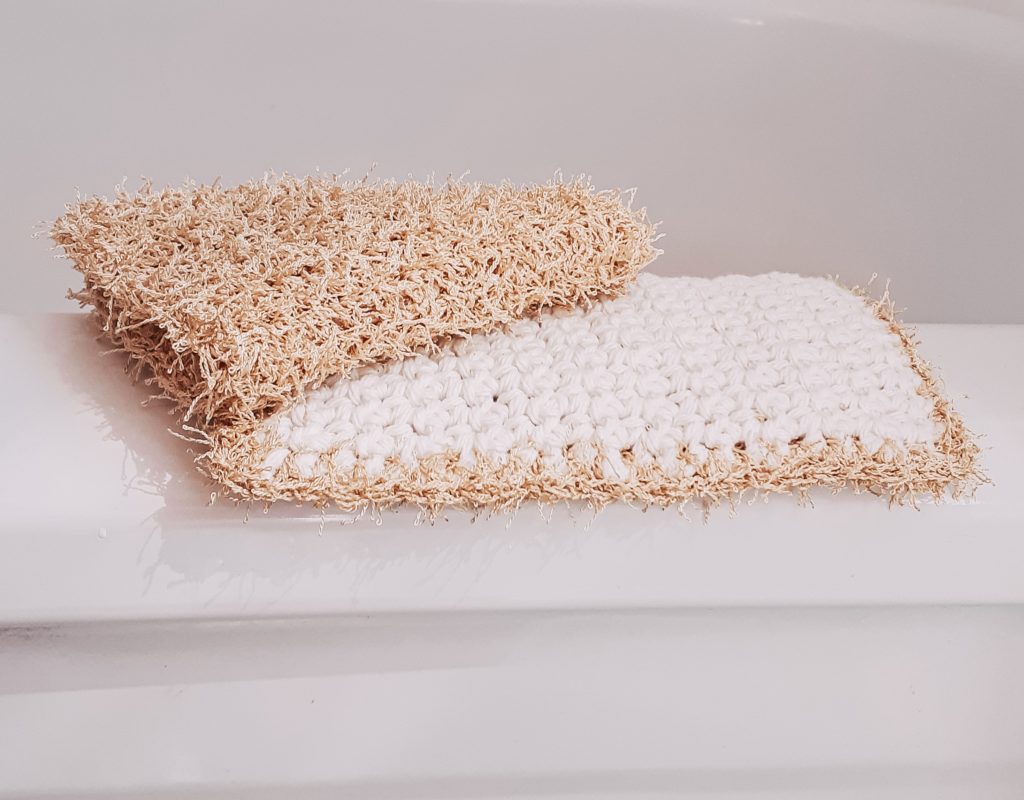
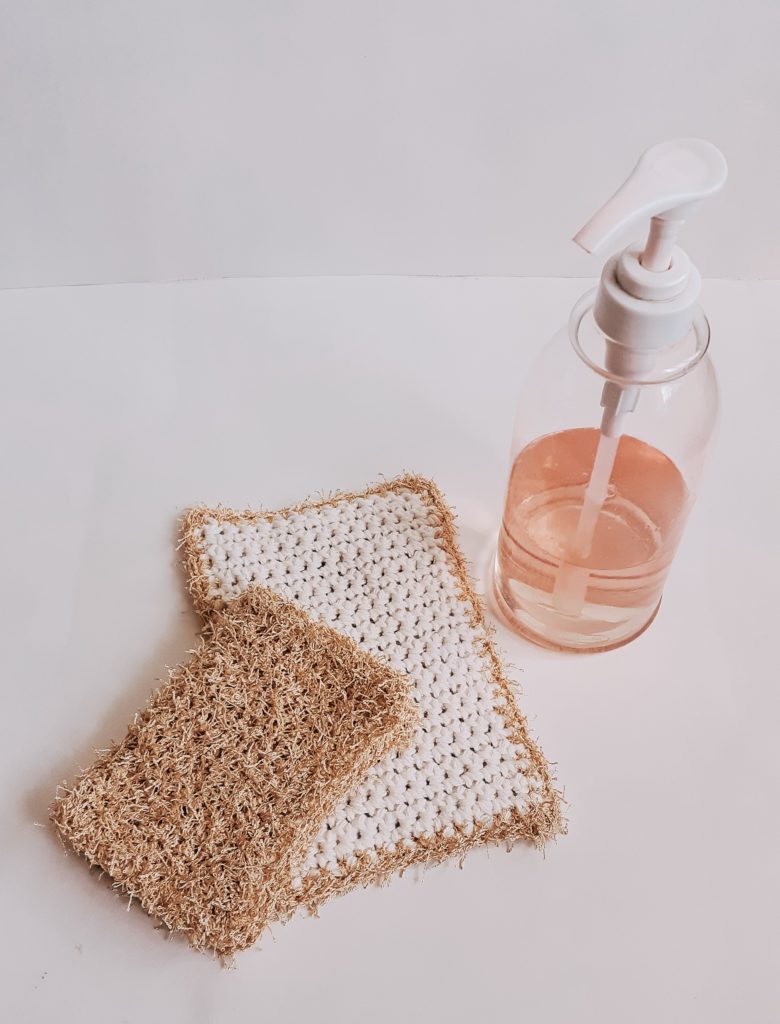
I’m not lying when I say this versatile little wash cloth can be used in the kitchen on your dishes, or in the tub to exfoliate your skin and get it glowing. So you’re going to want to make a WHOLE lot of them!
There is something I absolutely love about the look of this Red Heart Scrubby yarn in Bamboo, against the script white of the cotton yarn used on the other side. It looks so spa-like and natural, almost as if the Scrubby yarn were jute. Pretty, classic and timeless.
There are lots of options to customize the size of this scrubby wash cloth to your liking – this is such a simple and straight-forward beginner project that you can make it bigger or smaller as you like, simply by adjusting the length of the starting chain, or by adding/subtracting rows to your desired length.
Hey, you even have time to whip them up as a quick last-minute gift (think Mother’s Day, birthday, Christmas, housewarming…)
If you like the pattern for double-sided scrubby wash cloth, you may also like my River Pebble Wash Cloth or my Maison Verte Towel.
LET’S GET MAKING! Scroll down for the FREE pattern for this scrubby crochet wash cloth below OR you can PURCHASE the Ad-Free, printable version from my Etsy store HERE.
SUPPLY LIST:
6mm hook
Yarn Used: Bernat Handicrafter in White and Red Heart Scrubby in Bamboo)
Approx yardage: 32 y / 29 m of each yarn
Scissors
Tapestry needle
STITCHES & ABBREVIATIONS:
CH – chain
SL ST – slip stitch
SC – single crochet
SIZES:
One Size
FINISHED MEASUREMENTS:
7.5” h x 5.5” w
GAUGE:
Not Important
SKILL LEVEL:
Beginner
PATTERN & SIZING NOTES:
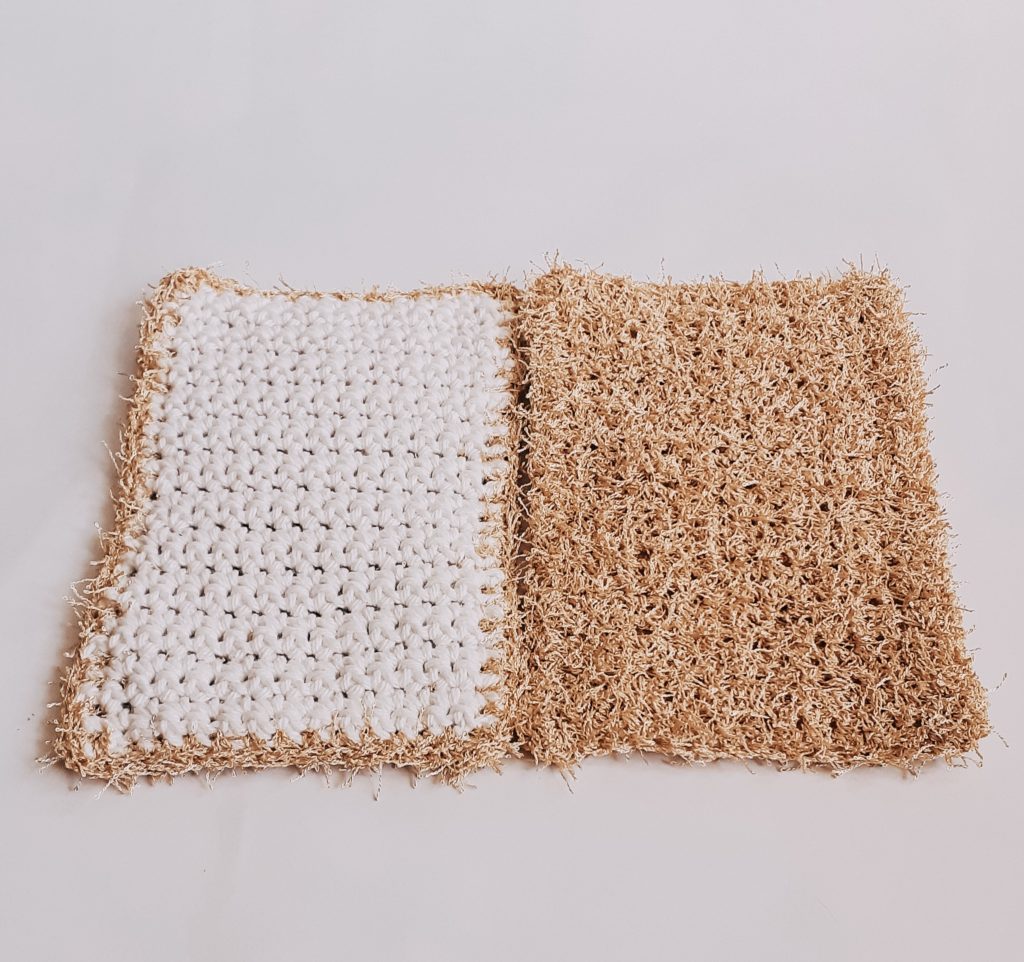
– This double-sided scrubby wash cloth is made as 2 separate pieces (one with the cotton yarn, one with the scrubby yarn) and then joined together using the scrubby yarn being crocheted around the edge.
– Using the Scubby yarn, it can be difficult to see your stitches and rows, so keep a good count as you’re going.
– Keep the stitches fairly loose on the Scrubby yarn side – it will make it easier to see the stitches.
– While doing the edging, don’t worry too much about where to place your stitch in the scrubby portion, just push your hook through the cotton stitch and through the scrubby side where ever it will go through – you won’t notice if the placement is right, the Scrubby yarn is very forgiving that way J
– Turning chains do not count as a stitch.
– Stitch count for each round will be indicated in parentheses ( ) at the end of the row
CUSTOMIZATION OPTIONS:
– You can use the cotton to do the edging round instead of the Scrubby yarn, but either way, the little tendrils of the Scrubby yarn will poke through, so I used the Scrubby to do the edging as I thought it had a better look to it. – You can adjust the starting chain length or add/subtract rows to make this double-sided crochet wash cloth in any dimensions you like.
INSTRUCTIONS:
Using the cotton yarn, CH 14 + 1 to turn
Row 1: Starting in the first CH from the hook, SC in the back bump of the starting CH all the way across, CH 1 & turn (14)
Row 2 to 23: Starting in the first ST from the CH1, SC in each ST across, CH 1 & turn (14)
Row 24: Starting in the 1st ST from the CH 1, SC in each ST across and when you complete the last ST, YO, pull through, tie off and cut your yarn.
Using the Scrubby yarn, CH 14 + 1 to turn
Row 1: Starting in the first CH from the hook, SC in the back bump of the starting CH all the way across, CH 1 & turn (14)
Row 2 to 23: Starting in the first ST from the CH1, SC in each ST across, CH 1 & turn (14)
Row 24: Starting in the 1st ST from the CH 1, SC in each ST across and when you complete the last ST, DO NOT tie off your yarn, as we will continue on with your working loop once we put the 2 pieces together (see Assembly portion below).
ASSEMBLY:
– With your hook still in the working loop of ST 14 in row 24 of your Scrubby side, place the WRONG side of the cotton piece against the WRONG side of your scrubby piece and line the edges up (you’ll know it’s the wrong side of your scrubby piece because your working loop will be on the top left and your starting chain tail will be on the bottom right).
– Tuck in all your tails – no need to weave them in, we can just enclose them inside the double-sided crochet wash cloth
– With your hook still in ST 14 of row 24 on the scrubby, SC through the cotton ST AND the Scrubby ST in the same stitch you just did, then do 1 more for a total of 3 ST’s in that corner ST to turn the corner.
– SC all the way around the rest of the project going through both the cotton piece ST’s and the Scrubby piece ST’s, making sure to place 3 SC’s in each corner ST – don’t worry too much about the stitch placement on the Scrubby side, as you won’t see any errors or mistakes if you don’t place it perfectly – it’s very forgiving!
Once you’re back to the beginning, SL ST through the first ST again, YO, pull through and tie off and weave in your end!
I hope you enjoy this very simple, but very pretty and practical double-sided crochet scrubby wash cloth!