The Sabrina Pocket Wrap
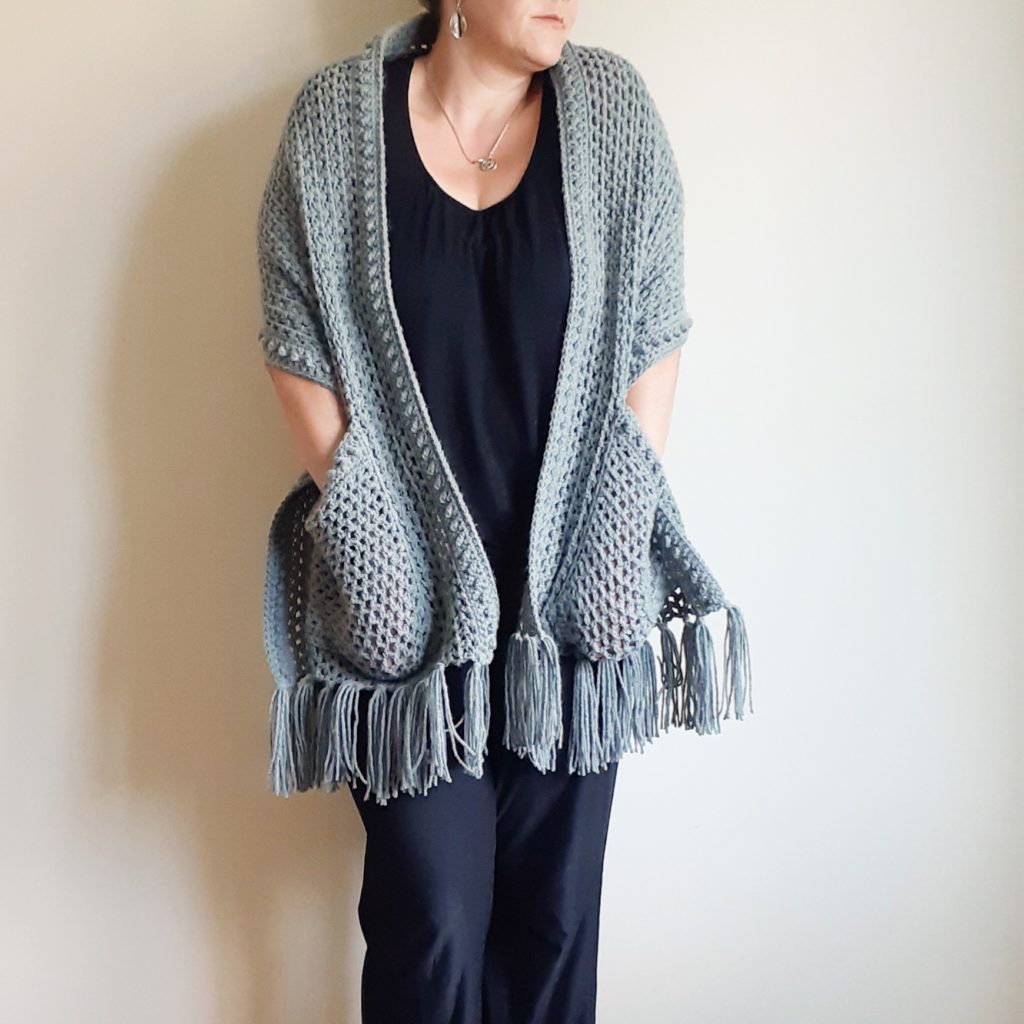
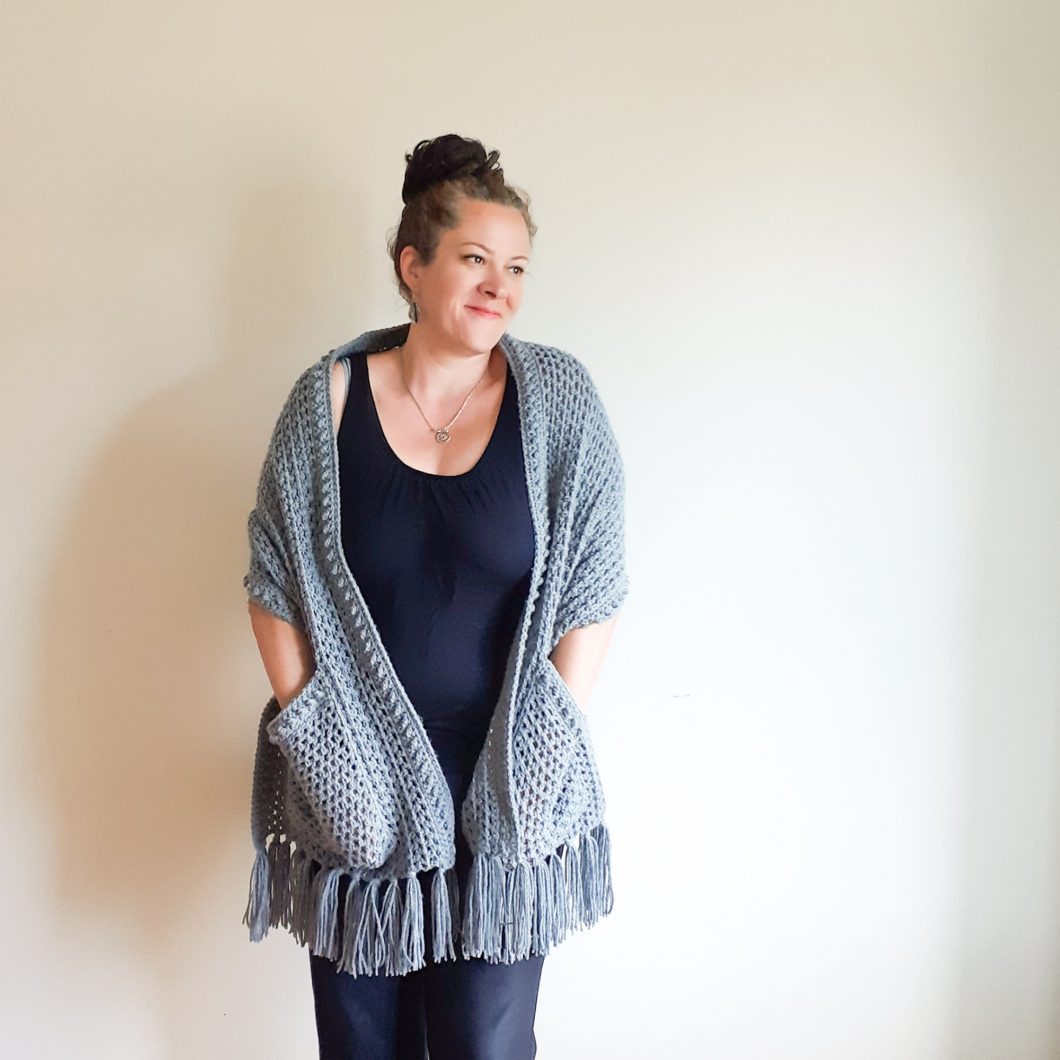
Oh, I’m sure you’ve noticed that the knit and crochet pocket wraps or shawls are all the rage right now and everyone is looking to make one. I had already been churning my design ideas for one around in my mind, and when a friend expressed a desire for one I just jump-started it and got one going for her.
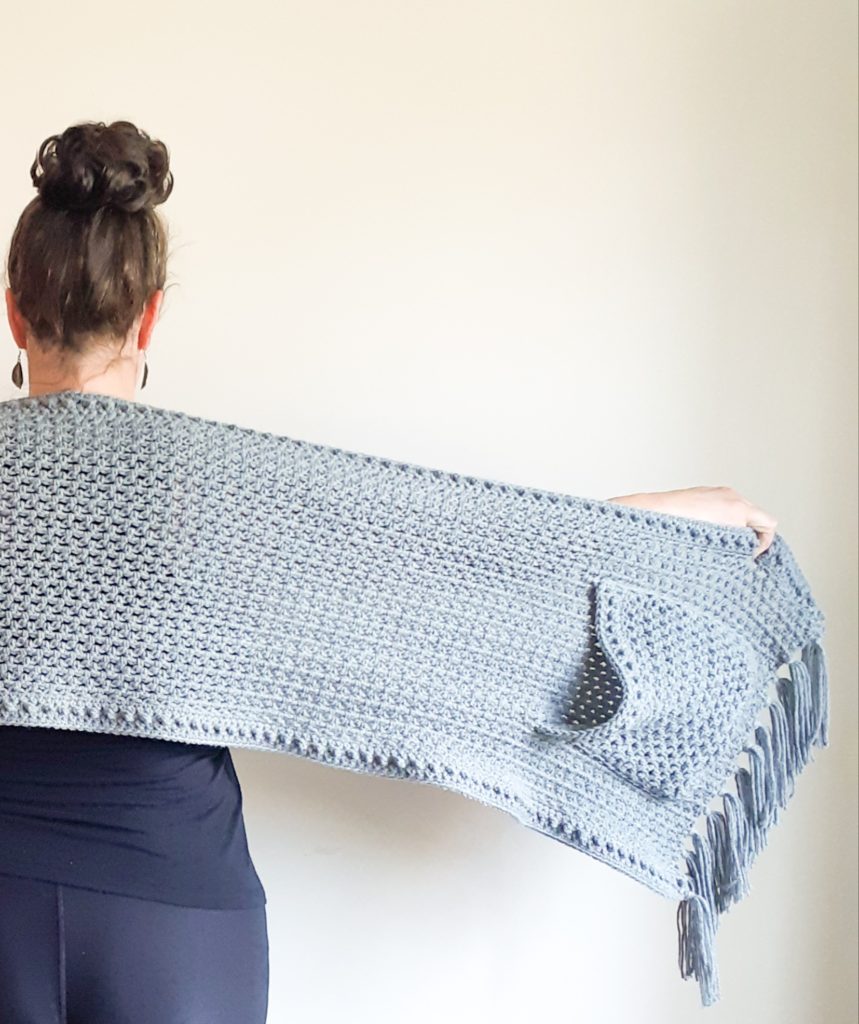
I knew I wanted something that was thick enough to keep us warm, but light enough that it didn’t feel like it was weighing us down. As a result, I used a meshy-type stitch like the moss/granite/linen stitch except with HDC instead of SC and I think the result is a more delicate feel. The mini bobbles along the two edges were also in keeping with the delicate feel and the fringe, well who can’t use a little extra boho charm? (If you like these easy little faux bobbles, check out how I also use them in my Faith Throw, Lindy Sweater and River Pebble Spa Cloth)
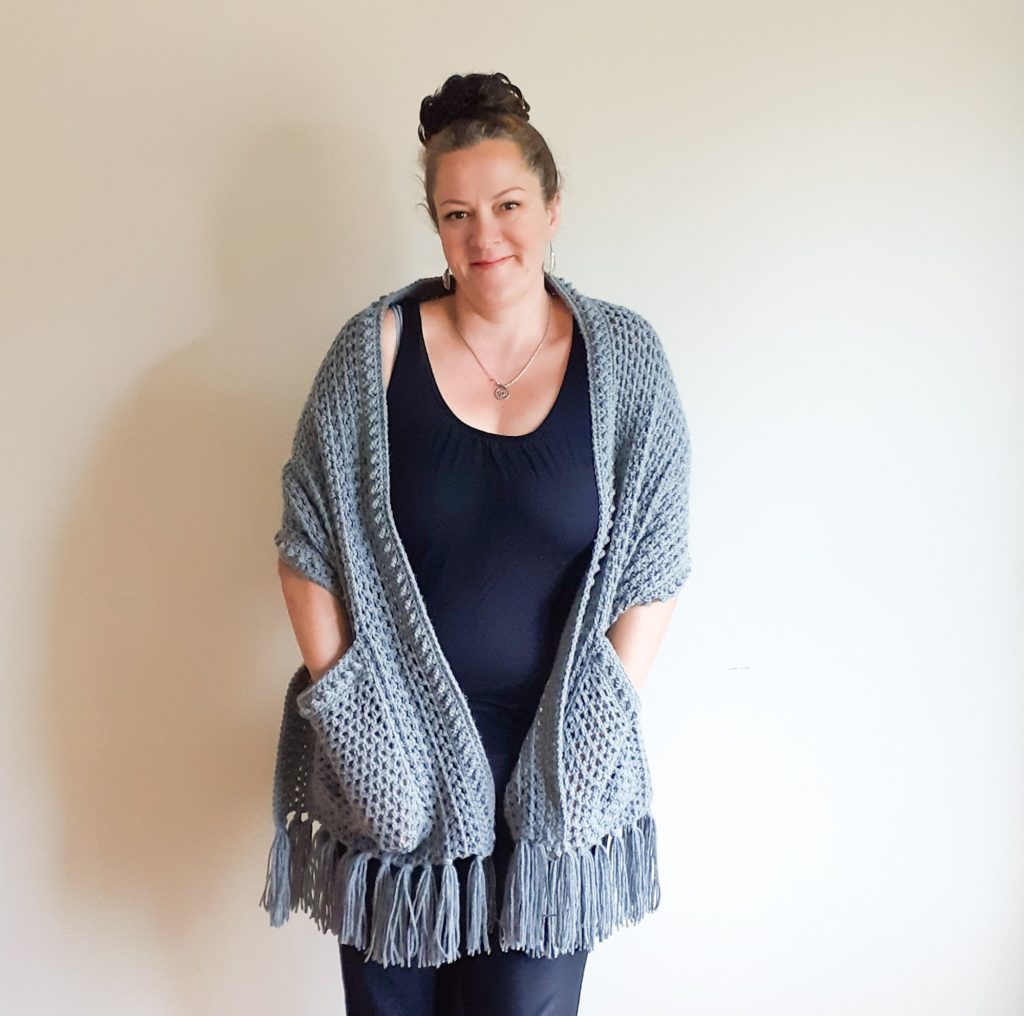
Picture this in a deep teal or turquoise to add a little splash of color to fall and winter? Or even a burnt orange to echo the vibrancy of autumn?
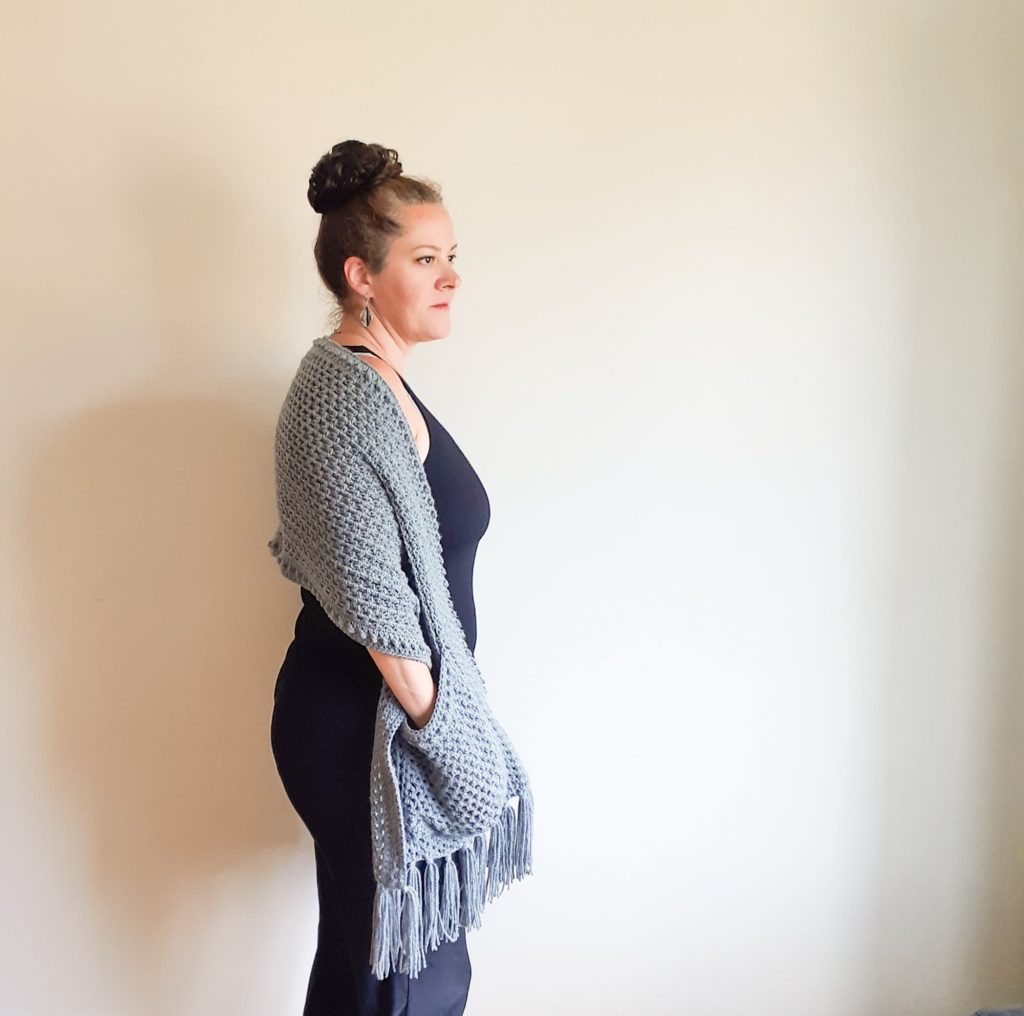
This crochet pocket wrap is so easy to customize, too, if need be. You can add rows to make it a deeper wrap or adjust the length based on your height and where you want your arms and pockets to fall. I’m 5’8″ and I think the length is just right for me as written, but someone who isn’t as tall may like to have a shorter wrap and it couldn’t be easier to adjust to your liking.
LET’S GET MAKING! Scroll down for the FREE pattern for this crochet pocket wrap below OR you can PURCHASE the Ad-Free, printable version from my Etsy store HERE
| SUPPLY LIST |
| 6.5 mm hook Any Category 4 worsted weight yarn (Yarn Used: Caron One Pound in Medium Grey) Approx yardage: 850 yards / 775 meters Stitch Markers 4 x pins Scissors Tapestry needle |
| STITCHES / ABBREVIATIONS |
| YO – yarn over CH – chain ST – stitch SL ST – slip stitch SC – single crochet SC2tog – single crochet 2 stitches together for a decrease SC2in1 – single crochet 2 stitches in to the same stitch for an increase HDC – half double crochet TC – triple crochet SK ST – skip stitch |
| SIZES |
| One Size Fits All |
| FINISHED MEASUREMENTS |
| 18” width, 62” length (not including fringe) |
| GAUGE |
| Not really terribly important, but 13 ST x 10.25 rows = 4” x 4” |
| DIFFICULTY LEVEL |
| Advanced Beginner |
PATTERN & SIZING NOTES:
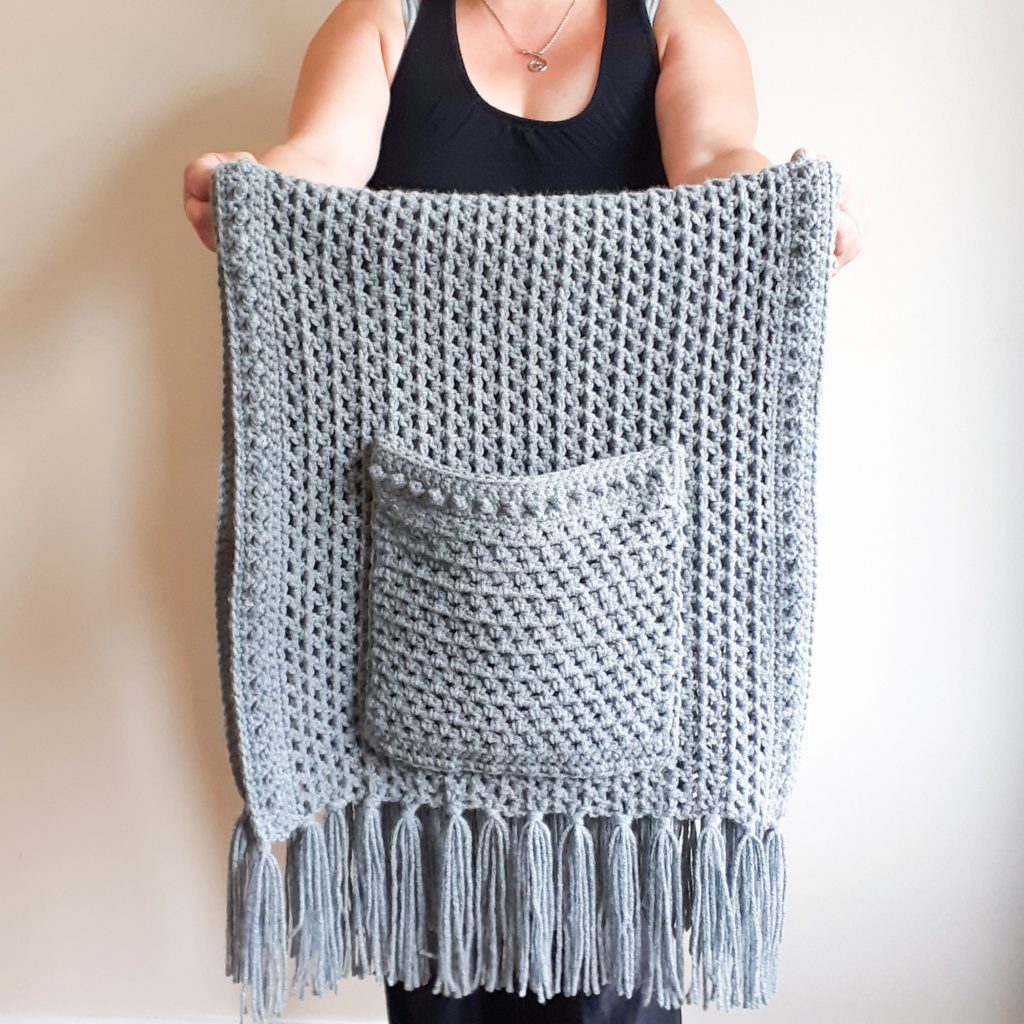
– This wrap is made as a large rectangle with separately made pockets affixed and fringe added
– The rectangle is made working back and forth in rows length-wise, the pockets are worked from the bottom up
– The two borders are SC with a row of ‘mini bobbles’ and the remainder is made alternating skipped stitches and HDC in the spaces
– The stitch count for the border has to be an odd number to accommodate for the spacing of the mini bobbles and a stitch is added for the main body of the wrap to make it an even number, then dropped again when completing the last border
– The border portion mini bobbles are made alternating a TC and a SC – it’s important to keep the SC’s tight so that the TC is pulled down and pops out as a mini bobble
– The wrap is very easily customized – you can add rows to make it a deep wrap that drapes down the back further, you can customize the length to accommodate for arm length by adding or subtracting in your foundation chain or you can make the pockets bigger or smaller – Stitch count for each round will be indicated in parentheses ( ) at the end of the round
INSTRUCTIONS:
BODY OF CROCHET POCKET WRAP:
CH 199 + 1 to turn
Reminder: the bottom and top borders require an odd number of stitches (199) and the main body requires an even number (200)
Row 1: SC in each ST across, CH 1 & turn (199)
Row 2: SC in each ST across, CH 1 & turn (199)
Row 3: <SC then TC, SC then TC> and repeat < to > for the row ending on a SC, CH 1 & turn (199)
Row 4: SC in each ST across, CH 1 & turn (199)
Row 5: SC x 100, on ST 101 SC2in1 for an increase of 1 ST, continue SC in each ST across, CH 3 & turn (200)
Row 6: HDC in the 2nd ST from the CH then <CH 1 & SK ST then HDC in the next ST> and repeat < to > for the row ending on a HDC in the last ST, CH 3 & turn (200)
Row 7: HDC in the first ‘space’ created by the CH1 from the row below, then <CH 1 & SK ST then HDC in the next space> and repeat < to > for the row ending on a HDC in the last CH space, CH 3 & turn (200)
Rows 8 to 36: repeat row 7 except on the last row 36, CH 1 & turn instead of 3 (200)
Row 37: SC 100, on ST 101/102 SC2tog for a decrease of 1 ST, continue SC in each ST across, CH 1 & turn (199)
Row 38 to 40: repeat rows 2, 3 & 4 as they are above (199)
Row 41: SC in each ST across and at end YO, pull through and tie off, weave in ends (199)
POCKETS x 2 OF CROCHET POCKET WRAP:
CH 30 + 1 to turn
Reminder: the main part of the pocket requires and even number of stitches (30) and the top mini bobble border requires an odd number (29)
Row 1: HDC in each ST across, CH 3 & turn (30)
Row 2: HDC in the 2nd ST from the CH then <CH 1 & SK ST then HDC in the next ST> and repeat < to > for the row ending on a HDC in the last ST, CH 3 & turn (30)
Row 3: HDC in the first ‘space’ created by the CH1 from the row below, then <CH 1 & SK ST then HDC in the next space> and repeat < to > for the row ending on a HDC in the last CH space, CH 3 & turn (30)
Rows 4 to 18: repeat row 3 except on the last row, CH 1 & turn instead of 3 (30)
Row 19: SC 14, on ST 15/16 SC2tog for a decrease of 1 ST, continue SC in each ST across, CH 1 & turn (29)
Row 20: SC in each ST across, CH 1 & turn (29)
Row 21: <SC then TC, SC then TC> and repeat < to > for the row ending on a SC, CH 1 & turn (29)
Row 22: SC in each ST across, CH 1 & turn (29)
Row 23: SC in each ST across (29)
Finishing round: in that last ST from row 23, add 2 more SC in the same stitch to turn the corner, then SC all the way down the side (Note:, 1 SC for each row in the border portion and also 1 loose SC in each row of the HDC mesh – usually HDC is 3 ST for every 2 rows, but in this case we’re going to do 1-for-1 and keep the stitch loose as it’s just to have a neat edge to affix the pocket to the wrap)
**Remember to put 3 SC in each of the corners except the last corner when you will only put 2 SC and then SL ST in to the 1st ST of the round, YO, pull through and tie off then weave in ends.
ASSEMBLY OF CROCHET POCKET WRAP:
– Lay your wrap flat so that one of the long ends is lining up with you and the piece is laying right side up
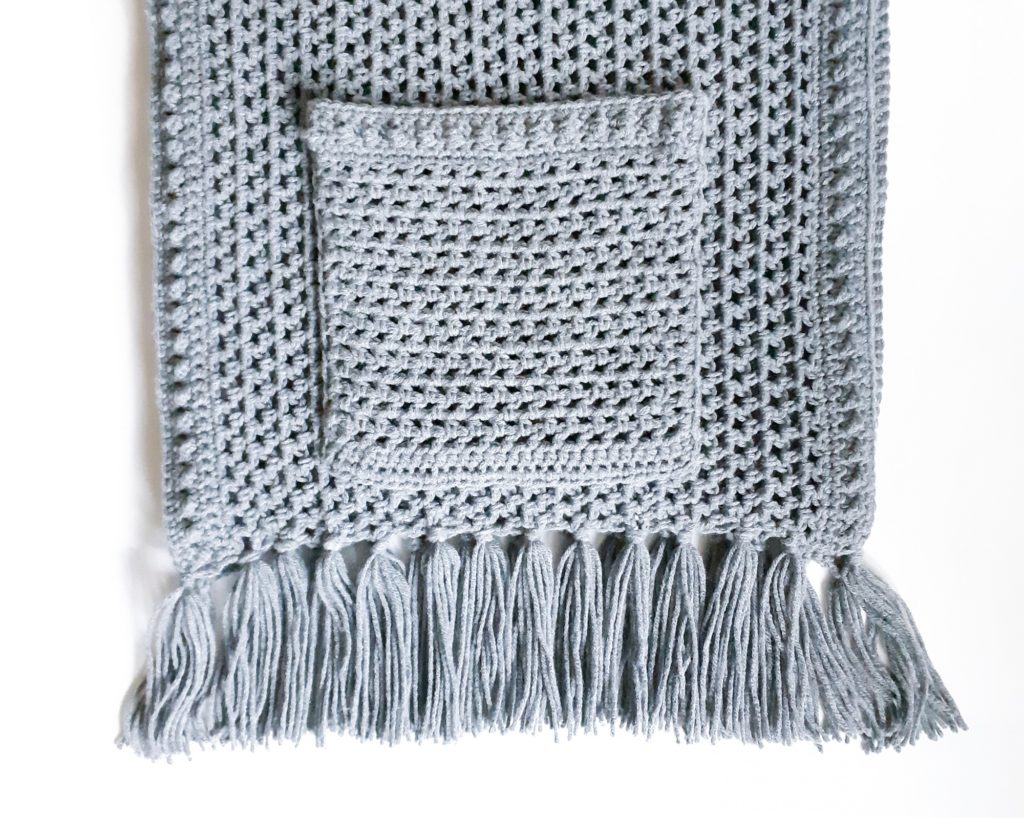
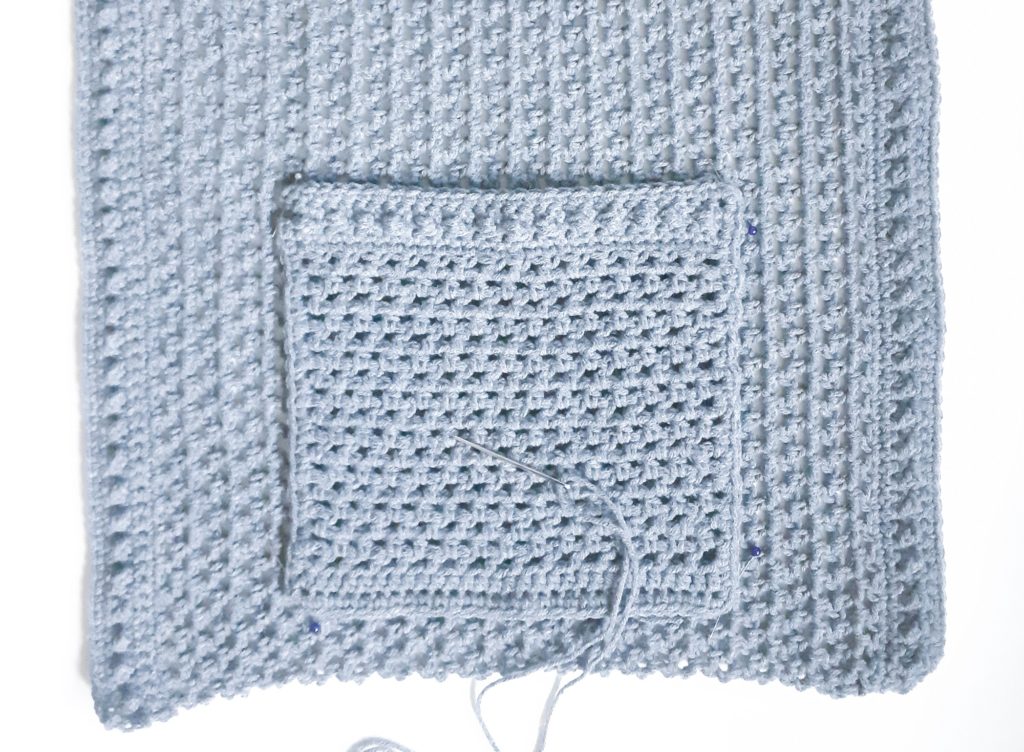
– Position your pocket on to the wrap by lining the bottom on top edge of the 3rd “hole” up from the bottom and the sides on the inside of the 7th row in from each border. The pocket will want to overlap a bit from the 7th row, but we want to cinch it in a bit to give a deeper pocket and also to be able to have a solid line of crochet to affix to instead of lining it up with a row of holes. (see pic below)
– Pin the pocket in place in the 4 corners
– cut a length of yarn about 3 feet, sew your pocket on – note that, will sewing down the sides of the pocket you it lines up fairly easily but when sewing on along the bottom of the pocket, you will need to keep the wrap stretched so that the sides line up with the rows you pinned them on and your stitches along the bottom remain evenly spaced.
– Once you’ve sewn up the other side of the pocket, tie off and weave in ends
(IN PIC BELOW, see the 4 corners are pinned in place 3 holes up from the bottom and on the 7th row in from the border on each side)
FRINGE:
If you aren’t familiar with how to affix fringe, there are lots of tutorials online and on YouTube, but here are the guidelines for how I affixed mine
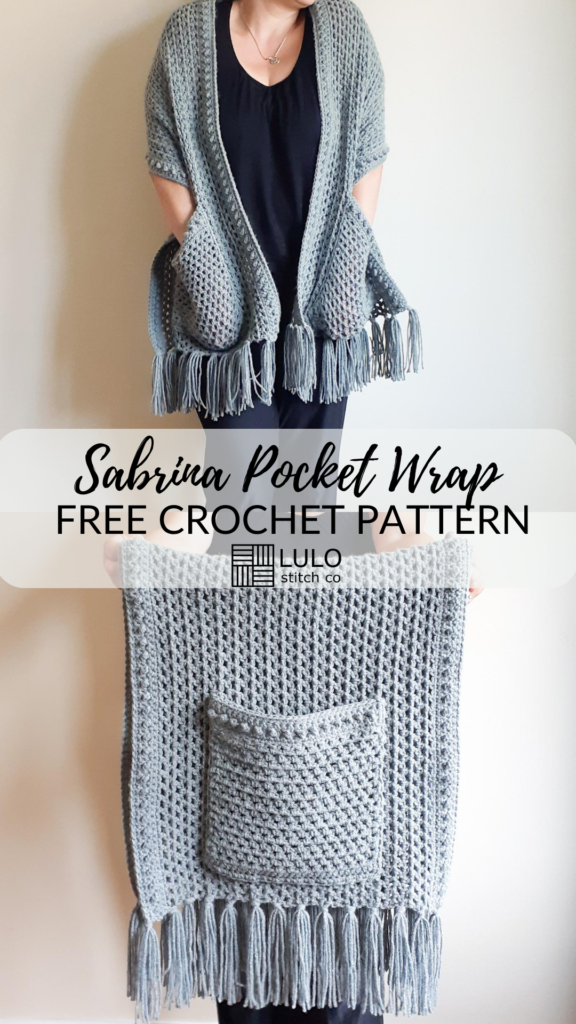
– Place 14 stitch markers evenly across the bottom so you know where your fringe is going (see pic below) – I placed mine in each corner and then every 3 rows roughly
– Find a book about 8” in length – using your yarn, wind the yarn around the book 6 times and remove by pulling it off at the top
– Use sharp scissors to cut all the bottom loops
– Using your crochet hook, push it through from back to front in the hole your putting the fringe in, hook the top loop of the fringe you’re holding and pull it through about an inch
– Slip your thumb and pointer finger through that 1” loop and pull through the fringe tails, pulling tightly and evenly
– Once you have all fringe affixed, lay it flat, comb the fringe with your fingers so it all lies straight and use sharp scissors to trip all the fringe straight and evenly and to your desired length
Voila! A stunning (ad very practical) crochet pocket wrap or shawl that won’t fail – and it makes a great gift too, wink!

Love it thank you!
Thanks so much, April! I hope you enjoy the pattern and it keeps you cozy for a long time to come 🙂
Is TC a treble crochet? It’s not in your list of abbreviation definitions, at least not that I could find. Thanks!
TC is triple crochet, I’ve added it to the stitch abbreviations list!
Thank you for your generosity!
I think I can handle this. Not sure about ‘customizing”. I am 5’1’. wear small or X small(depending on the brand).
Would I measure the arm span length plus an inch or so? Sorry, I don’t sew or alter clothes, just trying to imagine.
Thanks for your message. Yes, I think the best way to approach customization is to measure your arm span and add about 4 inches to the length of the wrap. The pockets sit a bit higher, so would line up with your arm length better. Just remember, that your initial foundation chain needs to be an odd number (so you might be somewhere in the area of CH179-ish) and you add in a stitch for the meshy part, then drop it again for the top border. I hope that helps! Would love to see a pic when you’re done!
Thank you for this! Looks great! Can’t wait to get started on one!
Thank you! I hope you’ll share a pic with me when you’re done 🙂
Thank you so much 😊
My pleasure 🙂 I hope you get a lot of enjoyment out of yours!
Did you use one skein of the Caron one pound yarn or two?
You said you used approximately 850 yards. One skein says it’s 812 yards.
Hi, Tracy, I did use one whole skein and then got in to a second one, mostly just for the fringe. Hooe that helps!
Hi!! I love this pattern. I am working on my first one. I am trying to make some of these to sell. Not working at the moment and need some type of transportation for when I do start working. I know it’s a lot of crocheting to get to my goal, but I am truly going to try. Who ever reads this, please put me in your prayers for strength to complete this goal.
Thanks, Monica, glad you like it! Sending good luck vibes to reach your goals 🙂
Stumped on row 5. Where does 100th stich come from. Do I increase on stich199? Do I turn to begin stich 101 to end up with 200?
Hello, Cynthia, I think you might mean 200th stitch not 100th? But yes, in Row 5, you’ll see there is an additional stitch placed in ST # 101 to bring the ST count up to 200 from 199. In row 37 you will decrease by 1 ST again (mergin ST #/s 101/102) to go back to 199 ST before starting the other border. I hope this helps!