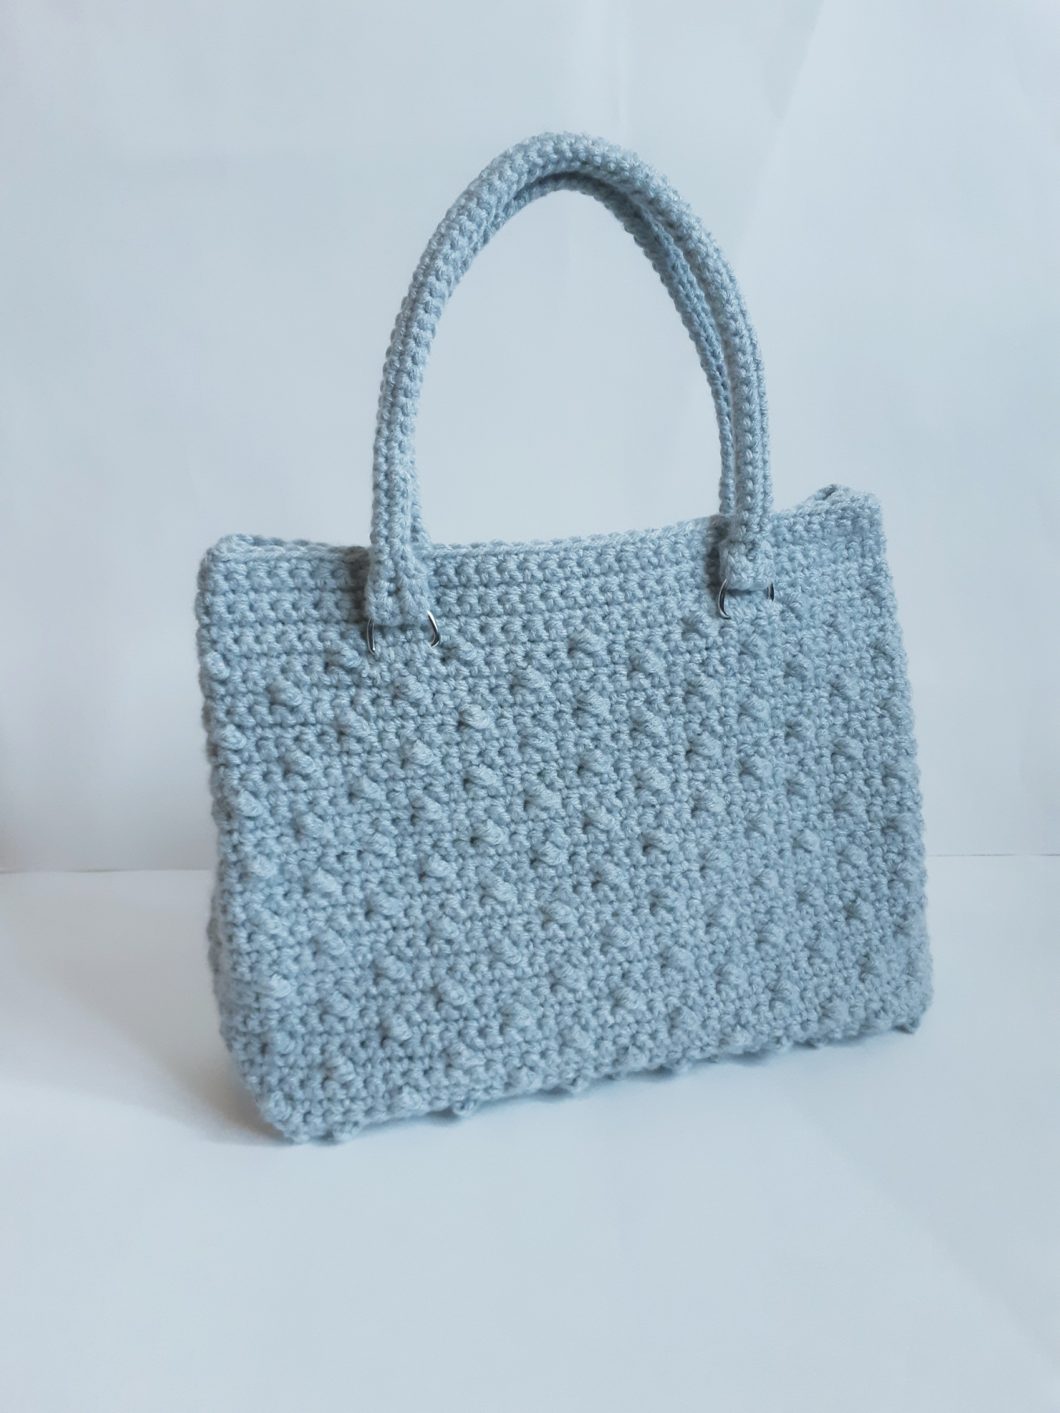
I absolutely love crochet handbags and purses. I think I’ve previously mentioned an obscenely large collection of sunglasses, but I’m also guilty of owning an overabundance of purses and bags. So I figured I’d make another (wink).
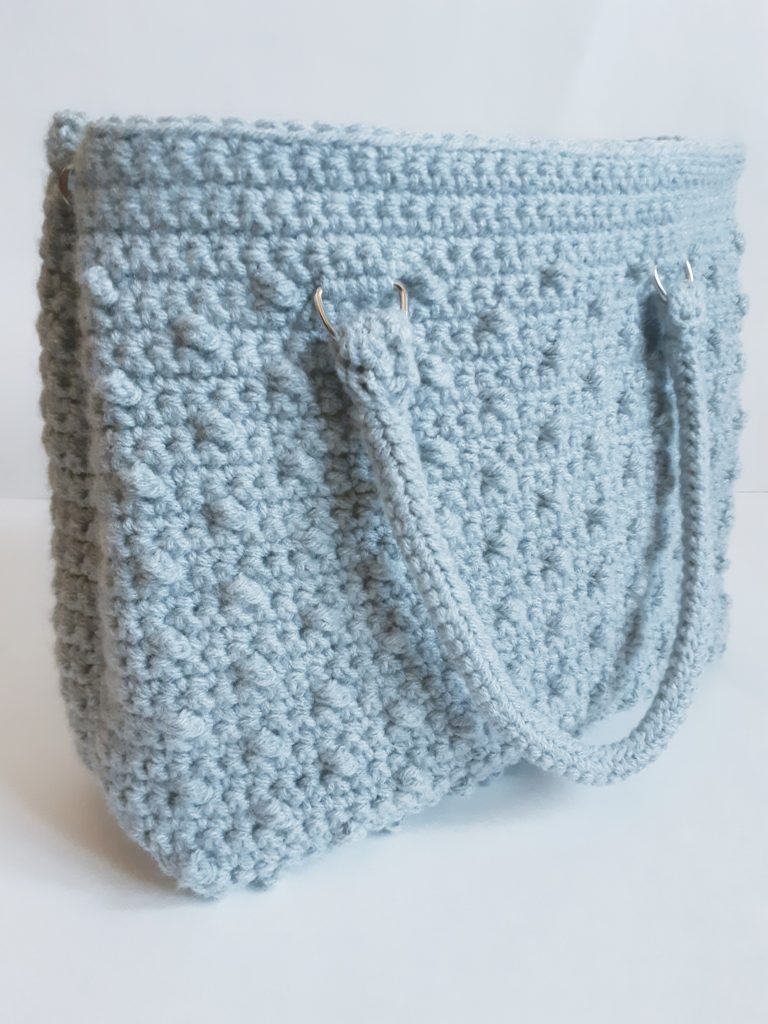
Seriously, , though, it’s spring and we all know nearly every woman loves a new bag to accessorize new attire for spring and summer. The Marais Handbag is a great accessory and is just the right size.
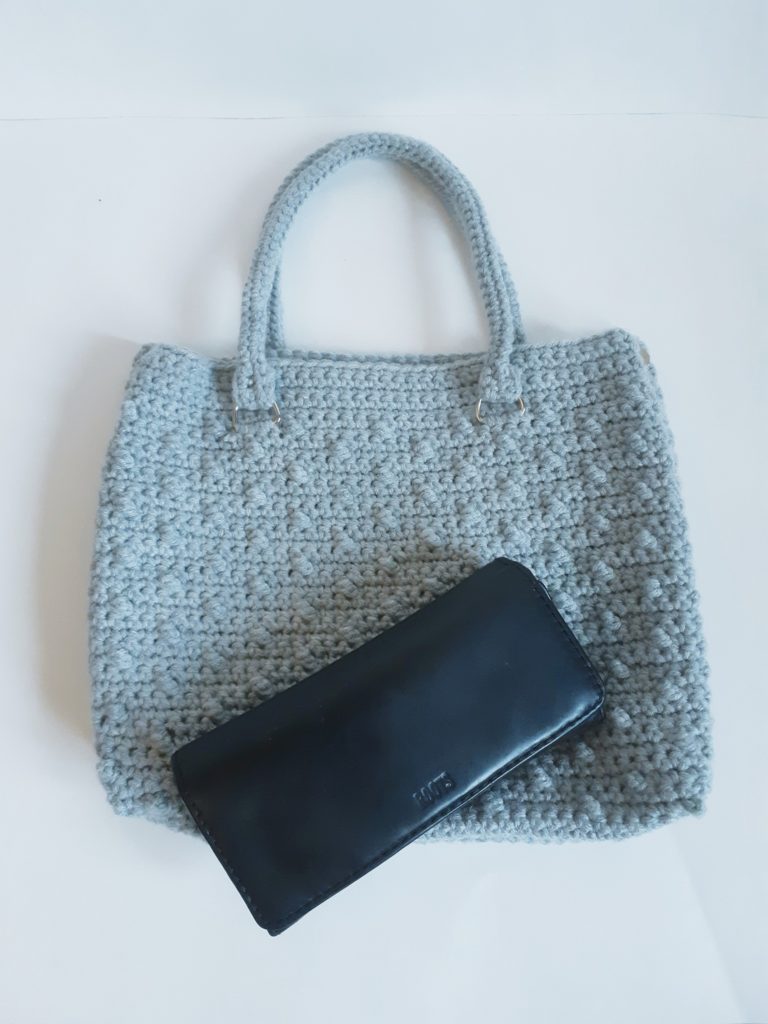
I know I’ve been using the ‘faux bobble’ a lot lately, like in my Lindy Sweater or the Azalea hat & scarf set, but I just can’t get enough of it. It’s such a versatile little addition to a project that adds texture without being ultra bulky.
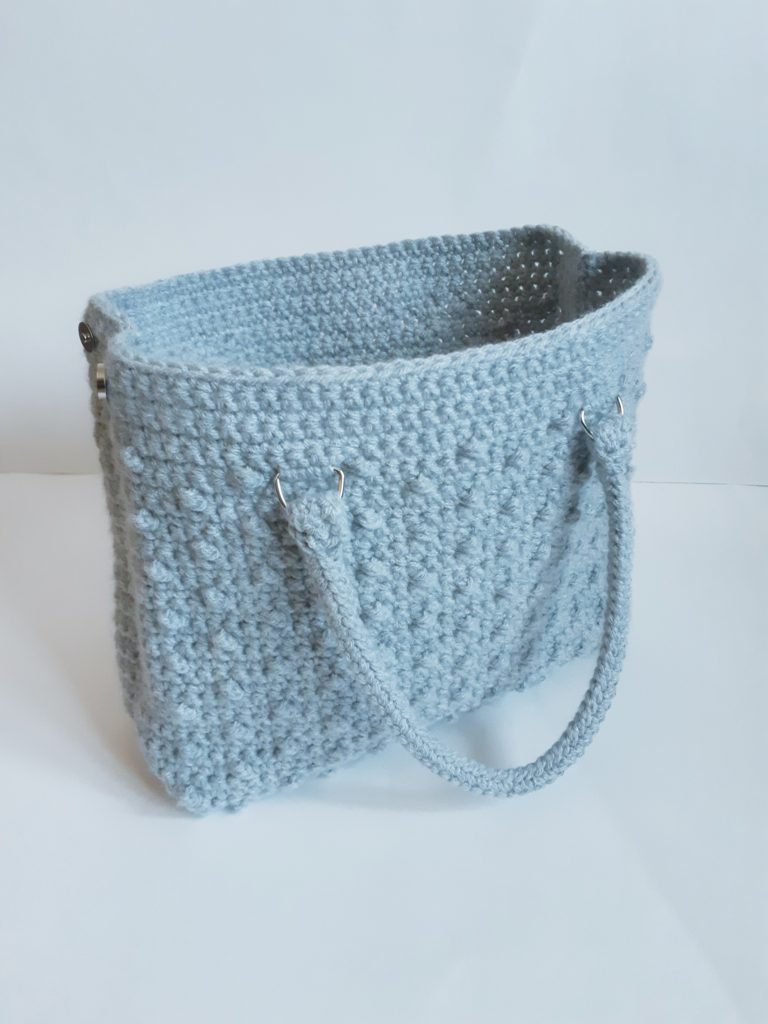
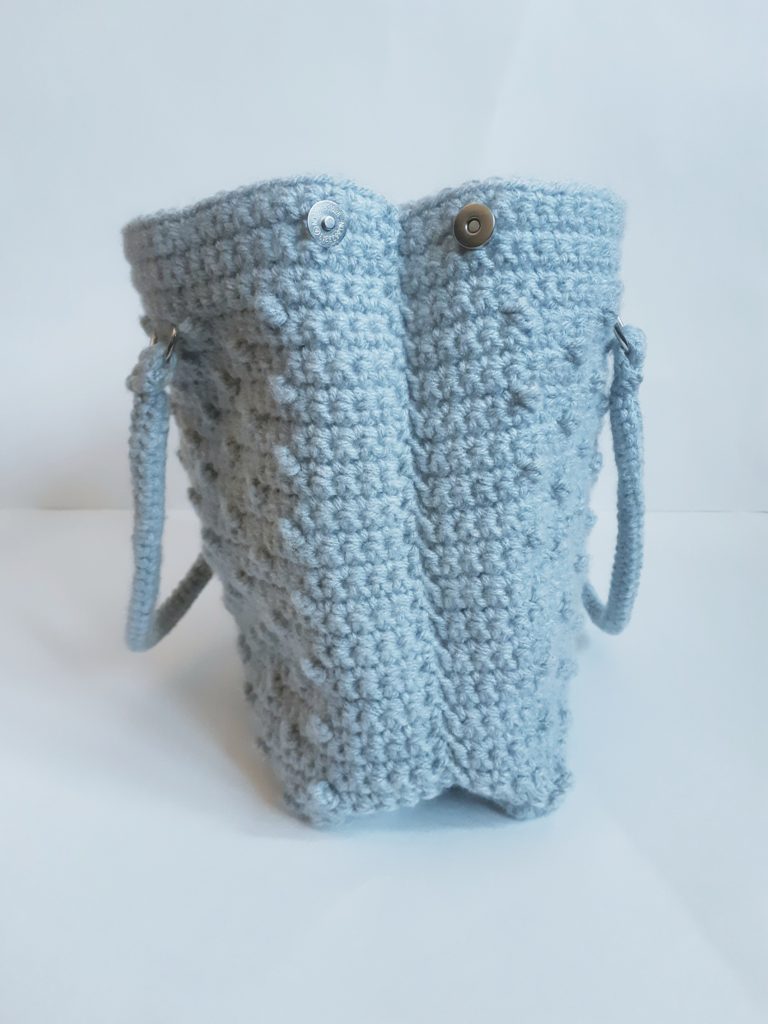
While it may look a little daunting, don’t be fooled, this is a fairly easy project. It’s 2 panels assembled together, corners sewn to flatten the bottom of the bag, and handles added. I added magnetic closures to the sides to keep the folds held, but that’s optional.
There are a lot of ways you can customize this project too. You can make the bag bigger, lengthen the handles to turn it in to a tote, you can add a closure or a zipper and line the inside for added durability.
I’m looking forward to getting out and about again and I’ll have this new handbag with me as I go!
LET’S GET MAKING! Scroll down for the free pattern below OR you can get the Ad-Free, printable version from my Etsy store HERE
| SUPPLY LIST |
| 5.5 mm hook (bag) & 4mm hook (handles) Any Category 4 ww yarn (Yarn Used: Caron One Pound in Soft Grey Mix) Approx yardage: 140 yards / 128 metres 4 x ¾” D Rings 2 x sets magnetic closures (optional) Scissors Tapestry needle |
| STITCHES / ABBREVIATIONS |
| YO – yarn over CH – chain ST – stitch SC – single crochet TC – triple crochet |
| SIZES |
| N/A |
| FINISHED MEASUREMENTS |
| **Measurements are for assembled handbag 12” width, 11” height, handles are 6” from top of handbag |
| GAUGE |
| 16 rows x 12.5 stitches = 4” x 4” |
| DIFFICULTY LEVEL |
| Intermediate |
PATTERN & SIZING NOTES:
– The stitch count is given in parentheses ( ) at the end of each row
– The ‘faux bobble’ is made by a triple crochet amongst single crochets where the single crochet pulls the triple crochet down to the single crochet height and pops it out
– It’s really important that, in the rows where you’re creating the faux bobble, you keep the single crochet that follows the triple crochet very tight to make the fake bobble pop out
– This crochet handbag is made in 2 panels with 2 handles and requires the D-rings to be crocheted right in to the piece. The handles are crocheted as a flat piece and then the two long sides sewn together. – For my version of the handbag, I have used magnetic closures for the sides to keep the folds in, but this is optional
INSTRUCTIONS:
MAIN PANELS X 2:
Make 2 of each panel
With 5.5mm hook, CH 47 + 1 to turn
Row 1 to 6: SC in each ST across (47)
Row 7: SC x 5, [TC x 1 then SC x 5] and repeat [ to ] to ST 42, SC x 5, CH 1 & turn (47)
Row 8: SC in each ST across, CH 1 & turn (47)
Row 9: SC x 8 [TC x 1 then SC x 5] and repeat [ to ] to ST 39, SC x 8, CH 1 & turn (47)
Row 10: SC in each ST across, CH 1 & turn (47)
Row 11 to 38: Repeat rows 7, 8, 9, 10 to row 38 (ending on repeat of row 10), CH 1 & turn (47)
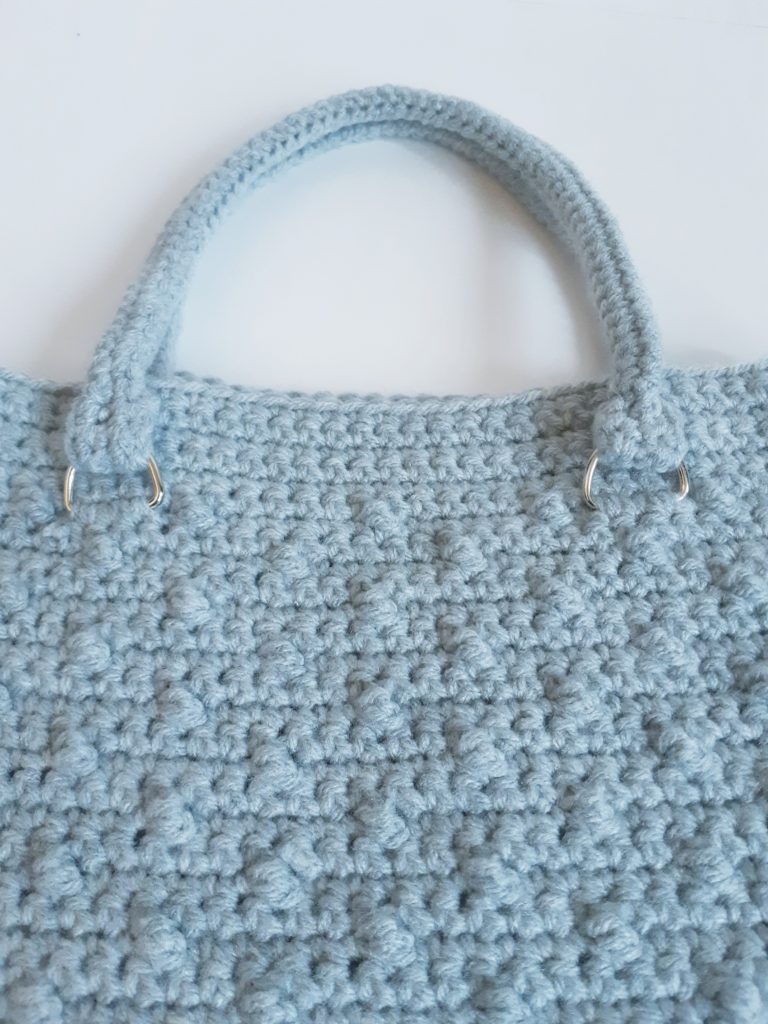
Row 39: **Your D-rings are placed in this row** — Place your D-rings upside down at ST’s 14, 15, 16 and ST’s 32, 33, 34 in the row and repeat row 7, being sure to crochet over the bottom of your D-rings for those ST’s, CH 1 & turn (47)
Row 40 to 45: SC in each ST across, tie off and weave in ends
HANDLES X 2
Make 2 of each handle
With 4mm hook, CH 70 + 1 to turn
Row 1 to 4: SC in each ST across, CH 1 & turn except at the end of Row 4 where you tie off (70)
ASSEMBLY (for all sizes):
– Place both crochet handbag pieces together with the right sides facing each other and the wrong sides facing out
– Starting at the top of one side, whip stitch (or a joining stitch of your choice) down the side, across the bottom and up the other side. Tie off and weave in end.
– Take the each of the bottom corners of the bags and pull out the sides so that to side seam is in the middle and the corner now makes a point with the seam running down the middle. Seam each of these corners across at the bottom of the 6th row (when counting from the top of the “triangle” and this will make a triangle of the corners.
– I found the D-rings to be a little loose and would slide 1/8” back and forth or so, but I also knew that they weren’t big enough to fit all 5 stitches in between the faux bobbles so I reinforced with a small stitch on either side, but this is optional.
– Turn the bag right side out
– For the handles, take each of the long ends and fold up about 3 stitches, slipping it over the D-ring with the folded portion in the back. Sew to the top of each D-ring with about 5 stitches back and forth. Next, seam length-wise from one D-ring to the other so that the handle makes a tube of sorts. Weave all your ends up in to the tube of the handle.
– If you use the magnetic closures to reinforce the folds on the sides of this crochet purse, affix them about ¼” in from the side and ¼” down from the top of each outside corner, or in a location of your choosing.
Weave in any remaining ends and voila, a cute crochet handbag to go with your cute new spring attire!

