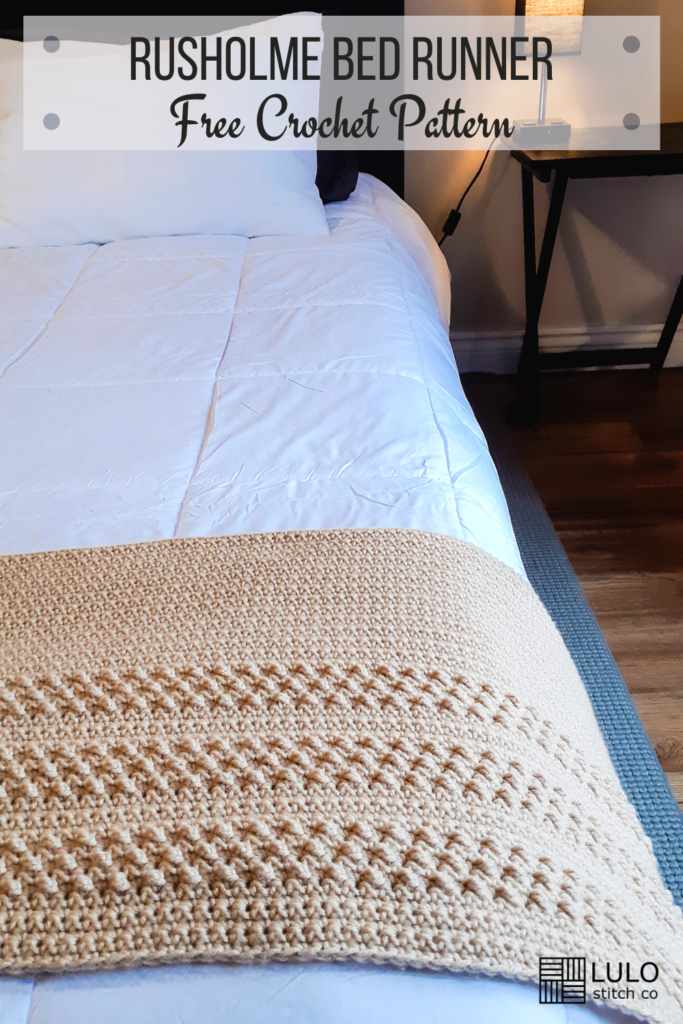
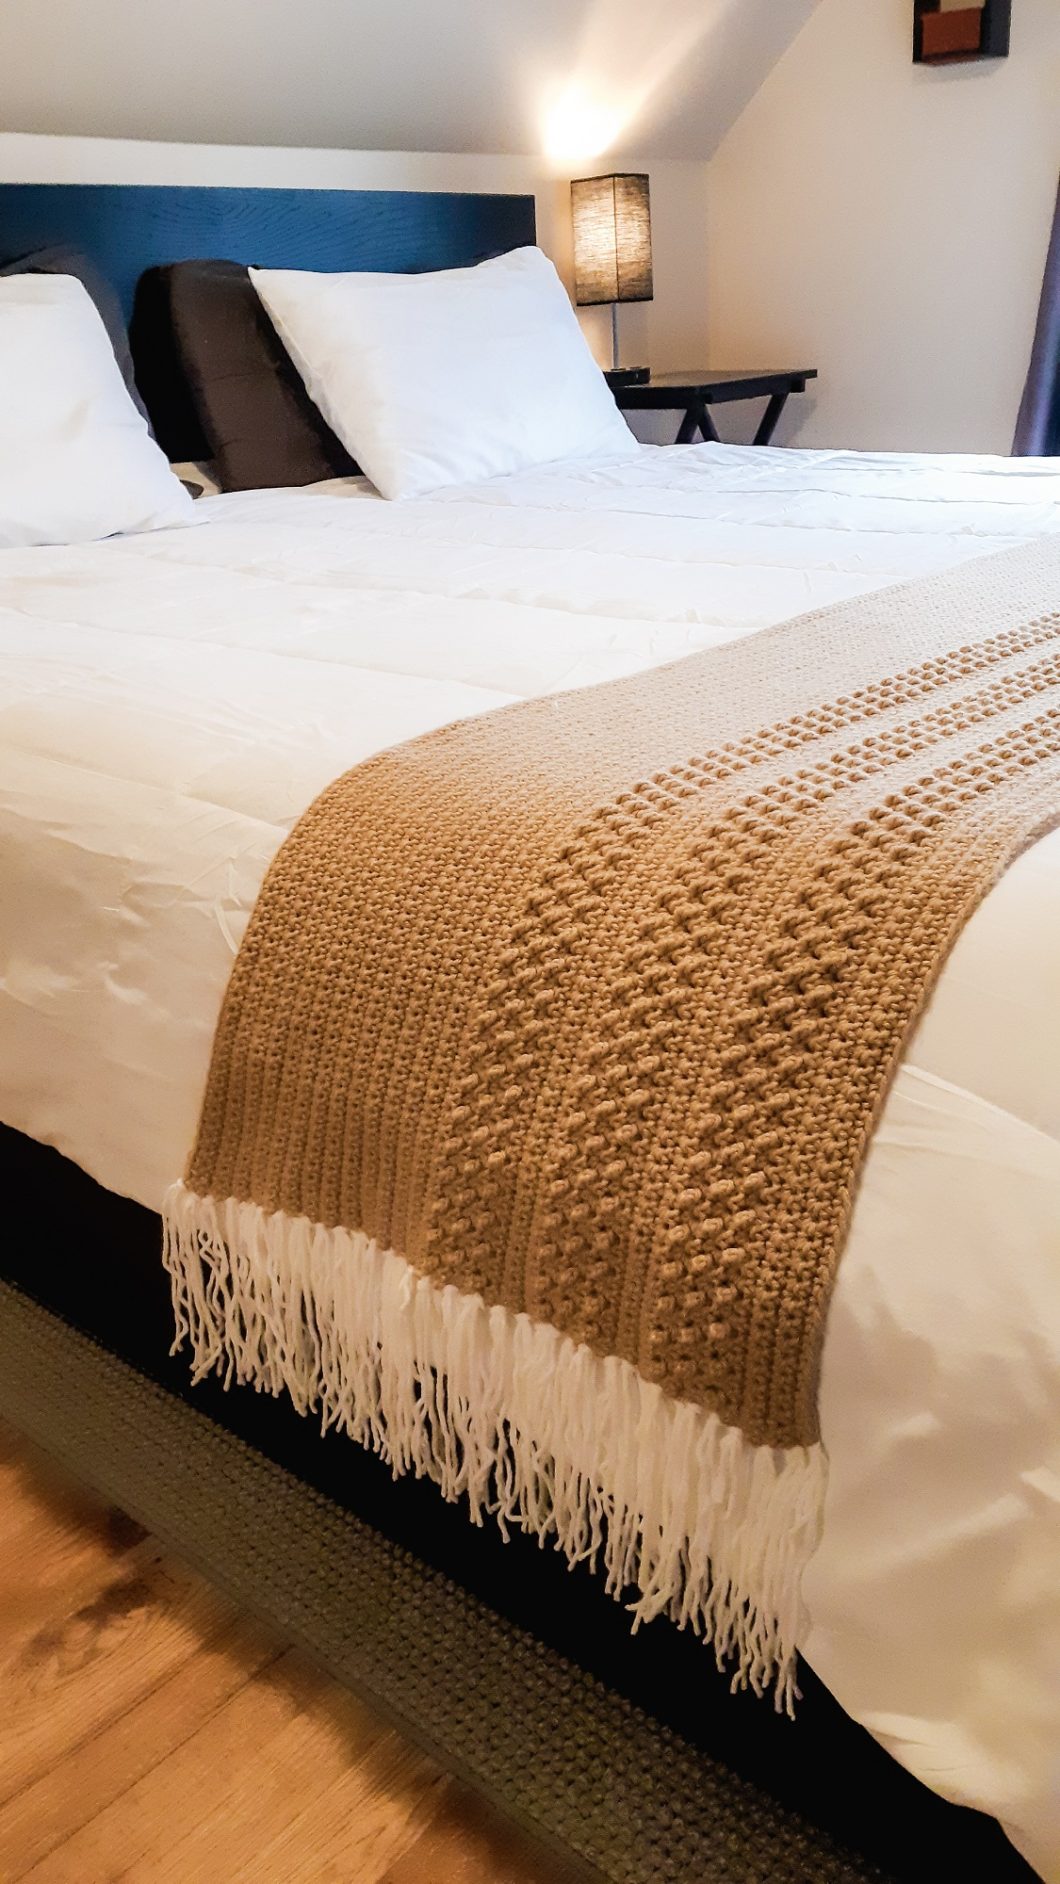
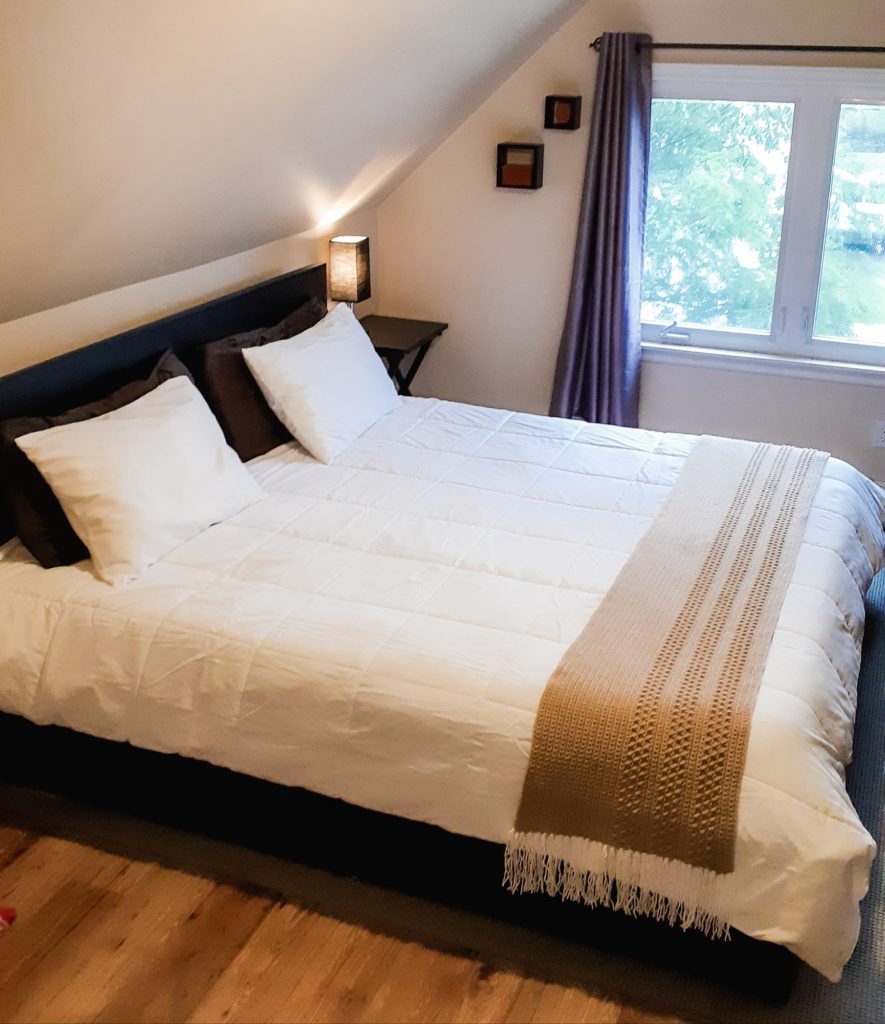
I’ve been dreaming up so many ways to incorporate more of my crochet in to items for the home and am so excited to introduce you to the Rusholme Crochet Bed Runner!
This stylish crochet bed runner (aka crochet bed scarf) is something that will add even more luxe to your bedroom oasis and it is so, so very easy to make. This pattern comes in 2 sizes, for a standard Queen or a standard King. The gauge is included if you’re interested in adjusting the size to fit a Twin bed, or another variation on another bed size.
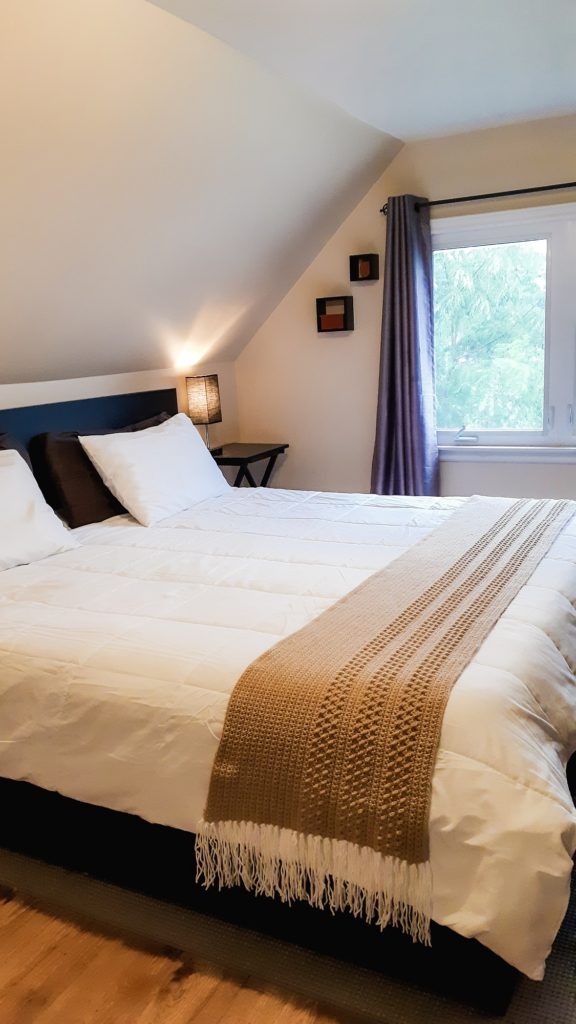
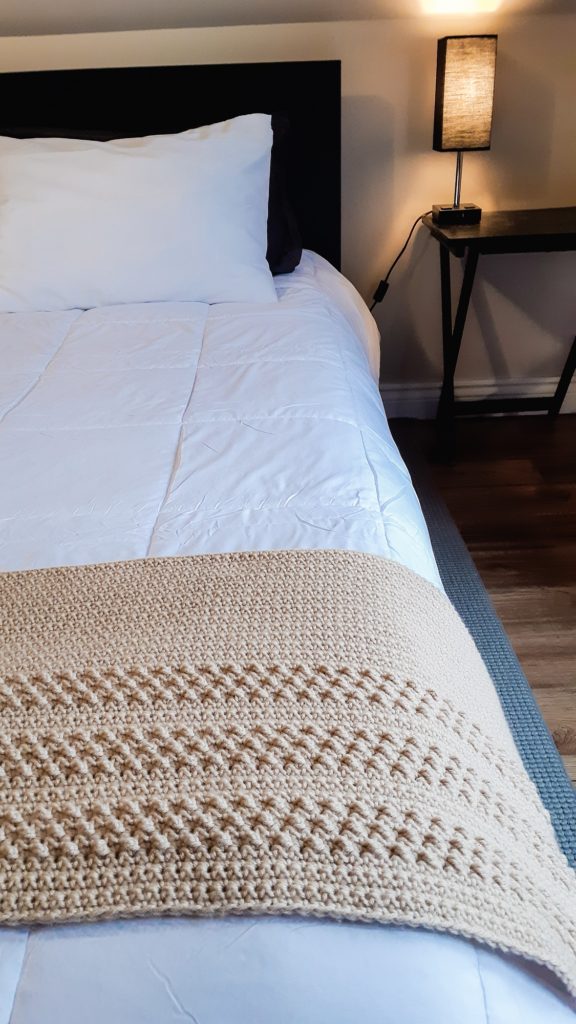
Using only a two stitches, I created this serene, minimalist project with textured stripes on a clean background. All you need to know is single crochet and triple crochet!
I love the look of what interior designers do now with whites and more neutral and organic colors, so I chose Caron One Pound in Lace for my color, with white trim. You can mix it up in a million different ways, however, and make it as bright and cheerful or as neutral and natural as you like.
For more crochet homewares, check out the Astia Tote Basket, the Cocoon Hanging Basket and the Springridge Place Mat & Coaster Set.
LET’S GET MAKING! Scroll down for the FREE pattern for this crochet slouchy hat below OR you can PURCHASE the Ad-Free, printable version from my Etsy store HERE.
| SUPPLY LIST |
| 6mm hook Any Category 4 Yarn (Used: Caron One Pound in Lace and Caron One Pound in White) Approx yardage: Queen: 570 Y / 521 M for the body, 112 Y / 102 M for the fringe King: 620 Y / 567 M for the body, 112 Y / 102 M for the fringe Stitch Marker Scissors Tapestry needle |
| STITCHES / ABBREVIATIONS |
| **All stitches are in North American terms** YO – yarn over CH – chain ST – stitch BB – back bump (of the foundation chain) SC – single crochet TC – triple crochet |
| SIZE |
| This crochet bed runner pattern comes in 2 sizes, STANDARD QUEEN & STANDARD KING |
| FINISHED MEASUREMENTS |
| Queen: 76” x 18” H King: 93” W x 18” H |
| GAUGE |
| 11 ST x 14 Rows = 4” x 4” (2.75 ST per inch, 3.5 rows per inch) |
| DIFFICULTY LEVEL |
| Beginner |
| PATTERN AND SIZING NOTES |
| – This crochet bed runner is worked as one piece from the bottom to the top, adding fringe at the end. – The faux bobbles of the stripes are created using a Triple Crochet between Single Crochets so that the reduced height of the Single Crochet pulls the Triple Crochet down and pops it out. – The Single Crochets after the Triple Crochets should be very tight in tension so that the TC pops. – The CH 1 at the start of each row DOES NOT count as a stitch – Stitch count for each round will be indicated in parentheses ( ) at the end of the row |
| INSTRUCTIONS |
| CROCHET BED RUNNER: CH 210 (+ 1 to turn) for Queen /250 (+ 1 to turn) for King Row 1: In the 2nd CH from the hook, SC in the BB of each ST across, CH 1 & turn (210/250) Row 2: SC in each ST across, CH 1 & turn (210/250) Row 3 to 6: Repeat Row 2 (210/250) Row 7: TC in the first ST, SC in the 2nd ST, TC in the 3rd ST, SC in the 4th ST and keep repeating this alternation between TC & SC across the row, CH 1 & turn (210/250) Row 8: SC across the row, CH 1 & turn (210/250) Row 9: SC in the first 2 ST’s, then alternate TC & SC across the row, except the last 2 ST’s of the row are SC, CH 1 & turn (210/250) (*this offsets the middle row of faux bobbles) Row 10: Repeat Row 8 (210/250) Row 11: Repeat Row 7 (210/250) Row 12 to 16: SC across the row, CH 1 & turn (210/250) Rows 17 to 21: Repeat rows 7 through 11 (210/250) Rows 22 to 26: SC across the row, CH 1 & turn (210/250) Rows Rows 27 to 31: Repeat rows 7 through 11 (210/250) Rows 32 to 61: SC across the row, CH 1 & turn (210/250) At the end of row 61, do not CH 1 but instead YO, pull through and tie off. Weave in your ends. FRINGE for the CROCHET BED RUNNER: If you aren’t familiar with how to affix fringe, there are lots of tutorials online and on YouTube, but here are the guidelines for how I affixed mine – Find a book about 8” in length – using your yarn, wind the yarn around the book 61 times and remove by pulling it off at the top – I placed a fringe in each ST up the sides (thus, 61) – Use sharp scissors to cut all the bottom loops – Taking 2 strips at a time fold them in half in the middle and using your crochet hook, push it through from the back side (wrong side of the crochet bed runner) to front side in the hole your putting the fringe in, hook the top loop of the fringe you’re holding and pull it through about 2 inches – Slip your thumb and pointer finger through that 2” loop and pull through the fringe tails, pulling tightly and evenly – Once you have all fringe affixed, lay it flat, comb the fringe with your fingers so it all lies straight and use sharp scissors to trim all the fringe straight and evenly and to your desired length ** Voila, a stunning designer-inspired crochet bed runner that will make your bedroom even more of an inviting oasis! |
